10 Pearl French Tip Nails That Look Insanely Expensive
Pearl French tips take the classic mani and crank the elegance up to eleven. They catch the light, flatter every skin tone, and look perfect at brunch or black-tie. Ready for shine that whispers “I woke up like this” but also screams “I plan ahead”? Let’s dive into ten looks you’ll want to screenshot immediately.
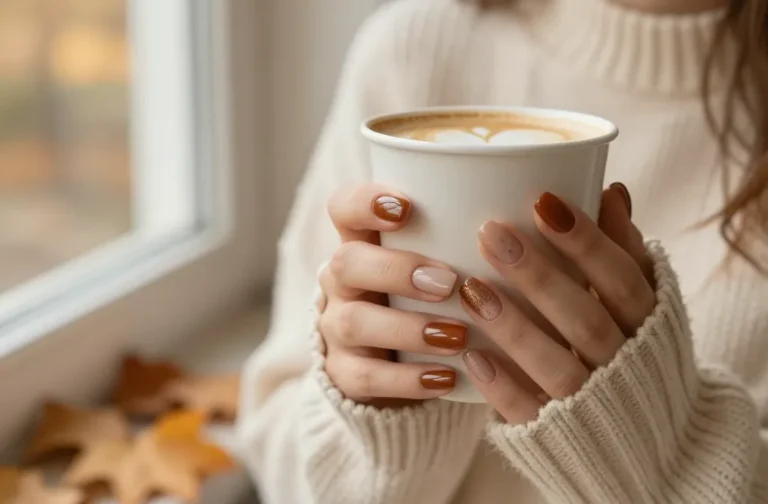
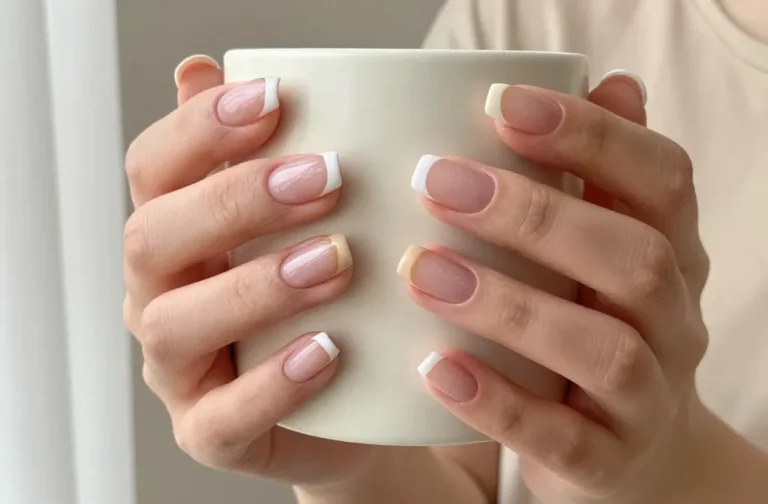
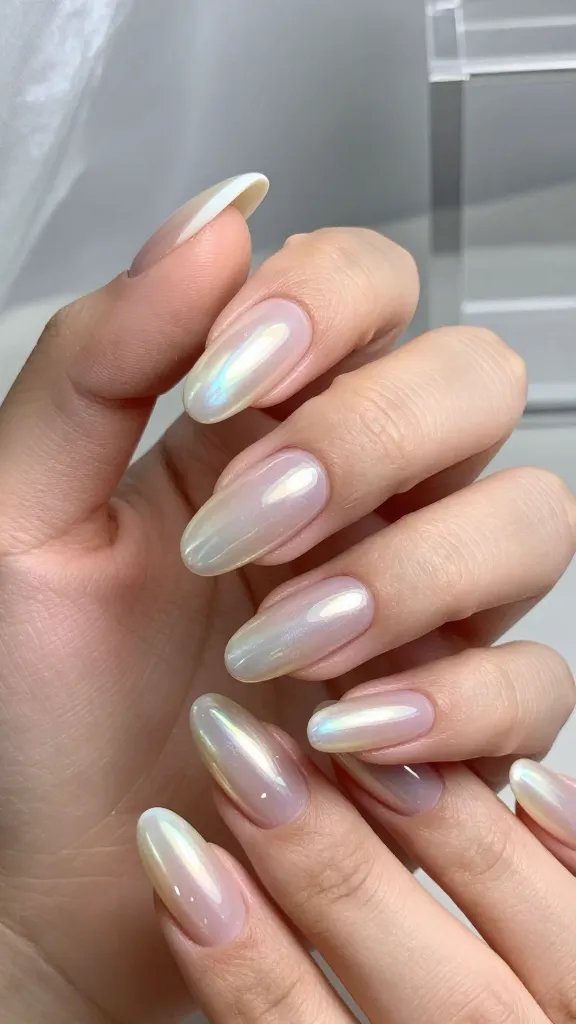
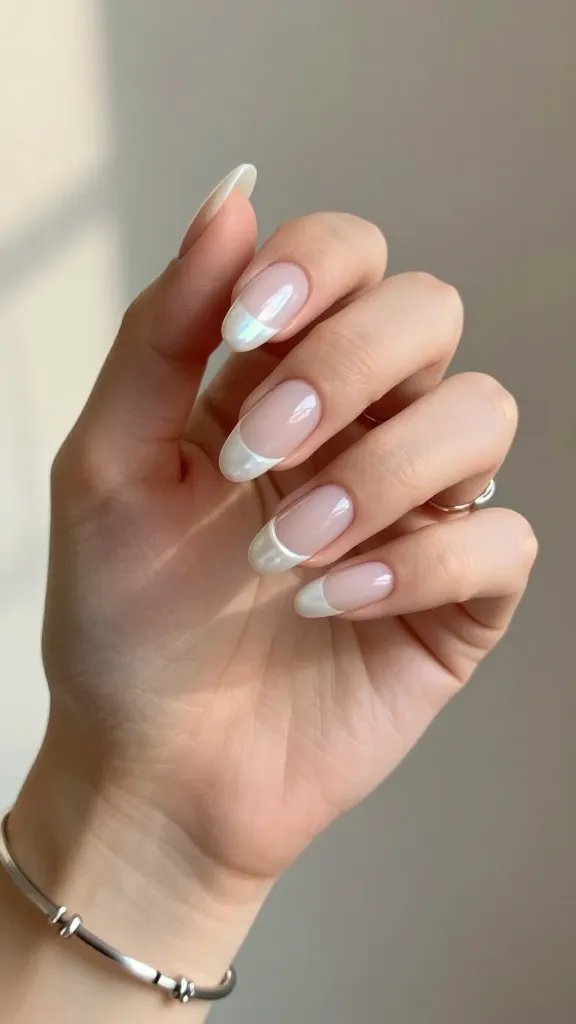
1. The Classic Moonlit Pearl Tip
Overeating doesn’t mean something is wrong with you. It means your system needs a reset.
If cravings keep pulling you off track, this helps you regain control without restriction. You’ll learn simple, realistic steps to stop overeating and feel satisfied again.
Start with the icon. This is your traditional French tip but upgraded with a luminous pearl finish that glows like moonlight. It’s simple, timeless, and looks expensive even if you did it in your kitchen at 11 p.m.
Key Points
- Base: Sheer pink or milky nude
- Tip: Pearl white polish or chrome powder over white
- Shape: Short almond or squoval for that chic French vibe
Wear this when you want versatility. Interviews, weddings, first dates—this set handles it all without trying too hard.
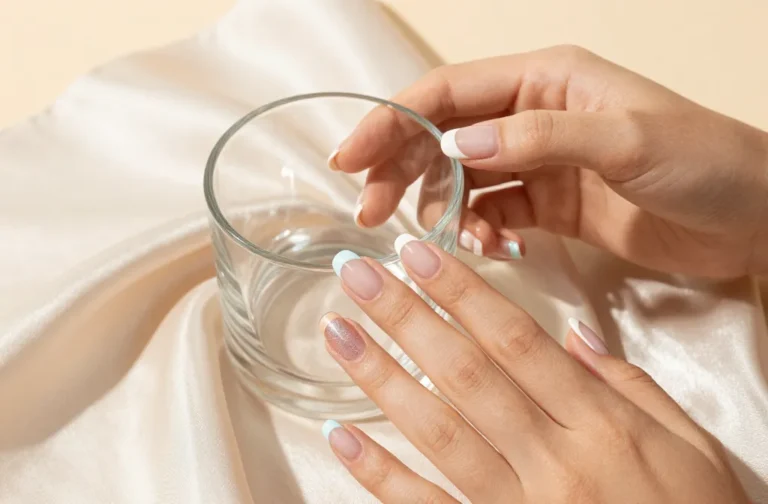
2. Micro French With Pearly Precision

Love understatement? A micro French gives you that barely-there line with a pearly twist. It’s minimalist but not boring—like a whisper that everyone hears.
Tips
- Use a striping brush for razor-thin tips
- Choose a neutral base that matches your undertone
- Seal with a glossy top coat to lock in the glow
This look shines at the office and on weekends. It adds polish (pun intended) without stealing the spotlight from your outfit.
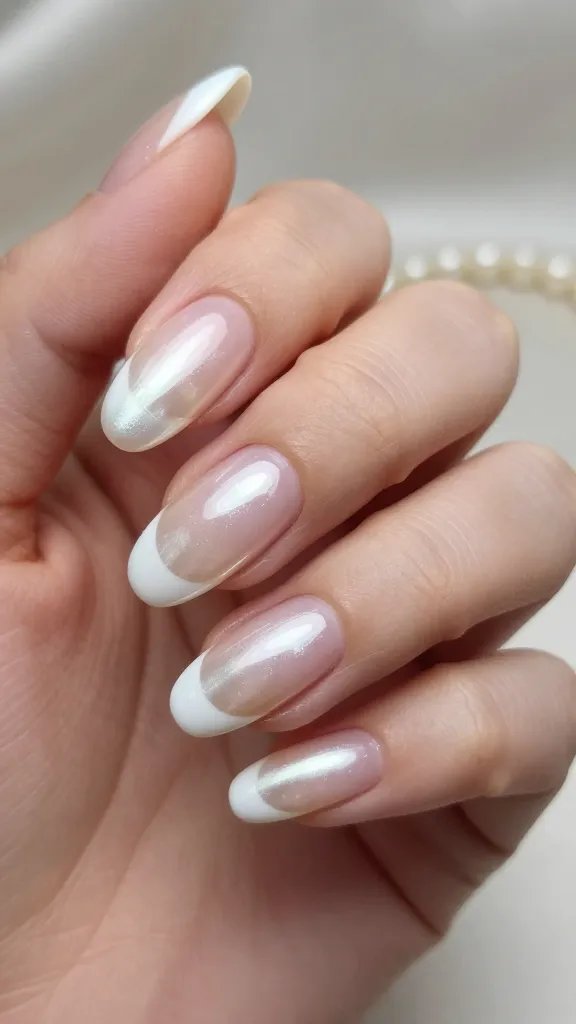
3. Pearl Chrome French For Max Shine
If you want reflective magic, go chrome. A pearl chrome finish over your white tips gives that soft-focus gleam you see on editorial nails. Cameras love it, and so will your selfie game.
Materials
- White gel polish for the tips
- Pearl chrome powder and sponge applicator
- No-wipe top coat to make the chrome stick
Perfect for parties and formal events. The glow reads couture without a couture price tag—seriously.
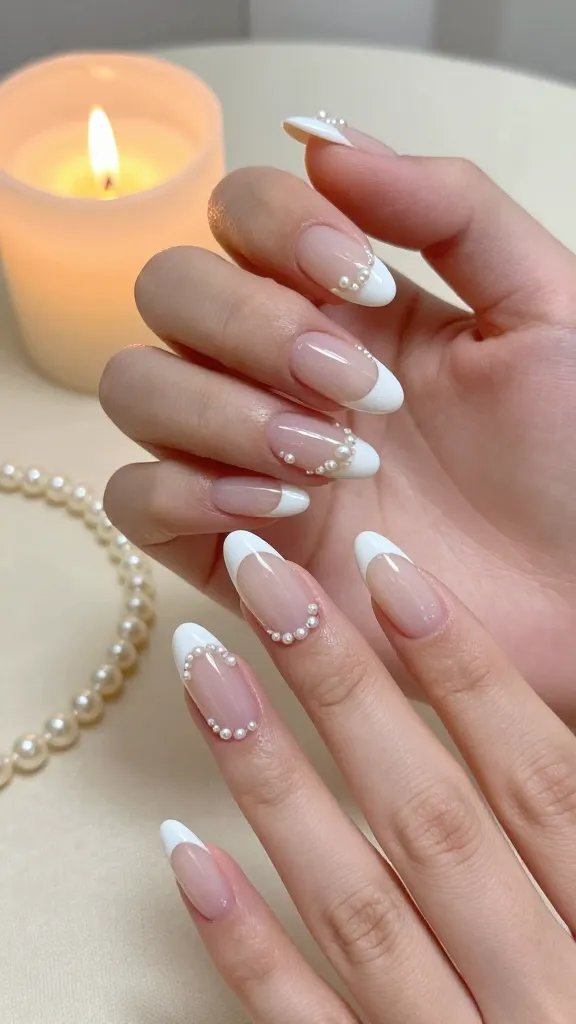
4. Pearl-Dotted Cuticle Accents
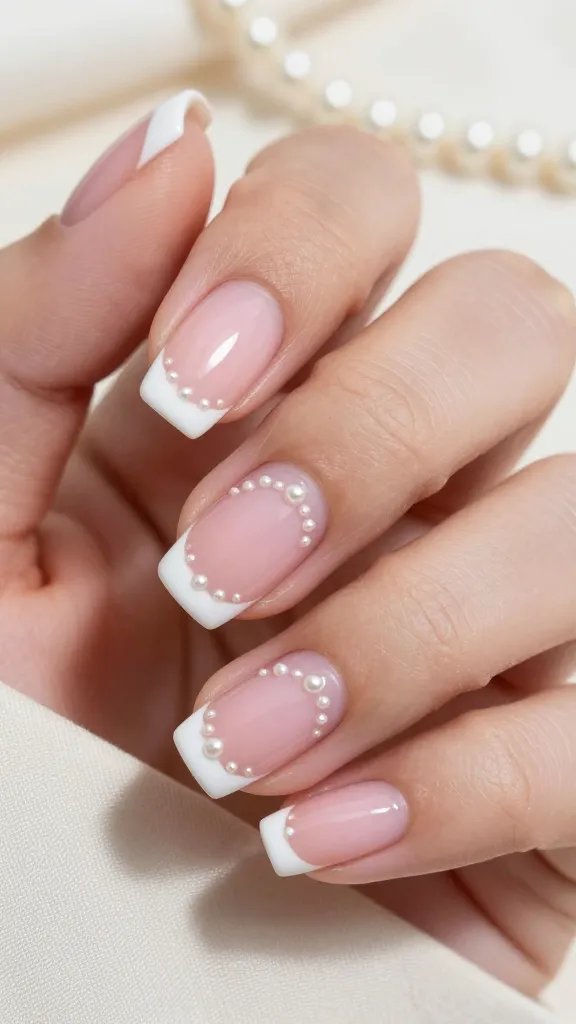
Flip the script and keep the French tip classic while adding tiny pearl dots along the cuticle. It’s delicate, unique, and feels like jewelry for your nails.
How-To
- Lay down your French tip first
- Use a dotting tool for teeny pearl gel dots by the cuticle
- Space them evenly or cluster at the center for a tiara effect
Choose this when you want subtle detail that still reads special. Great for bridal showers or anytime you want compliments from strangers.
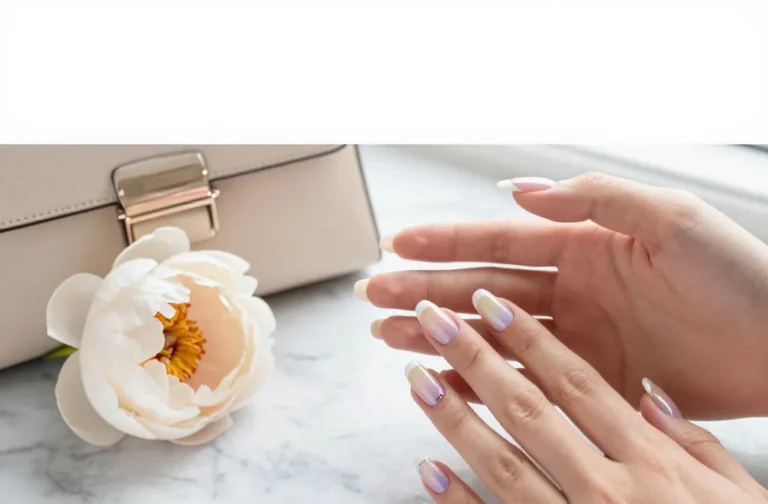
5. Milky Ombré Pearl French
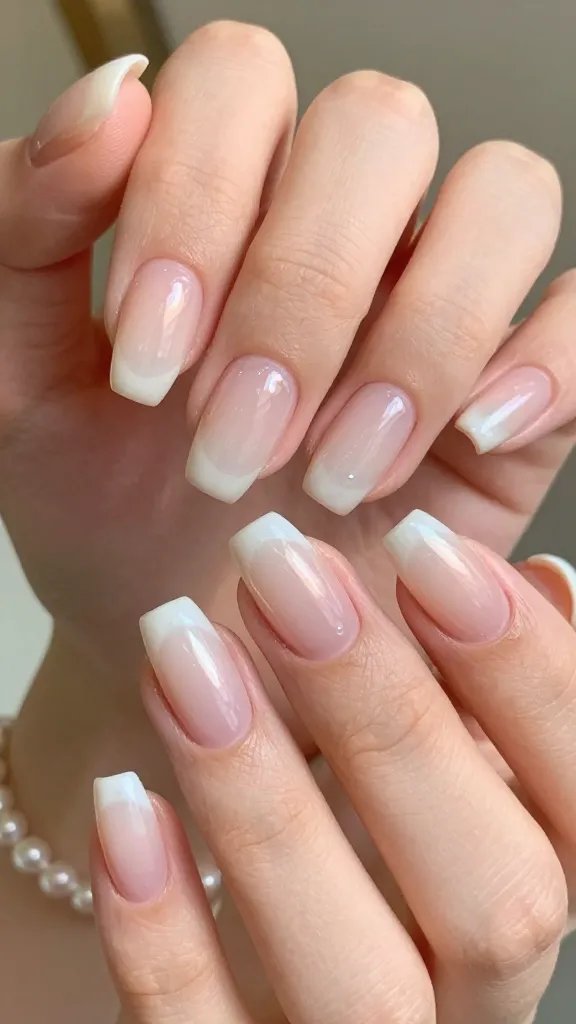
Soft, hazy, and photogenic, the milky ombré French blends a sheer base into a pearly tip like cream into coffee. It’s romantic but modern—no harsh lines here.
Pro Moves
- Use a sponge to dab the pearl polish from mid-nail to tip
- Build in thin layers to avoid streaks
- Finish with a jelly-like top coat for depth
Wear this for engagement photos, holidays, or when you want your hands to look airbrushed IRL. FYI, it flatters every nail length.

6. Side-Swept Pearl French (The S-Curve)
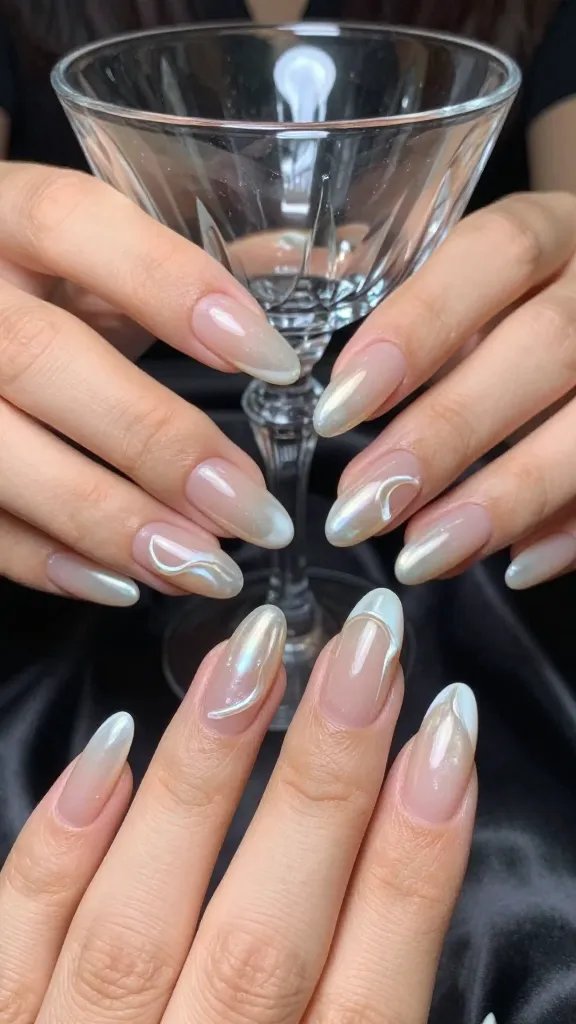
Curve your tip diagonally for a side-swept effect that adds movement and edge. The pearl finish keeps it soft while the shape says “I have taste and a calendar.”
Key Elements
- Draw a diagonal or S-curve across the free edge
- Mirror the curve on each hand for symmetry
- Use a liner brush for crisp, confident strokes
Perfect for evenings out or when you want an artsy twist without going full abstract. It’s elevated but still office-friendly.
7. Negative Space Pearl French
Show some skin—well, nail. Leave a slim negative space band between the base and the pearl tip for a floating effect. It’s architectural and crazy chic.
Tips
- Use striping tape to keep the gap clean
- Choose a sheer base and keep cuticles pristine
- Matte the base and gloss the tip for extra contrast
This shines for fashion weeks (yours or the runway’s) and looks incredible with minimalist jewelry. Trust me, it photographs beautifully.
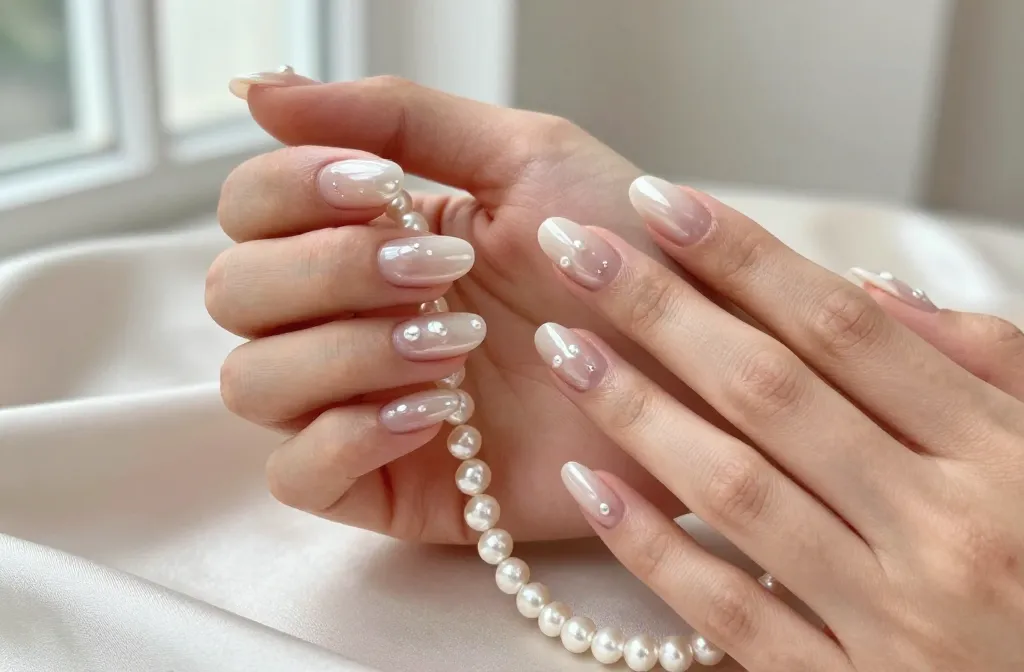
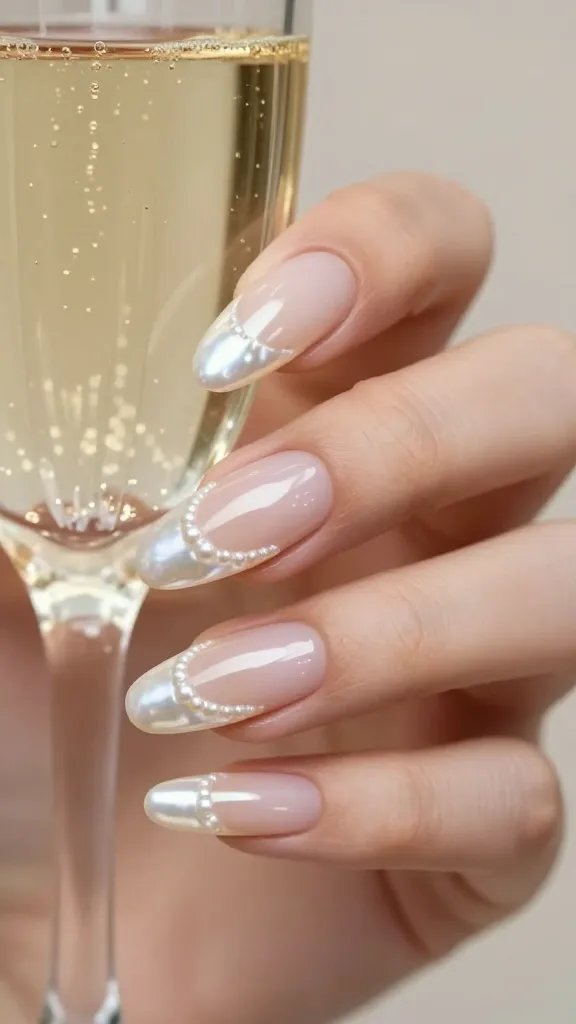
8. Pearl French With 3D Micro Pearls
Go full mermaid-core and add tiny 3D pearls along the tip line or at the smile points. The texture feels luxe and turns every hand movement into a mini moment.
Materials
- Micro flat-back pearls (1–2 mm)
- Nail glue or builder gel for secure placement
- Strong top coat, capping the edges
Save this for special occasions or vacations. It looks amazing in candlelight and won’t get lost in a sea of sequins.
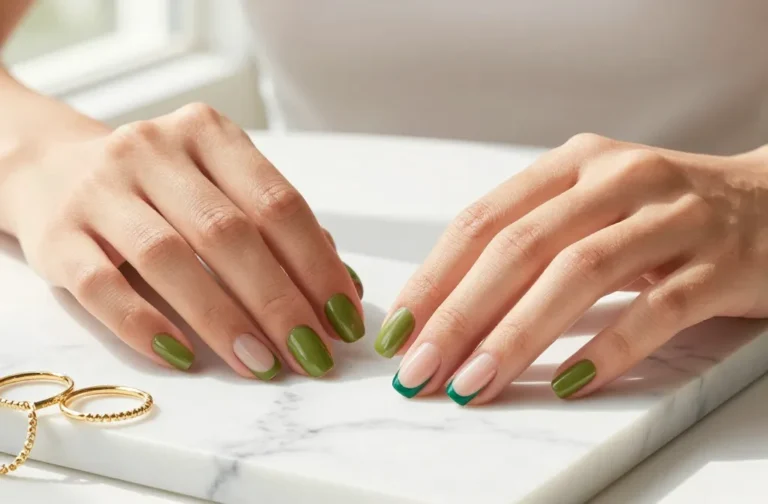
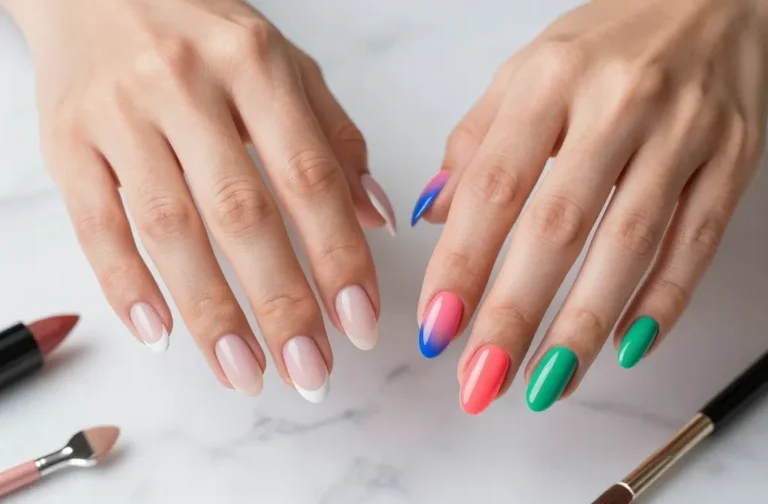
9. Sheer Colored Bases + Pearl Tips
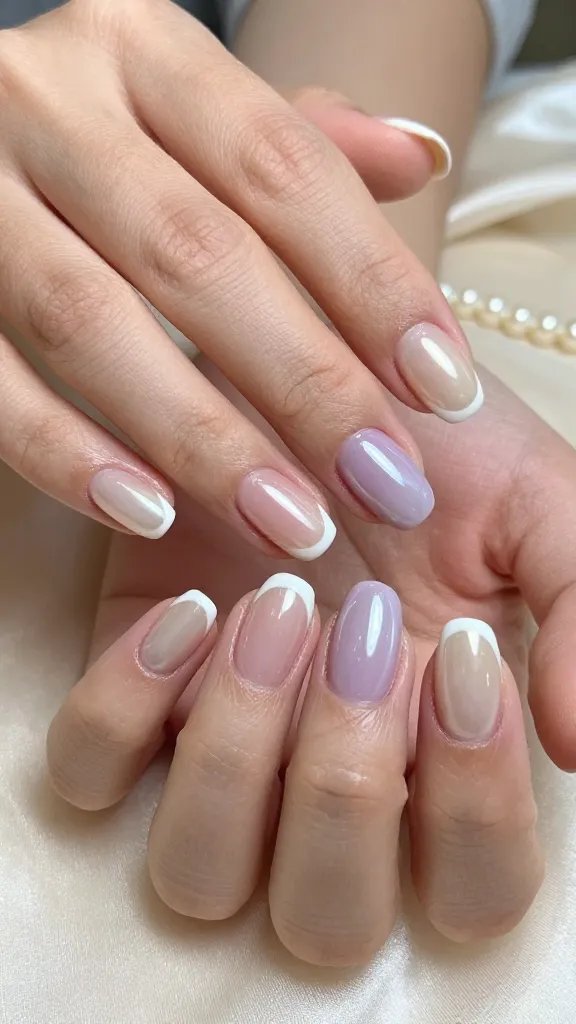
Swap the nude base for a sheer tinted wash—think blush, lilac, or latte—then add pearl tips. Color meets classic, and the result feels fresh without trying.
Color Pairings
- Blush pink base + cool pearl white tip
- Soft lavender base + icy pearl chrome
- Latte beige base + warm ivory pearl
Great for seasonal updates. Spring? Go lilac. Fall? Latte. You’ll still match every outfit because the pearl ties it all together.
10. Sculpted Almond With Deep Pearl Smile Line
Length plus a dramatic smile line equals instant glam. A deep, curved pearl tip on an almond or stiletto shape gives that elongated, editorial finish.
Execution
- Choose hard gel or builder to perfect the apex and symmetry
- Map the smile line with a liner brush before filling
- Buff to glassy smoothness so the pearl reflects evenly
This is your gala nail. It’s bold, refined, and looks incredible holding a champagne flute, IMO.
Ready to glow? Pick your favorite pearl French and book your appointment—or grab a liner brush and go DIY hero. Either way, you’ll get that soft-focus shine that makes every gesture feel a little fancier. Now go stun the group chat with your new nails.