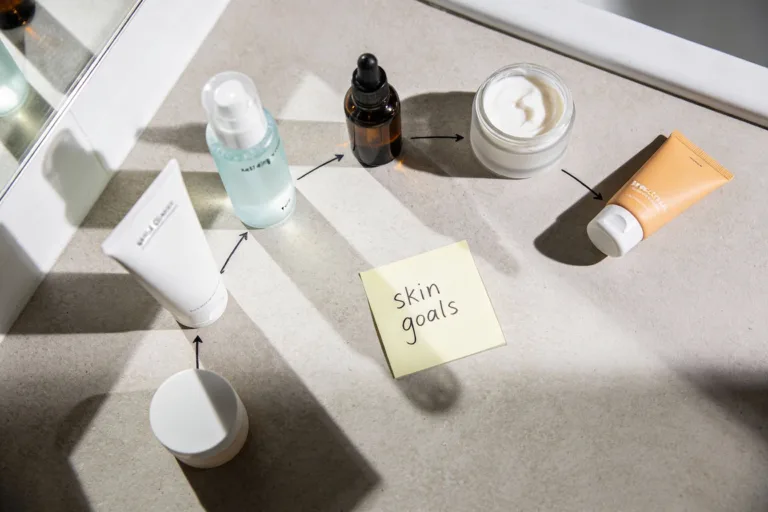
Jet-Set Glow: How to Make Travel-Friendly Diy Skincare
You booked the flights, stuffed the suitcase, and then stared at your bathroom shelf wondering how to shrink your routine into TSA-approved reality. Good news: you don’t need to decant your life into 18 tiny bottles or surrender good skin to airplane air. You can make smart, travel‑friendly skincare that works, packs light, and won’t explode in your bag. Let’s build a compact kit that your future jet-lagged self will actually thank you for.
Why DIY for Travel Rocks
You control the formulas, the sizes, and the mess factor. That means fewer liquids, fewer spills, and fewer mystery ingredients. Plus, you can tweak for climate—dry airplane cabin? Humid beach week? You got this.
Big wins:
Overeating doesn’t mean something is wrong with you. It means your system needs a reset.
If cravings keep pulling you off track, this helps you regain control without restriction. You’ll learn simple, realistic steps to stop overeating and feel satisfied again.
- Less liquid = less leak. Balms and bars beat bottles.
- Custom sizes. Make just enough for the trip.
- Budget-friendly. Ingredients multitask across products.
- Skin-first. Skip fragrances and fillers your face hates.
Pack-Smart Principles (Before You Mix Anything)
Think of this as your carry-on rules for DIY beauty. Simple, compact, and multi-use keeps the chaos away.
- Prioritize the essentials: Cleanse, moisturize, protect. Everything else is bonus.
- Swap liquids for solids: Balms, bars, and powders survive turbulence and security checkpoints.
- Go mini: 5–15 mL containers beat full-size anything.
- Choose stable ingredients: Avoid actives that degrade fast (vitamin C in water, I’m looking at you).
- Label clearly: Future you won’t remember what’s in the unmarked tin at 2 a.m.
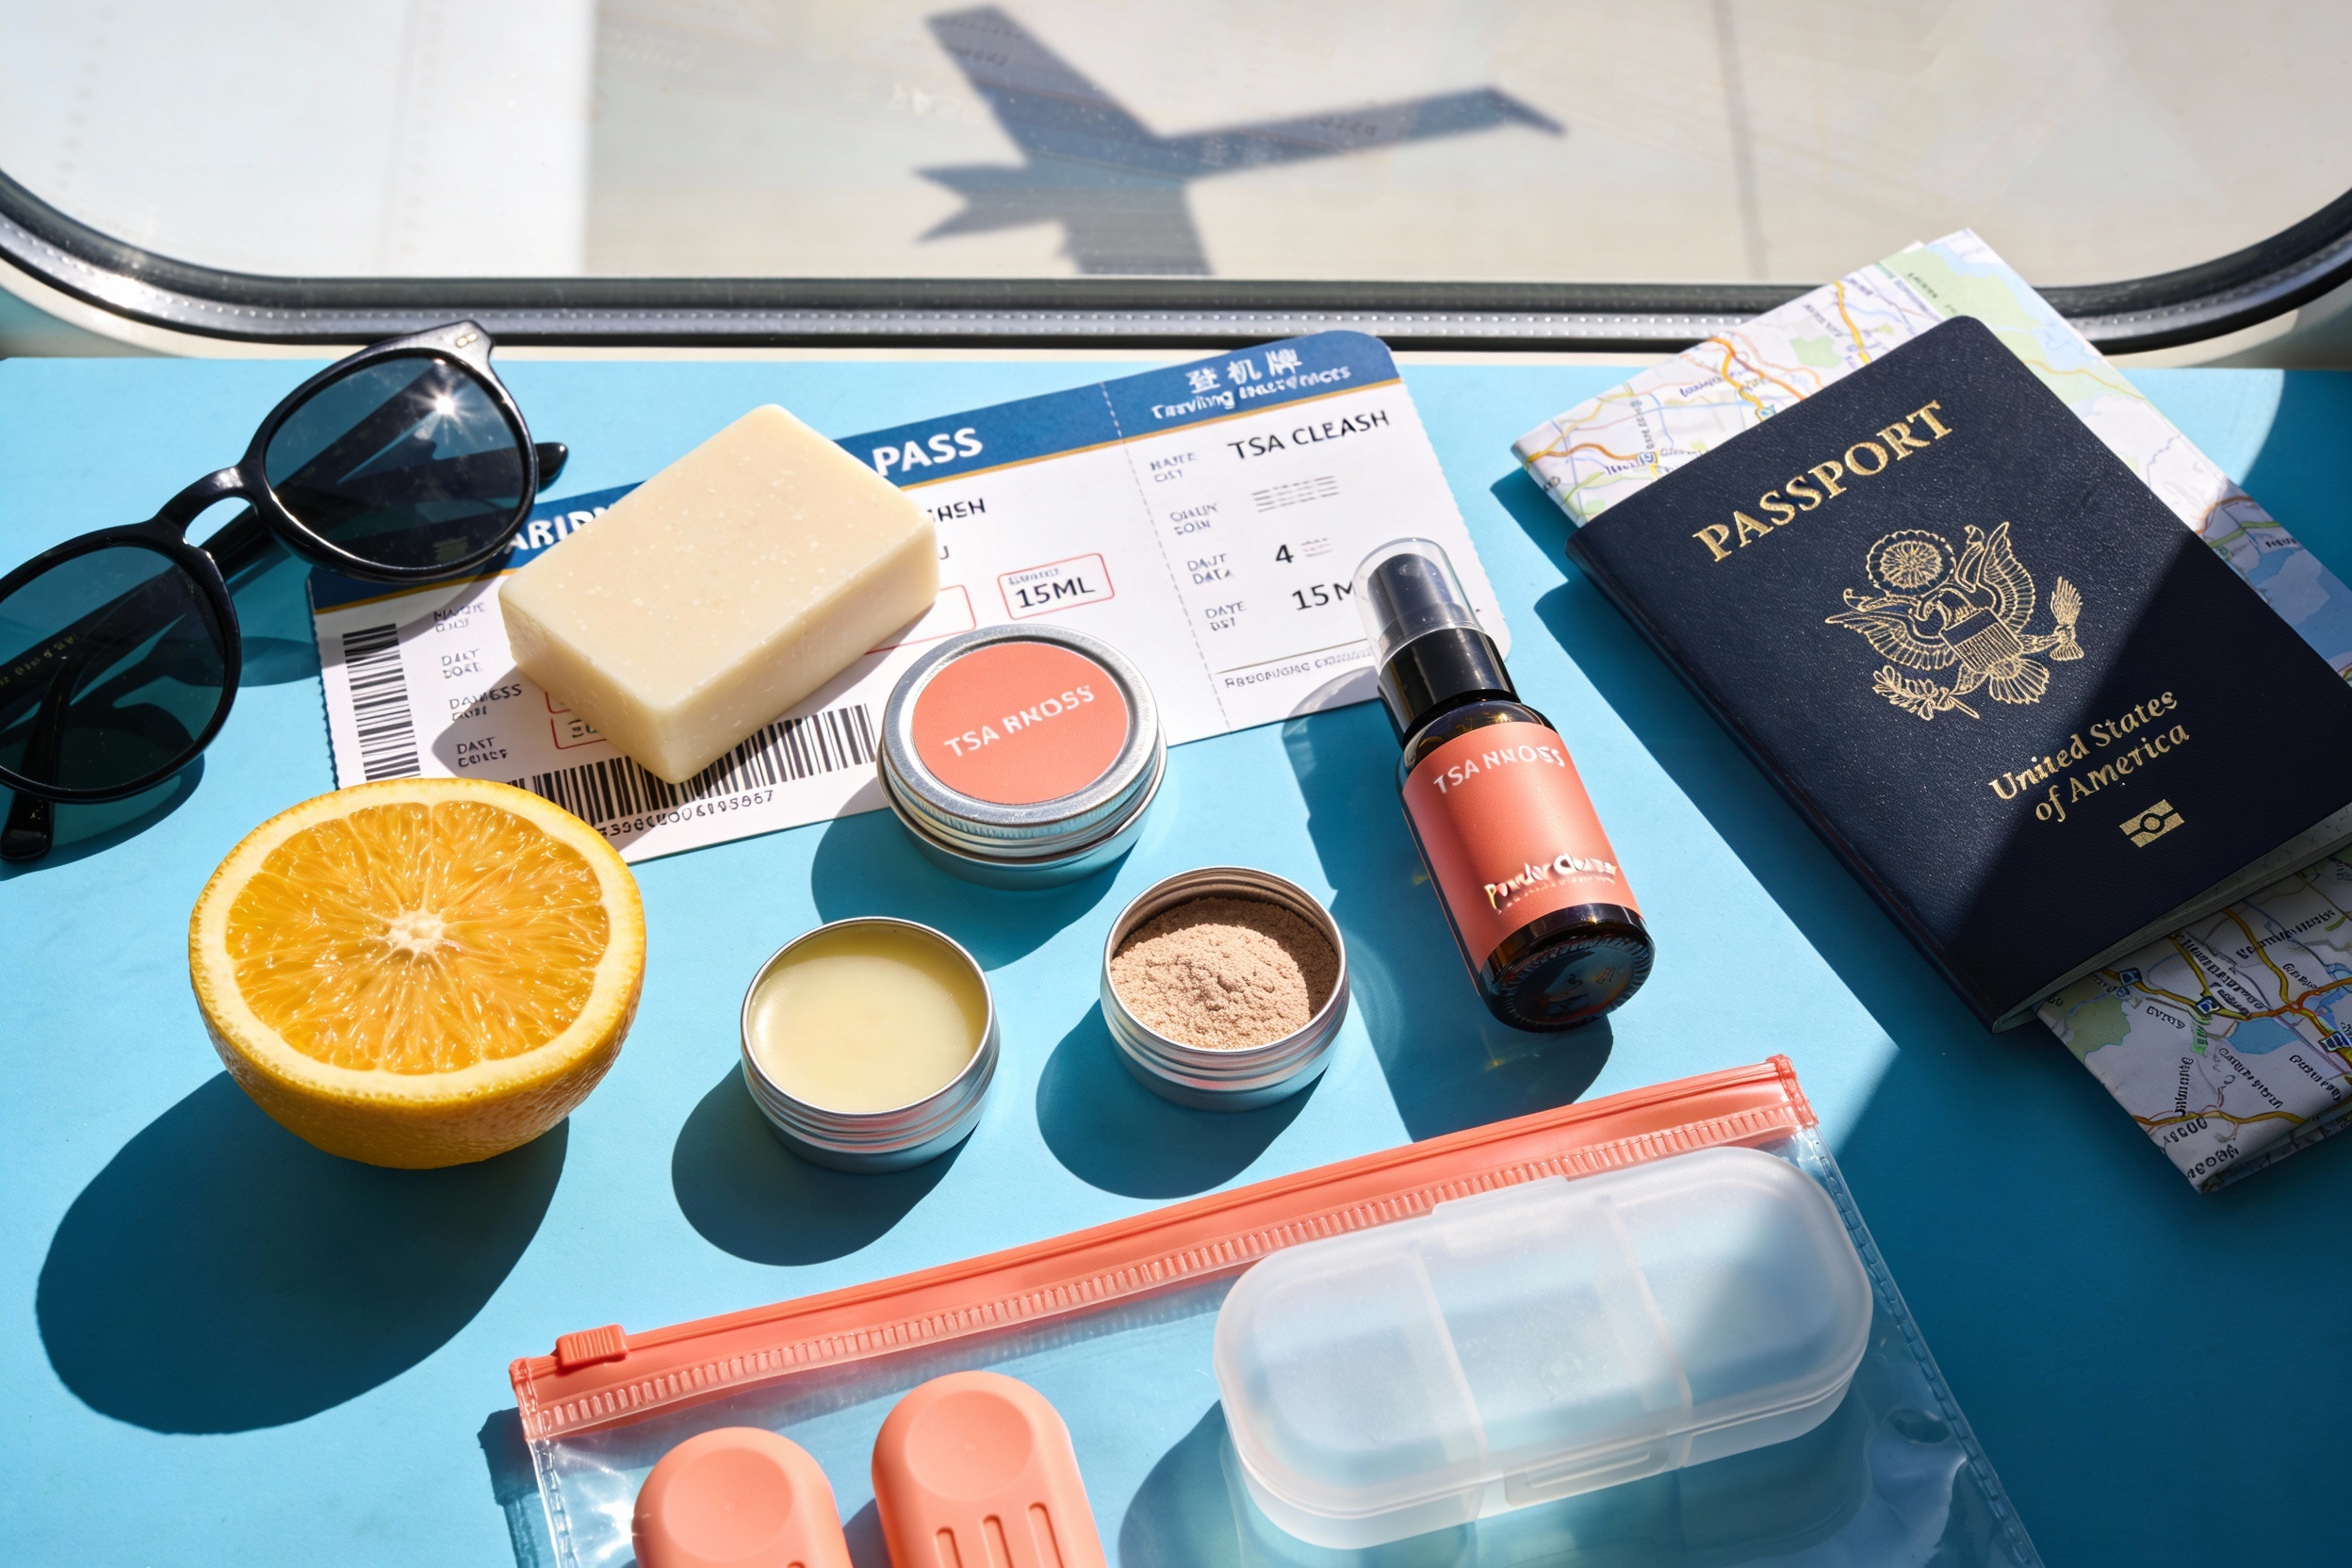
Travel-Safe Containers That Actually Work
- Screw-top tins: Perfect for balms and cleansing bars.
- Airless pump minis: Great for water-based gels and creams.
- Silicone squeeze bottles: Use for body wash or hair stuff, not for oils (they can seep).
- My fave hack: Contact lens cases for single-use doses of balm or mask.
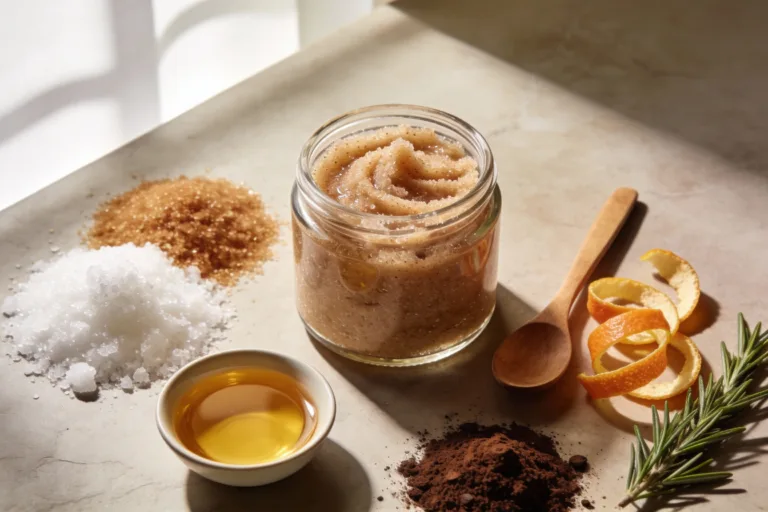
DIY Solid Cleansing Options (Leak-Proof Champions)
Solid cleansers rule travel. They melt makeup, don’t spill, and glide through security without drama.
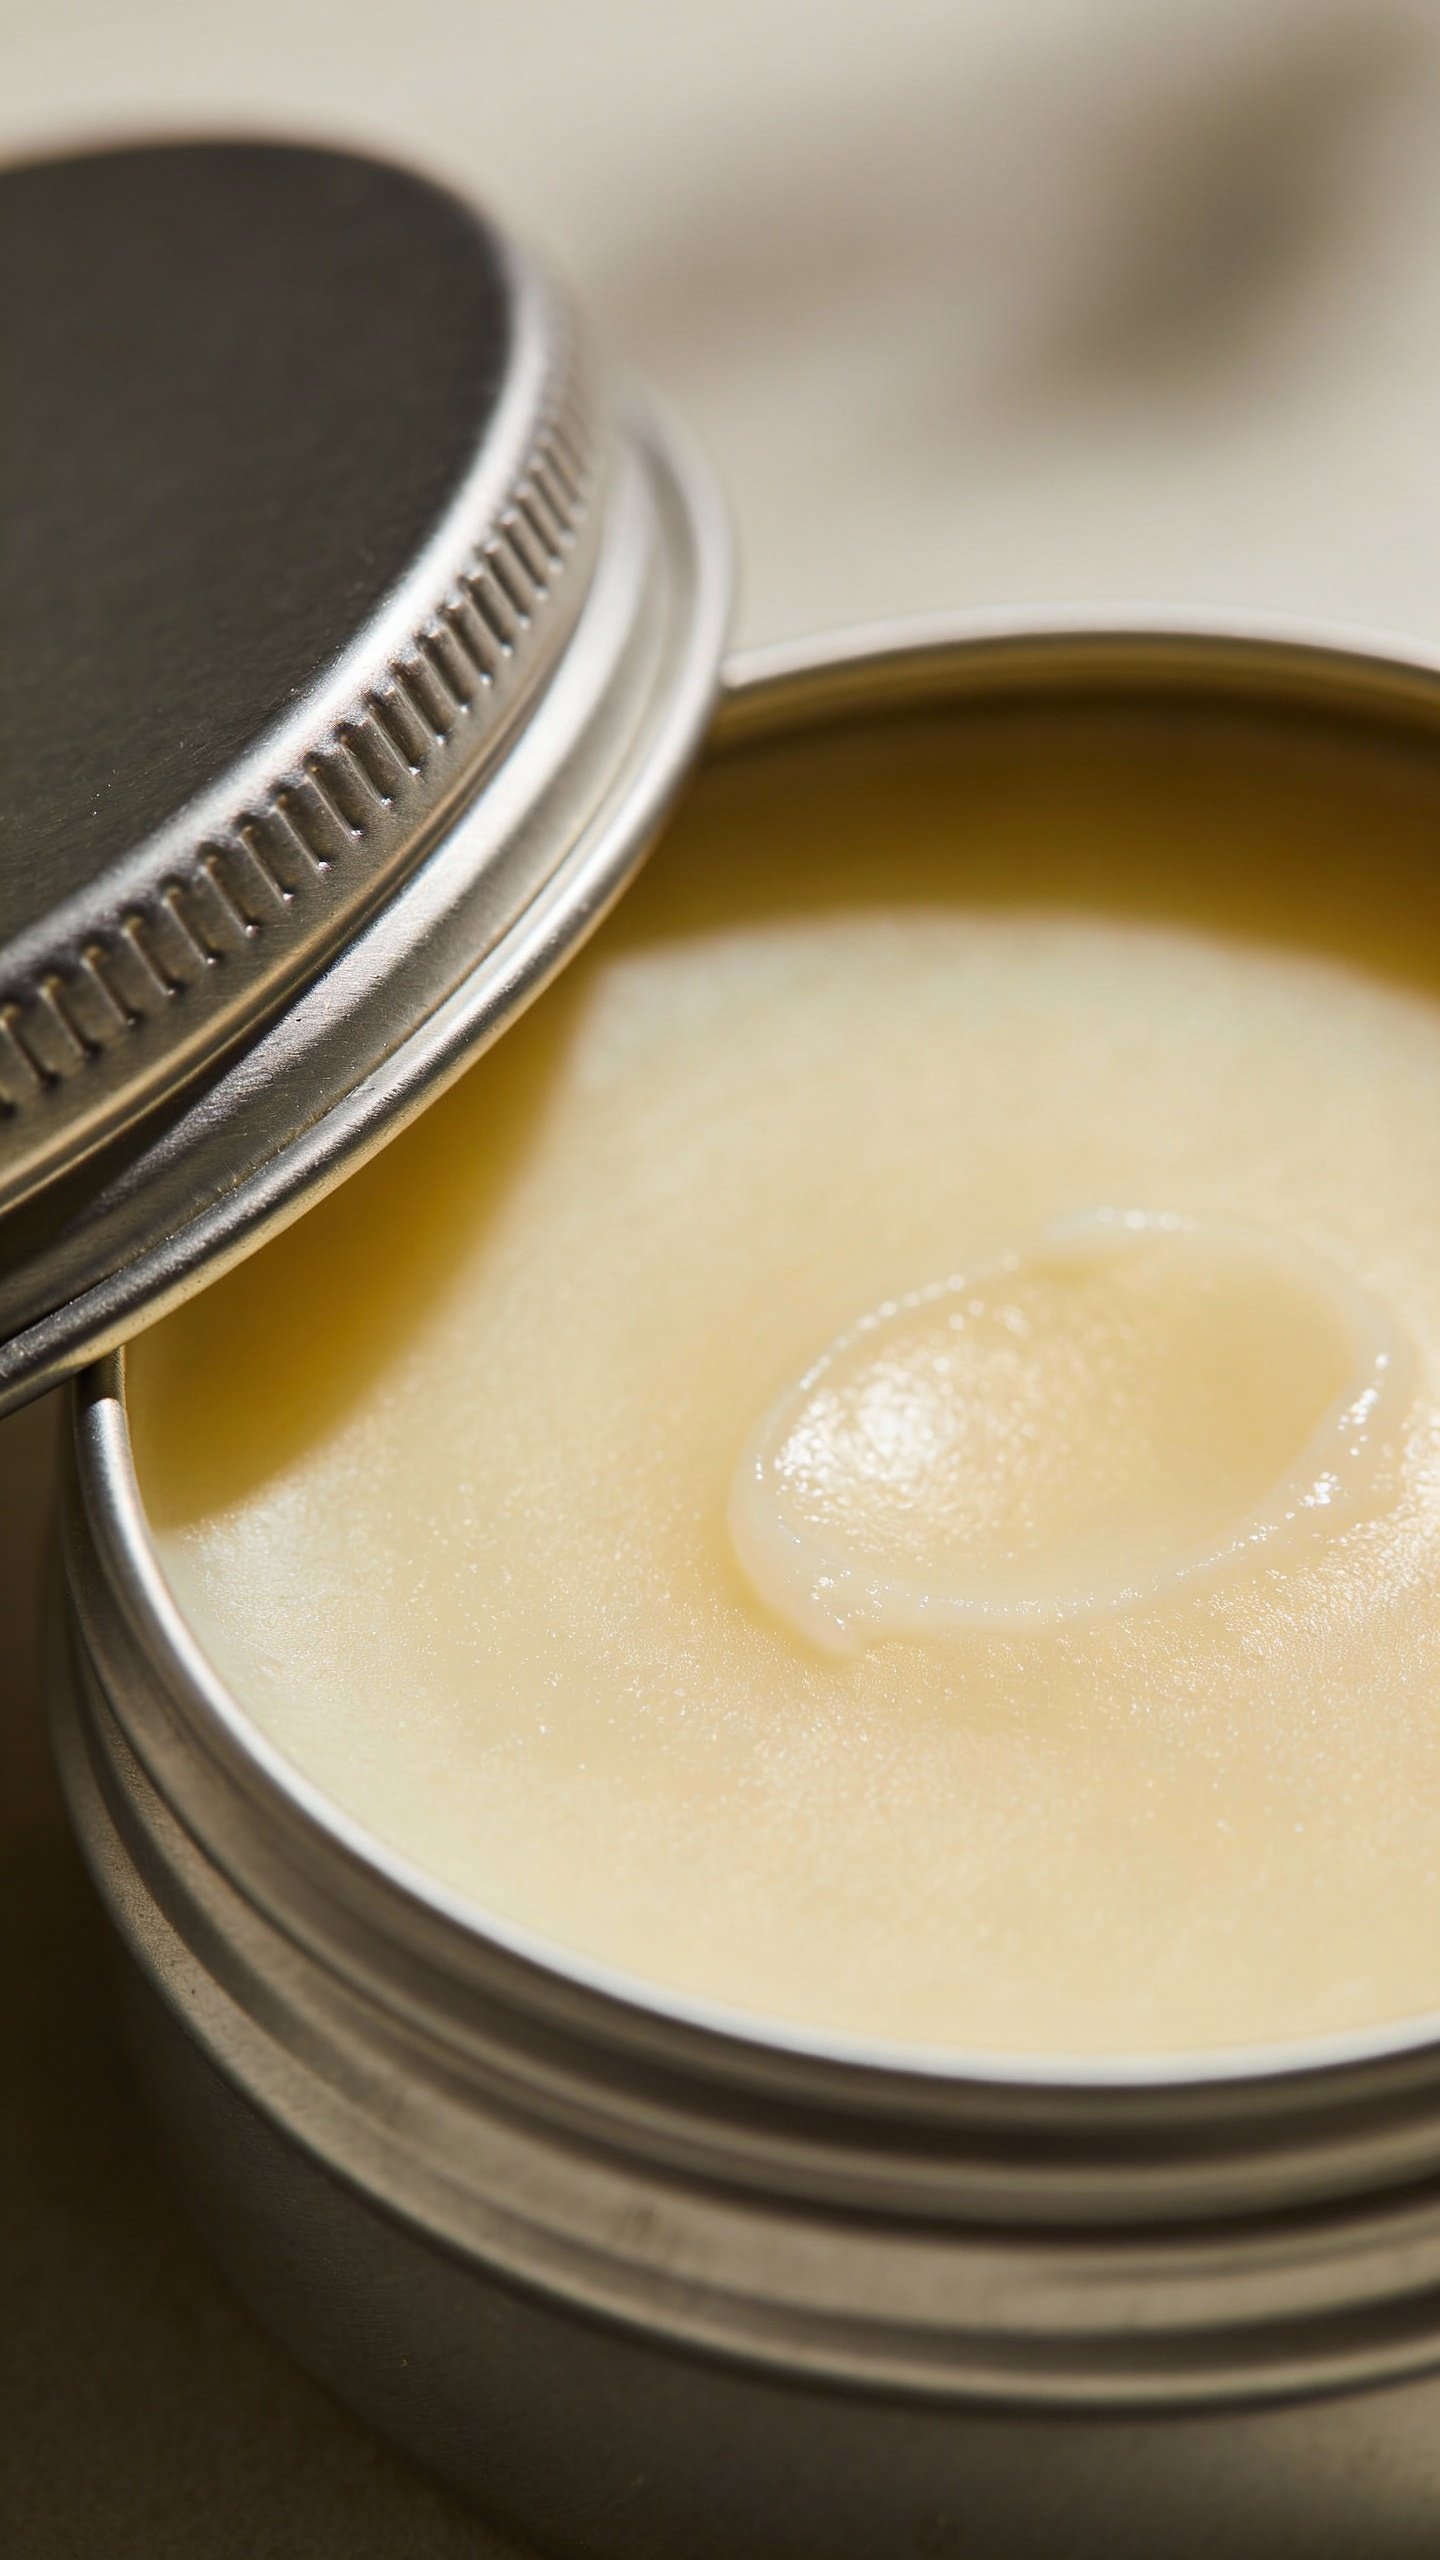
Option A: Two-Ingredient Cleansing Balm
Make a tiny batch in five minutes. It removes sunscreen and makeup like a champ.
You’ll need:
- 2 parts jojoba oil (or fractionated coconut oil)
- 1 part beeswax or candelilla wax (vegan)
- Optional: a few drops of vitamin E as an antioxidant
How to make:
- Melt wax with oil over very low heat or a double boiler.
- Stir in vitamin E, pour into a tin, and cool.
- Use a pea-sized amount to massage on dry skin, then wipe with a damp washcloth.
Why it’s travel-friendly: It’s solid. It won’t leak. It works for cuticles and flyaways too. Multitasking for the win.
Option B: Powder-to-Foam Cleanser
No water means longer shelf life and zero spills.
You’ll need:
- 2 tbsp finely ground oat flour (soothing)
- 1 tbsp white kaolin clay (gentle cleanse)
- 1 tsp powdered coconut milk or aloe powder (optional comfort)
How to use: Mix ingredients, store in a small shaker jar. Sprinkle 1 tsp into your palm, add a few drops of water, and massage. FYI: Patch test if you’re sensitive to oats.
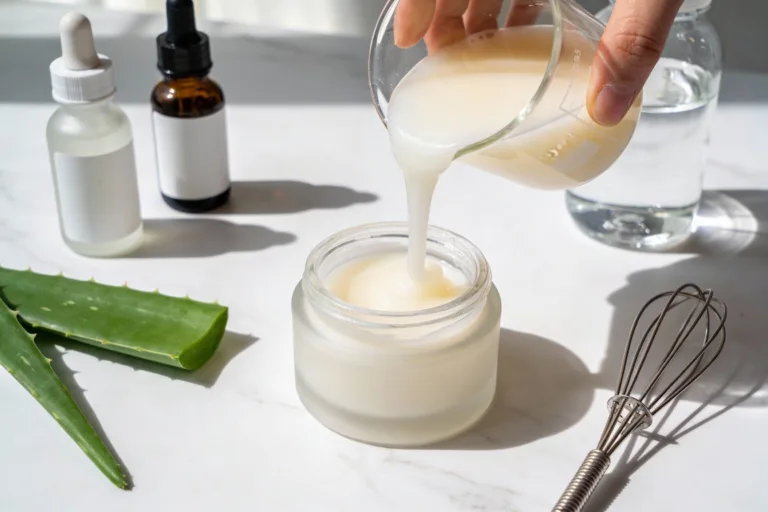
Moisture That Travels: Balms, Sticks, and Gels
Airplanes dehydrate everyone. Your routine needs flexible hydration that layers well.
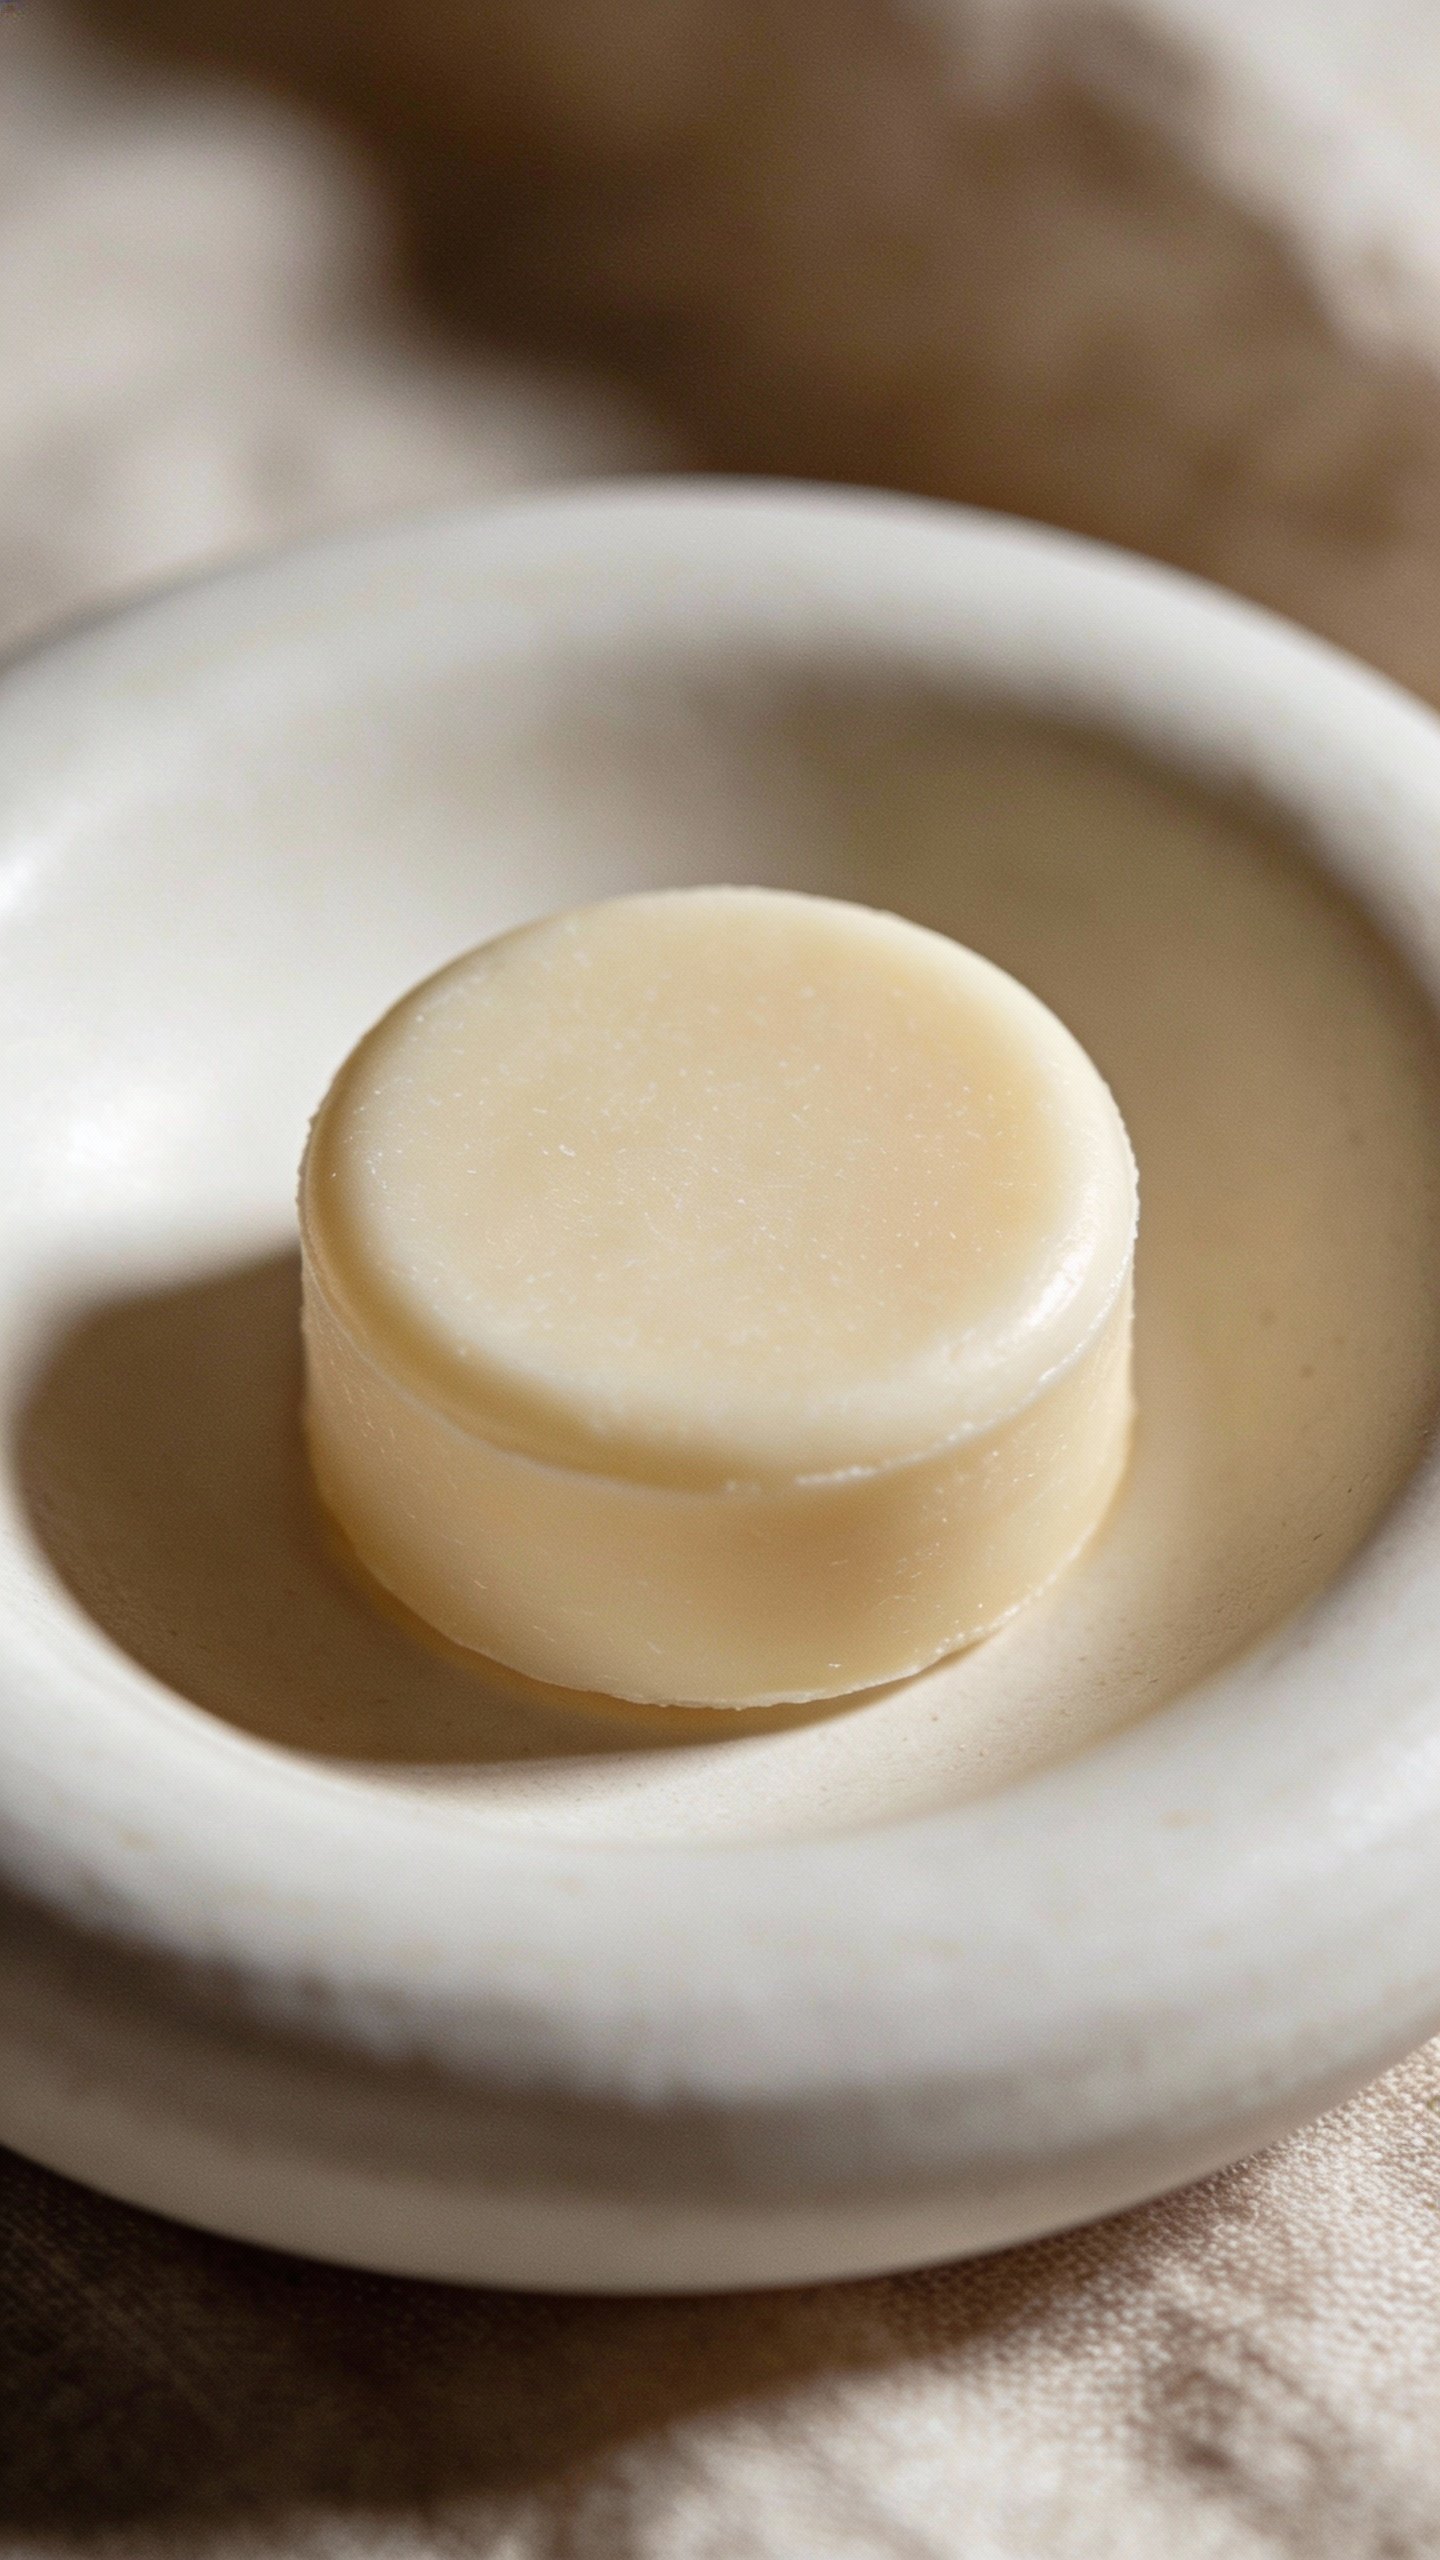
All-Over Moisturizing Stick
This converts your moisturizers into something you can swipe anywhere—face, lips, knuckles, even brows.
You’ll need:
- 2 parts shea butter (or mango butter for a lighter feel)
- 1 part jojoba or squalane
- 1/2 part beeswax or candelilla wax
Instructions:
- Melt, stir, and pour into a mini twist-up stick or lip balm tube.
- Let set. Swipe on damp skin to lock in hydration.
Why it’s good: Zero spill, big hydration, doubles as a dewy highlighter. IMO it’s the MVP of travel skincare.
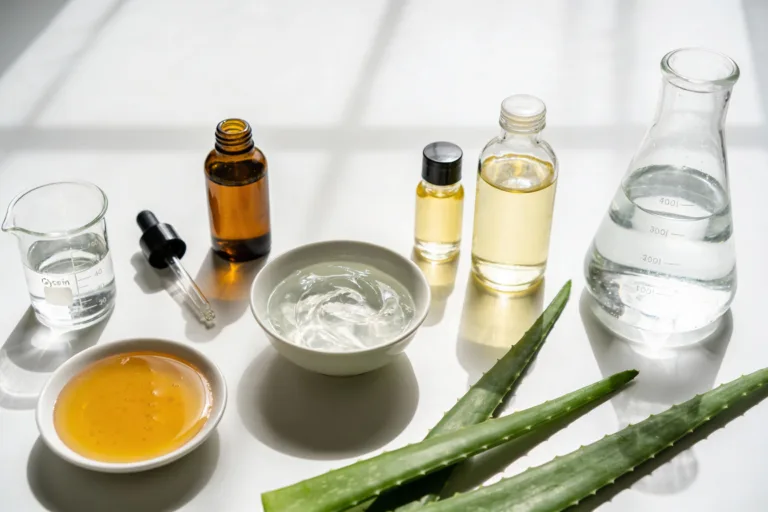
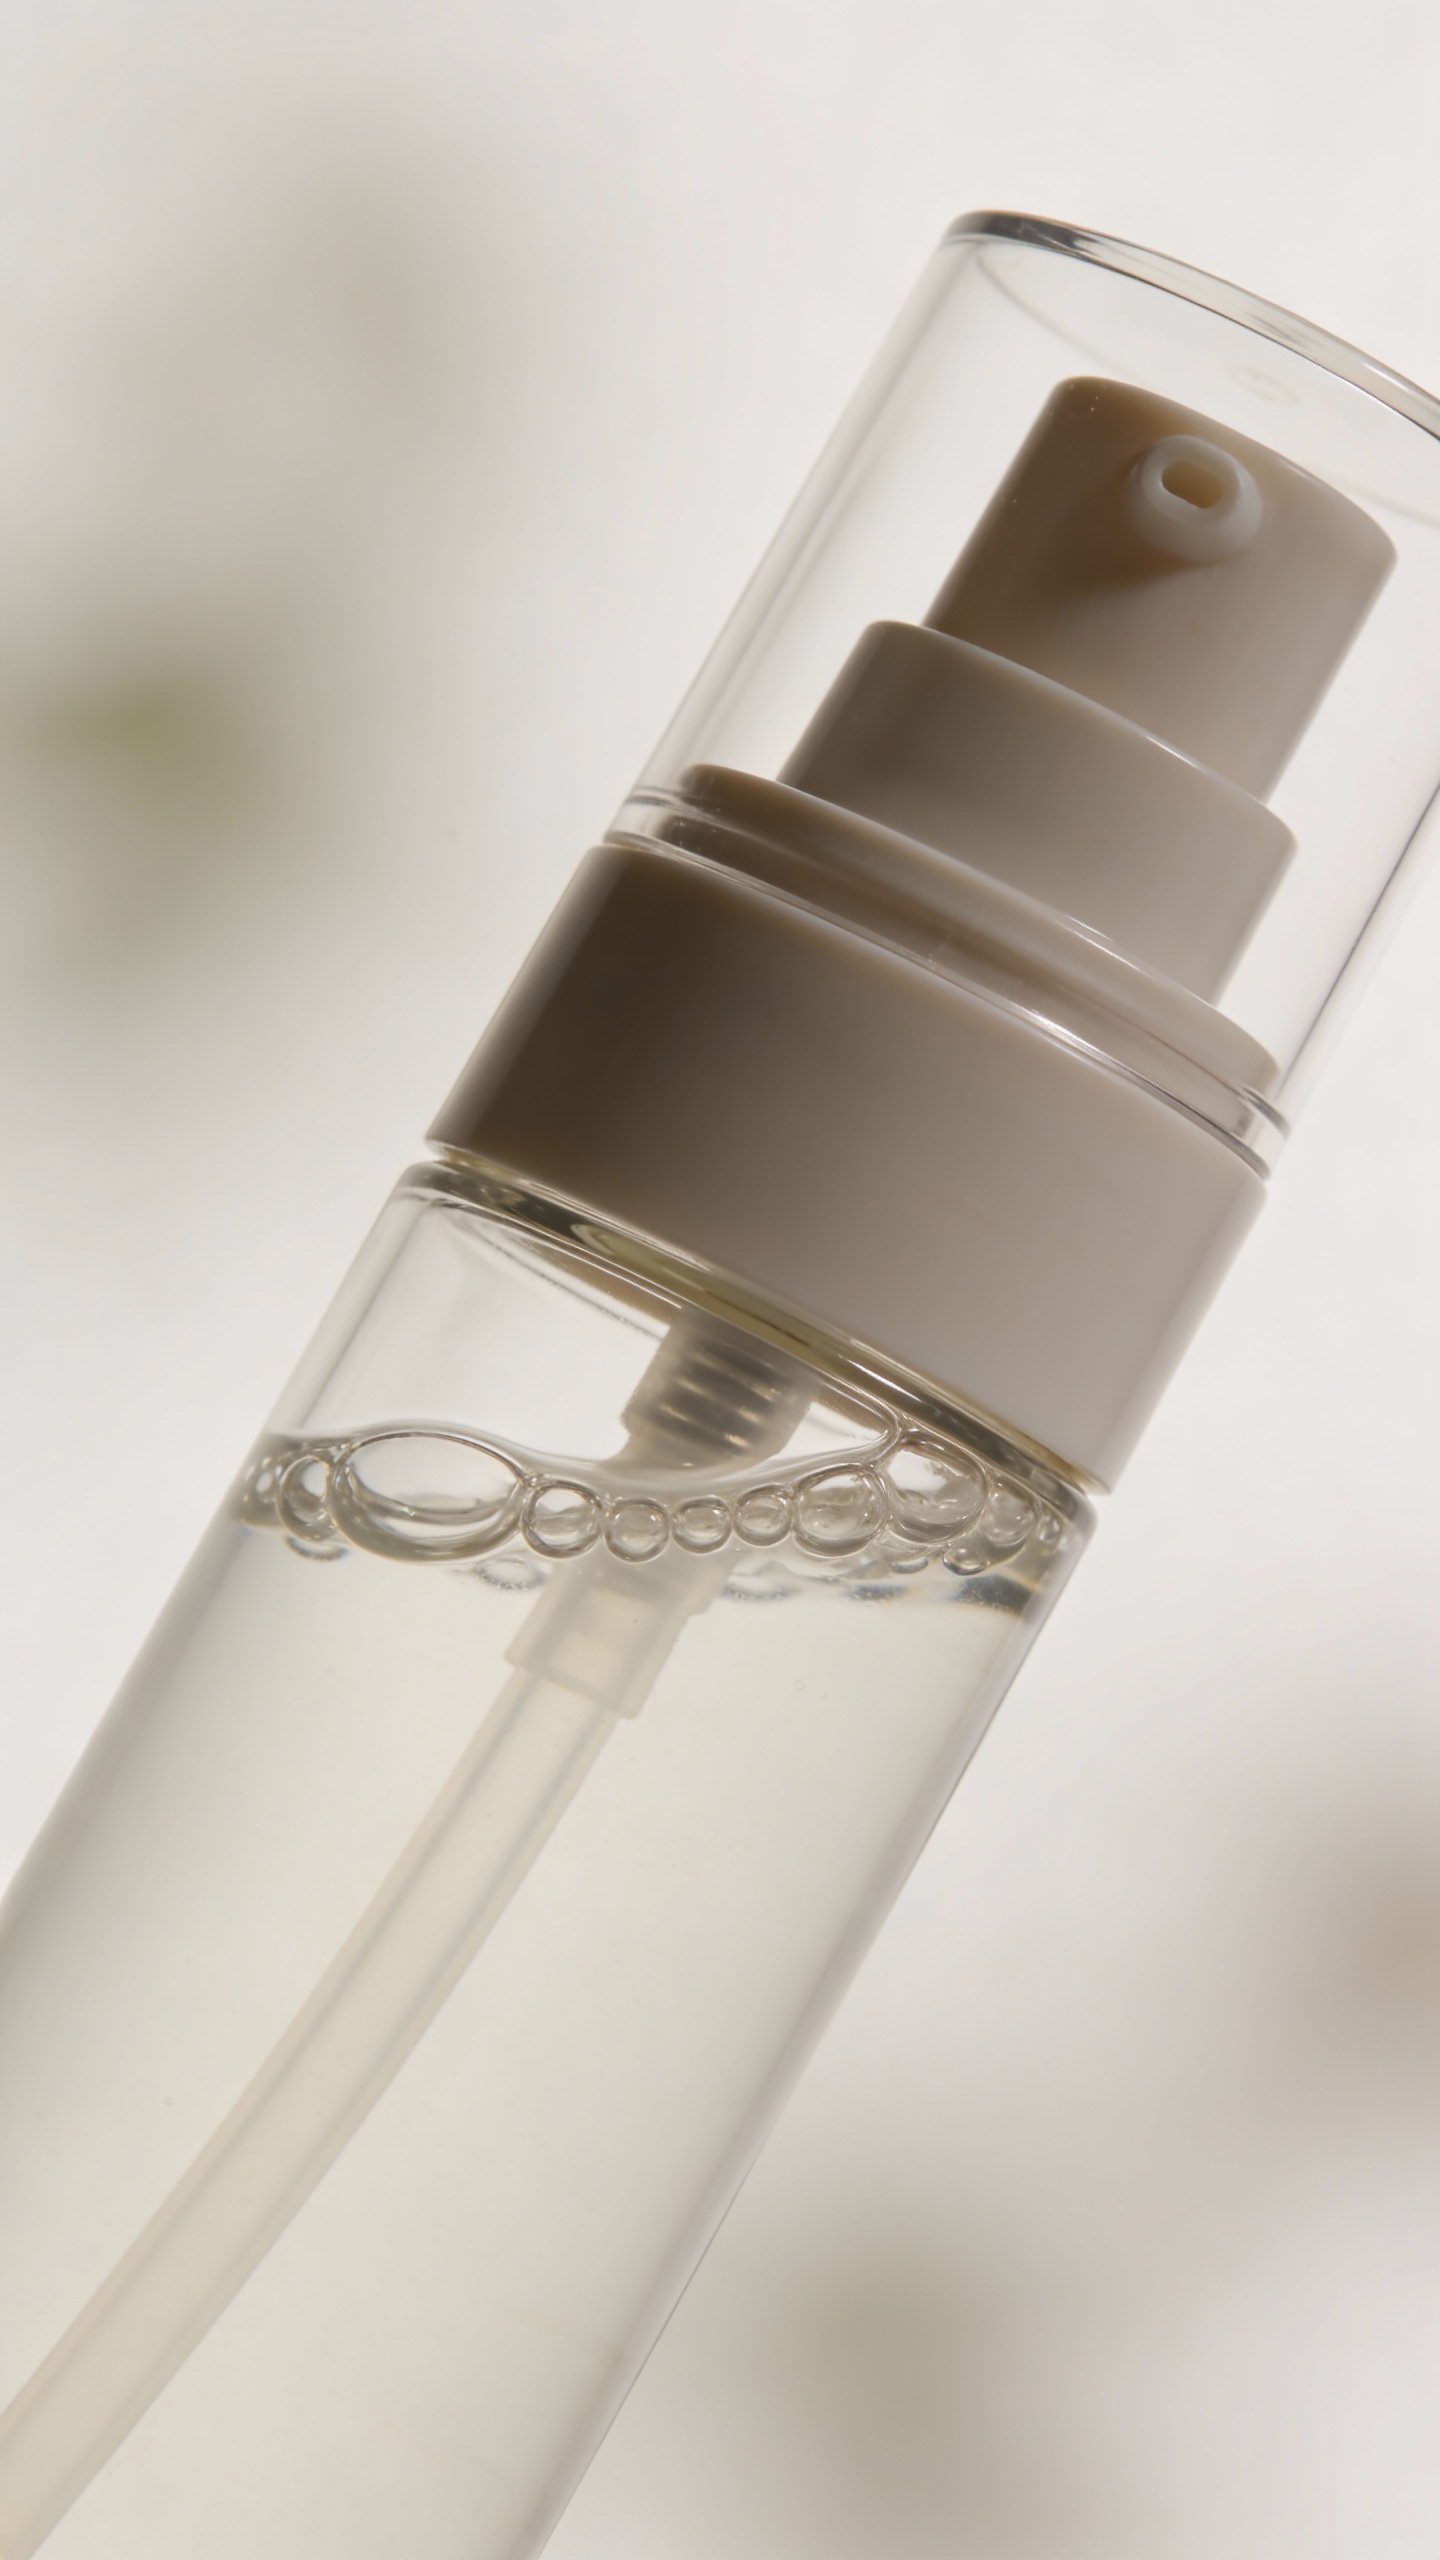
Lightweight Hydrating Gel (Water-Based)
If you love a water gel, you can still DIY a tiny batch.
You’ll need:
- Aloe vera gel (store-bought, minimal additives)
- Glycerin (a few drops per teaspoon of aloe)
- 1–2 drops of Panthenol (if you have it) or just keep it simple
Mix and store in an airless mini pump. Use post-cleansing, then seal with your balm stick. Keep this small and use within a week or two.
Sun Protection Without Drama
Hot take: DIY sunscreen at home isn’t reliable for UV protection. Please don’t. Formulating correct SPF requires lab testing. Bring a store-bought, travel-size sunscreen you trust.
Best travel picks:
- Stick format: Easiest, no spills, great for reapplication.
- Mini tubes: Choose broad-spectrum SPF 30+ with filters your skin loves.
- Tinted options: Double as light coverage so you can skip foundation.

Targeted Boosters: Tiny but Mighty
You don’t need a 10-step routine on the road. One booster can handle most curveballs: dryness, dullness, or breakouts.
Quick Niacinamide Mini-Serum
If you want a simple, gentle active that travels, this is it.
You’ll need:
- Pre-made 2–5% niacinamide toner or essence (store-bought)
- Mini dropper bottle
Decant a small amount. It brightens, supports barrier function, and layers under everything. Not strictly DIY, but we’re being realistic here.
Clay Spot Mask “Doses”
Strong full-face masks while traveling? Hard pass. But dot treatments? Perfect.
How to prep:
- Pre-mix dry bentonite or kaolin clay with a pinch of zinc oxide (optional).
- Store in a tiny jar. Add a drop of water to a pea-sized amount and dab on blemishes for 10 minutes.
Hydrating Mists and Multitaskers
Mists feel luxe mid-flight, but they leak. Let’s outsmart that.
Solid “Mist” Alternative
Pat a drop of glycerin + water mix instead of misting.
How to make:
- Mix 1 part glycerin with 9 parts distilled water.
- Store in a 10 mL dropper. Pat 2–3 drops on clean skin, then seal with balm.
Bonus multitaskers:
- Squalane: Hair de-frizzer, face oil, cuticle saver.
- Shea balm: Brow tamer, heel softener, lip balm.
- Zinc ointment: SOS for chafing or irritation (patch test first).
Hygiene, Shelf Life, and Airport-Proofing
DIY can go sideways if you ignore cleanliness. Keep it clean and you’ll keep your skin happy.
- Sanitize tools and containers: Wash, dry, then wipe with isopropyl alcohol.
- Small batches only: Make just enough for 1–2 weeks.
- Skip fragrances: Especially in leave-ons. Travel skin gets cranky.
- Label and date: Your memory is not that good.
- Wrap tins and pumps: A bit of washi or electrical tape around the seam prevents oopsies.
Climate Tweaks (Because Weather Matters)
- Dry, cold trips: Use richer butters (shea), add more wax to keep balms solid.
- Hot, humid trips: Switch to lighter oils (squalane), reduce wax for easier glide.
- High altitude/plane: Layer: water gel first, balm second. Drink water too—groundbreaking, I know.
Sample 5-Piece DIY Travel Kit
Keep it ultra-lean and effective. Toss this in your carry-on and you’re done.
- Solid cleansing balm (15 mL tin)
- Powder cleanser (small shaker)
- Hydrating gel (10 mL airless)
- Moisturizing stick (lip-balm size)
- Store-bought SPF stick (broad-spectrum)
Optional add-ons: squalane mini, clay spot mask powder, zinc ointment. If you pack all of them, congrats, you’ve built a micro spa.
FAQ
Can I bring all of this in a carry-on?
Yes. Solids don’t count against liquid limits. For liquids and gels, keep each container at or under your airline’s size requirement and store in a clear bag. Sticks, balms, and powders make security a breeze.
Do DIY products need preservatives?
If your product contains water (gels, mists), use it quickly and keep it very clean. For longer shelf life, you’d need a proper preservative system—tricky for beginners. Oil-only balms and dry powders don’t need preservatives, but still keep them sanitary.
Is essential oil safe in travel skincare?
Use caution. Essential oils can irritate, especially when your skin deals with climate shifts and stress. If you insist, keep it under 0.5% total and avoid sensitizers like citrus in leave-ons. Honestly, fragrance-free performs better on the road.
What can I do if my balm melts in heat?
Add more wax (up to an extra 10–20%) or pick higher-melting butters like cocoa butter. Store in a small tin and keep it out of direct sun. If it softens, chill it in the hotel mini-fridge for a quick reset.
How do I patch test while traveling?
Dab a tiny amount on the inner arm or behind the ear and wait 24 hours. If your skin behaves, proceed. Traveling already stresses your skin, so FYI: go slow when adding anything new.
What if I want an active like vitamin C?
Travel with a stable vitamin C derivative serum (store-bought) in a mini bottle, not a DIY L-ascorbic solution. LAA oxidizes fast and loses punch. Keep it simple to avoid wasting product (and your glow).
Wrap-Up
You don’t need a suitcase full of serums to keep your skin happy on the go. Build a tiny, mighty kit with a solid cleanser, a hydrating layer, a balm stick, and a trustworthy SPF, and you’re set. Keep formulas simple, pack smart containers, and make just enough for the trip. Your toiletries will weigh less, your skin will look better, and your bag won’t smell like a chemistry set—IMO that’s a win.