How to Start Diy Skincare Without Ruining Your Skin Safely

Ready to whip up skincare in your kitchen without turning your face into a science experiment? You can totally do it—if you keep it smart, simple, and safe. I’ll show you exactly how to start DIY skincare without drama, guesswork, or mystery rashes. Let’s make glow, not regret.
1. Know Your Skin’s Personality Before You Play Chemist
Before you blend anything, figure out what your skin actually wants. Dry, oily, combo, sensitive, acne-prone—each one needs different textures and strengths. If you skip this step, everything else becomes a wild guess.
Overeating doesn’t mean something is wrong with you. It means your system needs a reset.
If cravings keep pulling you off track, this helps you regain control without restriction. You’ll learn simple, realistic steps to stop overeating and feel satisfied again.
Quick Skin Check:
- Oily: Shiny after cleansing, enlarged pores, breakouts love you.
- Dry: Feels tight after washing, flakes easily, drinks moisturizer like a camel.
- Combination: Oily T-zone, dry cheeks—welcome to chaos mode.
- Sensitive: Reacts easily, redness or stinging with fragrances/acids.
- Acne-prone: Clogged pores, frequent breakouts; needs non-comedogenic everything.
What This Means For DIY:
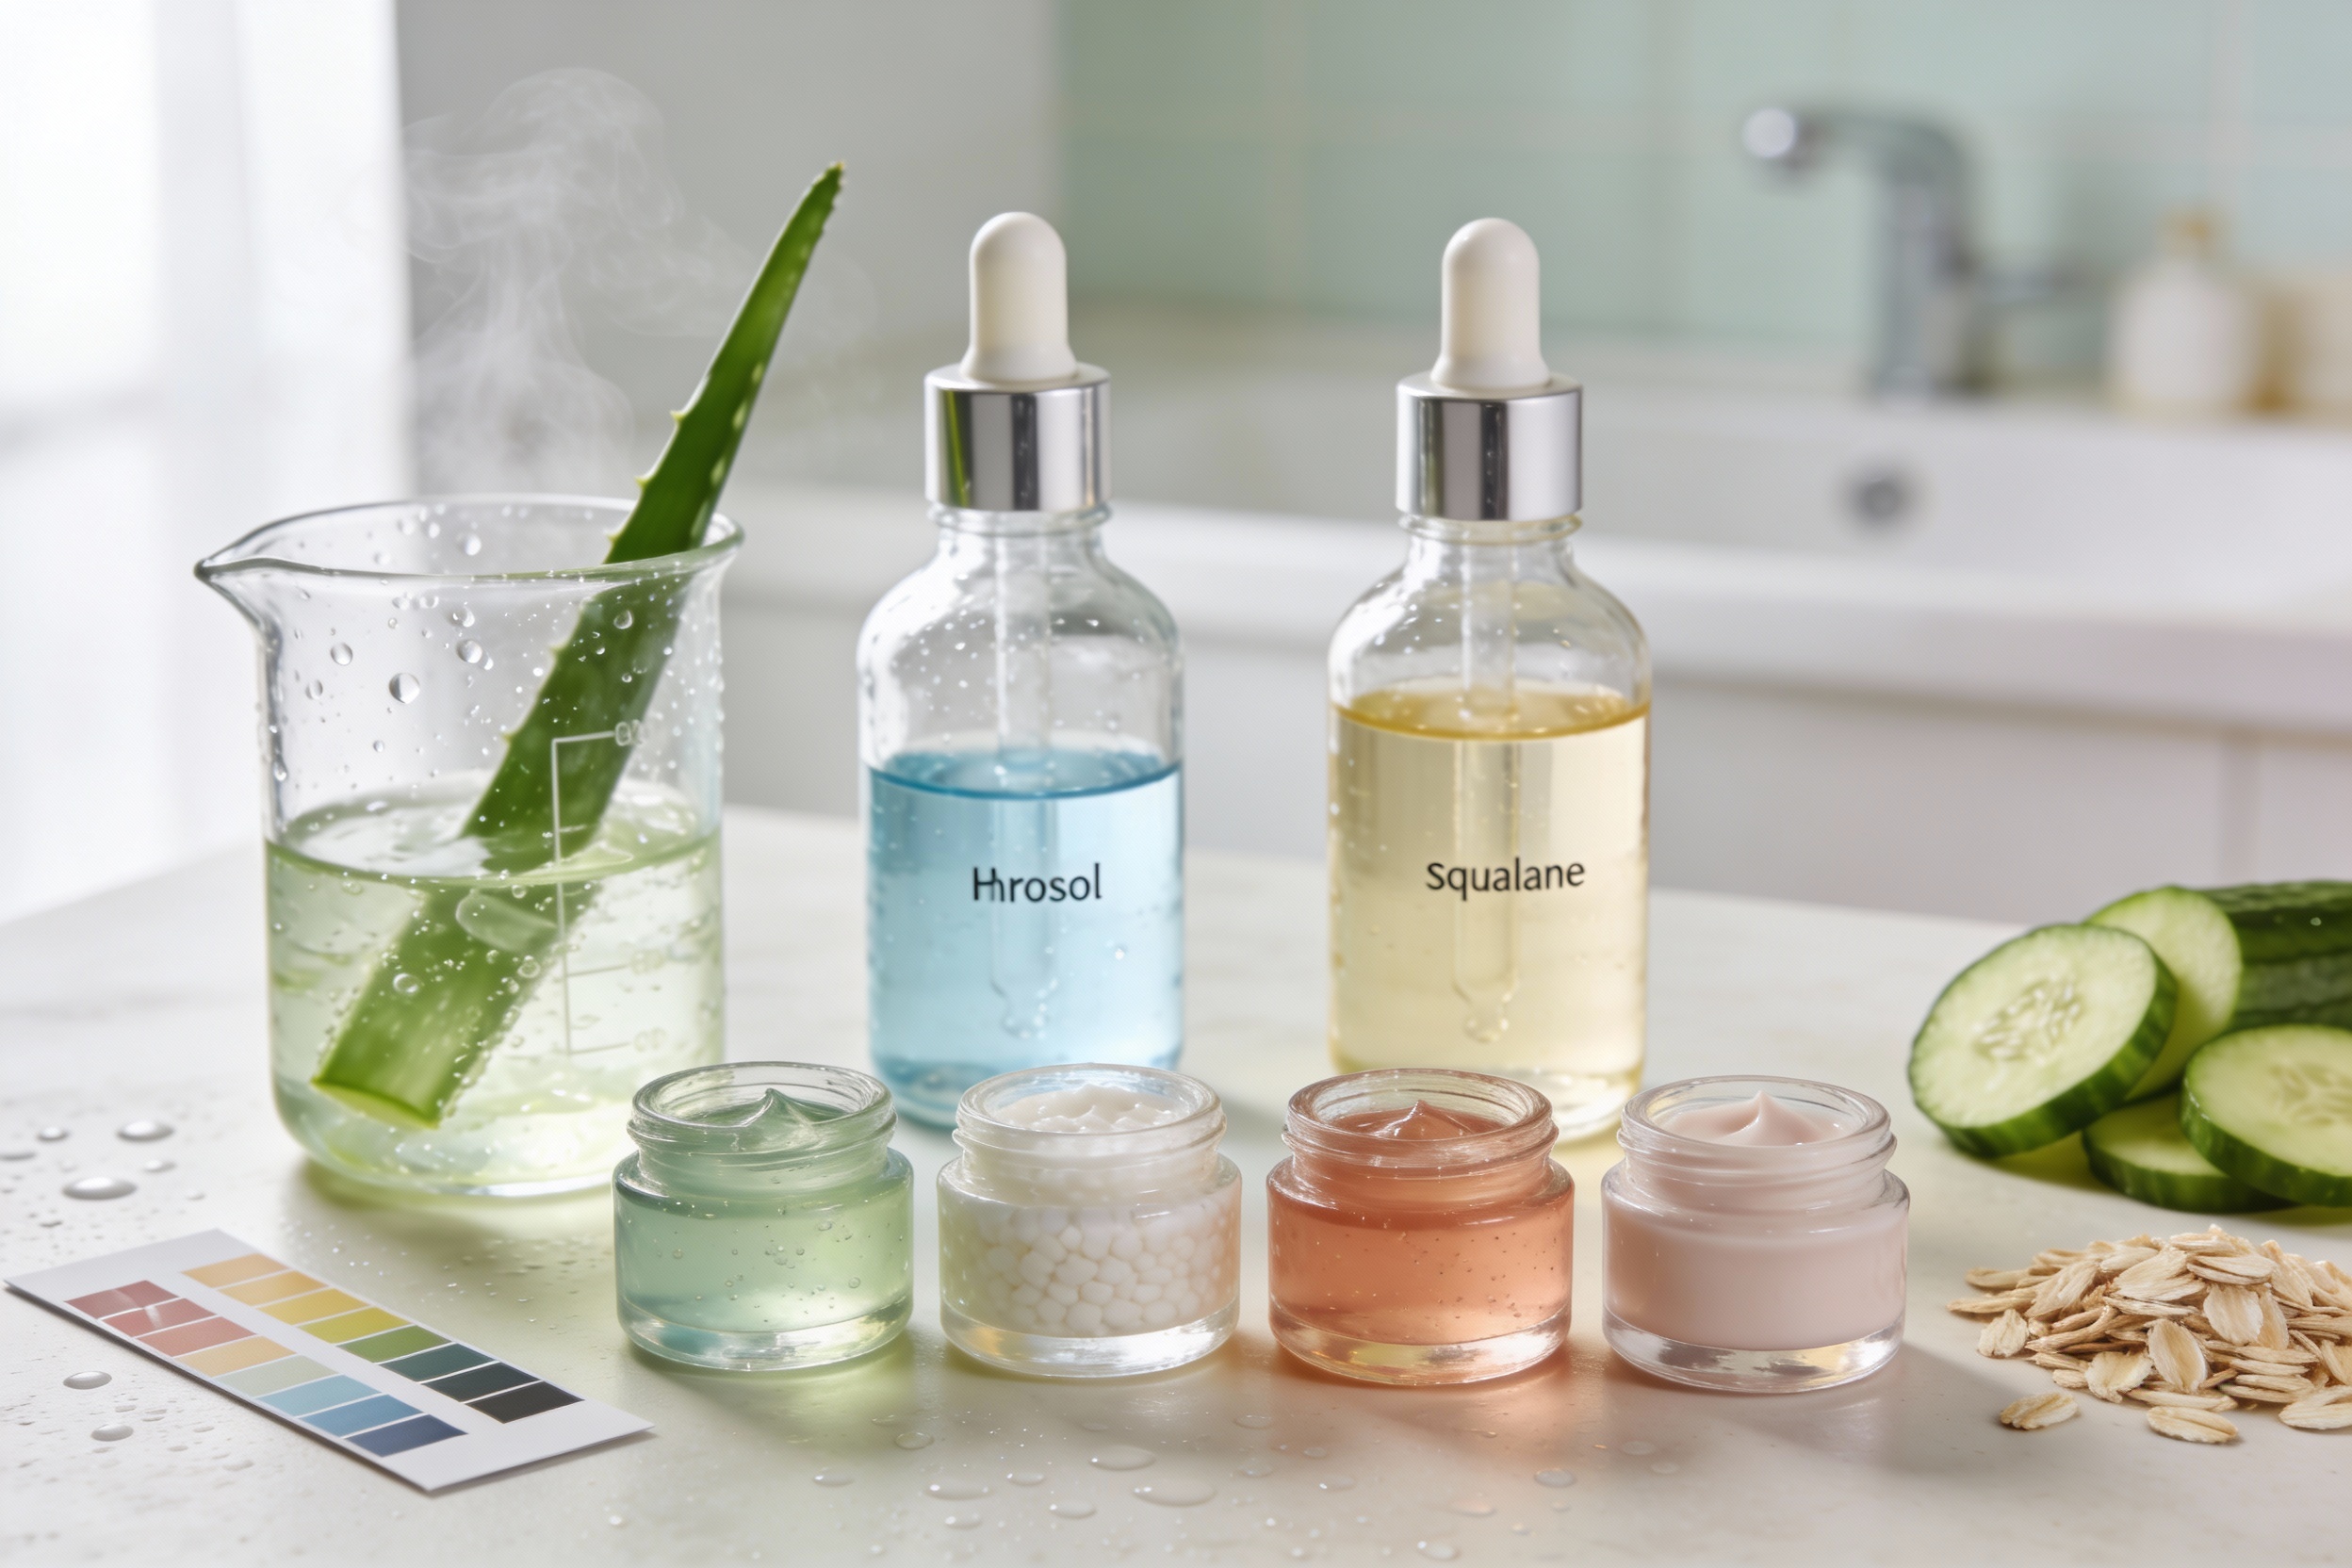
- Oily/acne-prone: Lightweight gels, hydrosols, aloe-based formulas. Keep oils minimal and pick non-comedogenic ones like hemp seed or squalane.
- Dry: Creams, balms, and humectants like glycerin and hyaluronic acid. Think occlusive finishes.
- Sensitive: Fragrance-free, low essential oils (ideally zero), simple 4–6 ingredient formulas.
- Combination: Layer light hydrators first, spot-treat dryness with richer products.
Once you match formulas to your skin type, DIY becomes strategic—not random. You’ll waste less time and your face will thank you.
2. Start With Low-Risk, High-Reward Recipes (No Acids, No Drama)
Put down the lemon juice. Early DIY should focus on gentle, stable, and low-irritant formulas. You’ll get real results without flirting with a chemical burn, seriously.
Beginner-Friendly Projects:
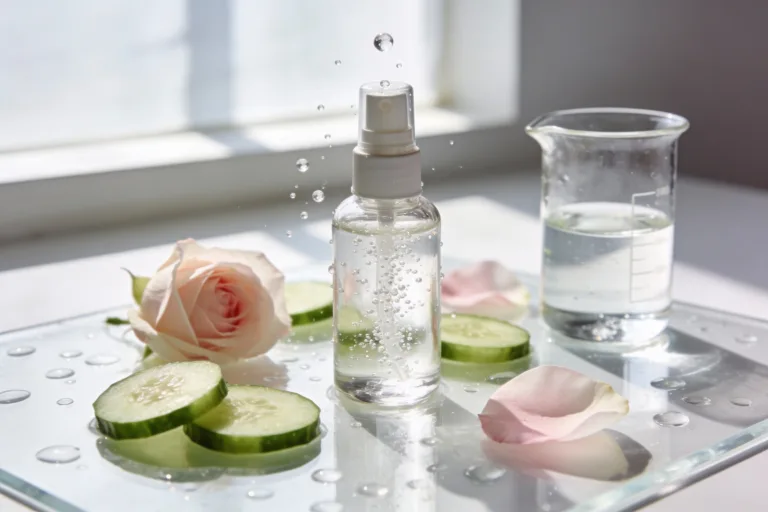
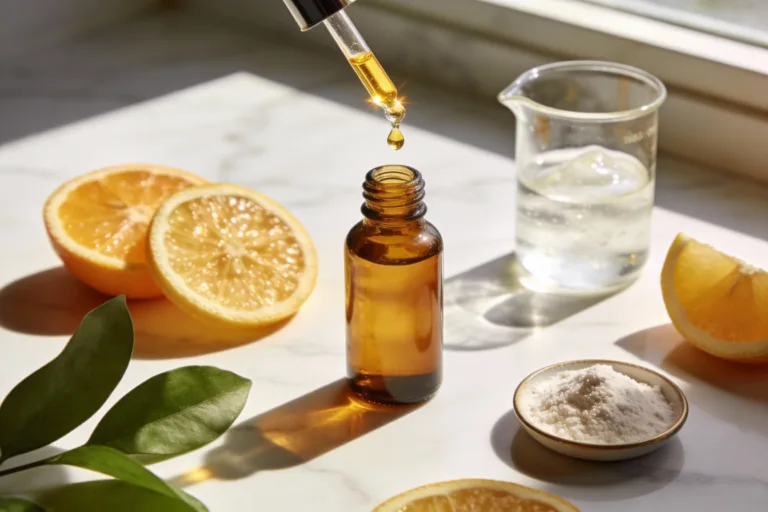
- Hydrating Facial Mist: 90% distilled water, 5% aloe vera juice, 3% glycerin, 2% panthenol (vitamin B5). Optional: 0.5% preservative if you’ll keep it more than a week.
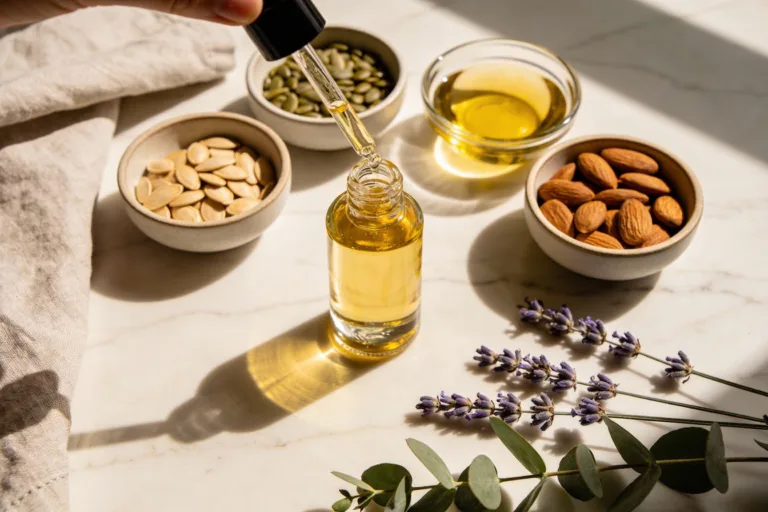
- Simple Face Oil: 70% squalane + 20% jojoba + 10% rosehip. No essential oils needed. Patch test.
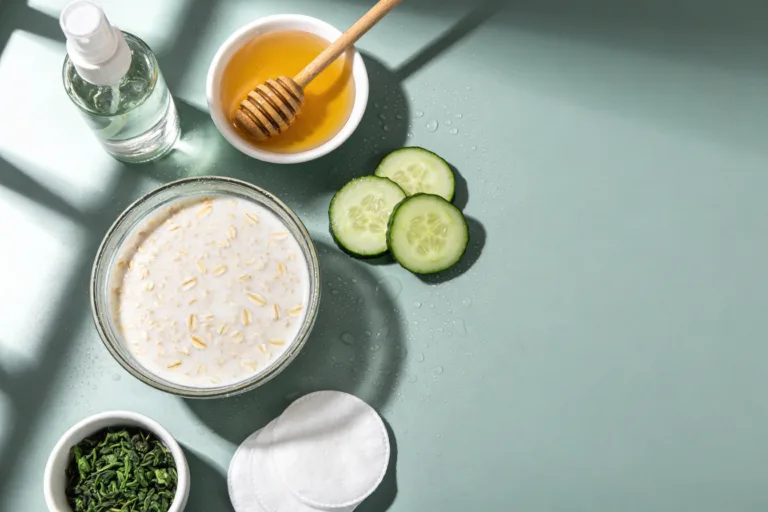
- Oat Soothing Mask: Finely ground colloidal oatmeal + water or hydrosol. Leave on 10 minutes, rinse. Great for irritation.
- Gel Moisturizer Base: Aloe vera gel + a few drops of squalane + a pea of glycerin. Mix in palm before applying.
Pro Tips:
- Skip raw acids like lemon, vinegar, or DIY vitamin C powders at first. pH matters, and eyeballing it isn’t it.
- Skip essential oils until you have a stable routine. If you must, stay under 0.25% and avoid citrus on daytime skin.
- Avoid kitchen spoilage traps: yogurt, milk, fruit pulps—bacteria parties you don’t want.
These starter formulas hydrate, soothe, and nourish. Perfect if you want a calm, steady glow while you learn the ropes.
3. Learn Clean Technique: Because Germs Love Moisturizer Too
Good formulas fail when contamination creeps in. If you keep things clean, your products last longer and your skin dodges surprise breakouts.
Sanitation Basics:
- Use distilled water for anything water-based. Tap water invites microbes.
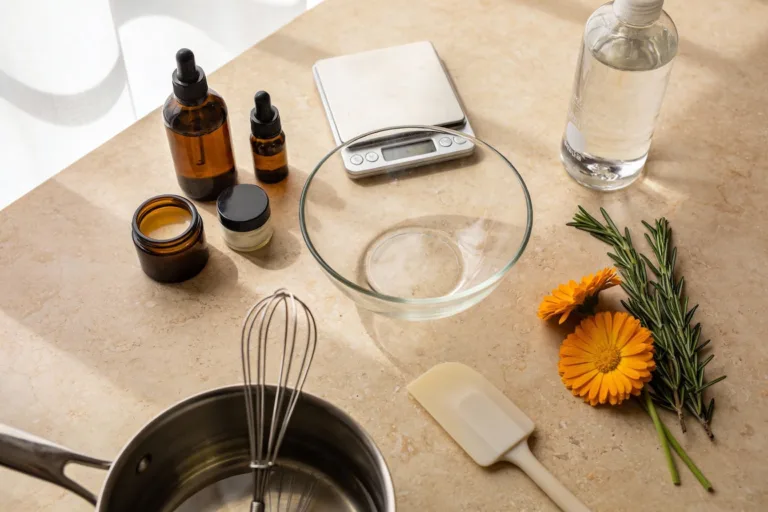
- Sanitize tools and jars with 70% isopropyl alcohol. Let them air-dry.
- Wash hands thoroughly or wear disposable gloves when mixing.
- Use a scale in grams. Eyeballing equals inconsistency.
- Label everything: ingredients, date made, batch number if you’re nerdy (be nerdy).
Preservation 101 (Without Getting a Chemistry Degree):
- Oil-only products don’t need preservatives but still can go rancid—store away from heat and light.
- Anything with water needs a broad-spectrum preservative if you’ll keep it over 5–7 days.
- Common beginner preservatives: Leucidal isn’t enough. Look for modern options like Liquid Germall Plus (0.1–0.5%, not natural), Geogard ECT (aka Preservative ECO, 0.6–1%), or Optiphen (0.75–1.5%). Follow supplier usage rates.
- Watch pH ranges: some preservatives only work in certain pH windows. Geogard ECT likes pH 3–8; check datasheets.
When To Toss It:
- Smell changes or separation that doesn’t remix with shaking.
- Cloudiness, new color, or visible growth (ew).
- Stinging or irritation when it didn’t before—bin it.
Clean technique protects both your product and your face. It’s the difference between “glow recipe” and “why am I itchy?”
4. Patch Test Like A Scientist (And Track Results)
DIY means your face becomes the test lab—but let’s keep experiments controlled. Patch testing prevents full-face meltdowns and helps you learn what your skin loves.
How To Patch Test:
- Apply a pea-sized amount behind your ear or on your inner forearm.
- Wait 24–48 hours. No redness, itching, or heat? Then try a small area on your jawline for two nights.
- Introduce one new product at a time for 3–4 days before adding another.
Make A Simple Skin Log:
- Note ingredients and percentages. You’ll spot patterns fast.
- Record reactions: redness, bumps, dryness, oiliness, glow, smoothness.
- Track your routine: when and how often you use it. Overuse causes many “mystery” reactions.
What’s Normal vs. Not:
- Normal: mild tingling with niacinamide at first, slight tightness with glycerin if air is very dry (layer with moisturizer).
- Not normal: burning, prolonged redness, hives, swelling. Rinse, stop, and switch back to your safety routine.
Patch testing saves time, money, and your barrier. A little patience now equals fewer regrets later, trust me.
Build A “Safety Routine” To Fall Back On
- Cleanser: gentle, non-stripping (store-bought is fine).
- Hydrator: aloe/glycerin mist.
- Moisturizer: simple squalane or a bland cream without fragrance.
- Sunscreen: daily, broad spectrum. Yes, even for DIYers.
When irritation hits, pause experiments and use this routine for 3–5 days. Your skin will reset faster.
5. Level Up Slowly: Safe Actives, Smart Oils, and Realistic Results
Once you nail basics, you can step into gentle actives and smarter formulations. Think incremental upgrades—not kitchen chemistry chaos.
Beginner-Safe “Active” Add-Ons:
- Niacinamide (2–5%): Supports barrier, reduces redness, helps pores look smaller. Water-soluble; add to water phase, watch pH 5–7.
- Panthenol (1–2%): Hydration hero; reduces irritation.
- Allantoin (0.2–0.5%): Soothing and skin-softening.
- Sodium Hyaluronate (0.1–0.3%): Lightweight hydration; dissolves in water phase.
Oil Choices That Don’t Sabotage Pores:
- Oily/acne-prone: squalane, hemp seed, meadowfoam, grape seed.
- Dry: avocado, marula, argan, sea buckthorn (in small amounts; it stains).
- Sensitive: squalane, jojoba, oat oil. Keep it fragrance-free.
Avoid These Common DIY Traps:
- Strong exfoliants at home: high-percentage AHAs/BHAs, DIY peels, and undiluted acids. Leave pro-level peels to pros.
- Spice bombs: cinnamon, turmeric pastes, clove, peppermint—irritation central.
- Photosensitizers: citrus oils (lemon, bergamot) on daytime skin can cause discoloration.
- Random kitchen food: mayo masks, egg whites, raw honey on broken skin—no thanks.
Simple Upgrade Recipes:
- Barrier-Boost Serum (Water-Based): Distilled water 86%, glycerin 3%, panthenol 2%, niacinamide 4%, allantoin 0.3%, sodium hyaluronate 0.2%, preservative per label, pH ~5.5.
- Calming Oil Blend: Squalane 80%, oat oil 15%, rosehip 5%. Test first; use 2–3 drops on damp skin.
Set realistic timelines. Hydration shows fast (days), tone and texture improvements take weeks. Consistency beats complicated every time, FYI.
You’ve got this. Start small, keep it clean, and let your skin lead the way. DIY skincare works best when you respect your barrier and build slowly—glow incoming.