How to Create a Diy Face Cream for Glowing Skin That Works
You don’t need a 14-step routine or a fancy jar to get glowier skin. You need a simple, customizable face cream that actually suits your face, not your algorithm. Today we’ll make one from scratch—light, nourishing, and legit effective. Ready to raid your pantry and pretend you’re a skincare chemist? Same.
Why Make Your Own Face Cream?
You control everything—texture, scent, and what touches your face. No mystery fillers, no “proprietary complexes.” Just ingredients that make sense.
You also save money. A $40 moisturizer often contains the same backbone as a DIY one: water, oil, emulsifier, preservative. Wild, right?
Plus, you can tailor it. Oily skin? Go lighter with fast-absorbing oils. Dry skin? Add richer butters. Sensitive? Keep it bare-bones and skip fragrance. You call the shots.
Overeating doesn’t mean something is wrong with you. It means your system needs a reset.
If cravings keep pulling you off track, this helps you regain control without restriction. You’ll learn simple, realistic steps to stop overeating and feel satisfied again.
The Basic Formula (AKA Your Cream Blueprint)
A solid face cream follows a simple structure:
- Water phase (60–75%): distilled water or hydrosols like rose or chamomile
- Oil phase (20–30%): plant oils and butters for nourishment
- Emulsifier (4–8%): keeps water and oil married forever (ish)
- Preservative (0.8–1%): protects against bacteria and mold—non-negotiable for water-based products
- Extras (0–5%): humectants, vitamins, soothing extracts
Translation: We’ll combine water + oil using an emulsifier, then add a preservative and goodies. That’s it. Not wizardry—just basic kitchen chemistry.
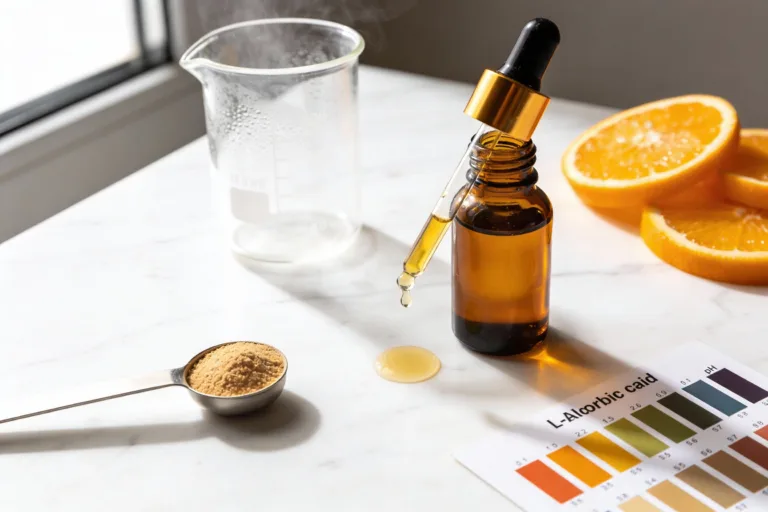
Ingredients That Actually Do Something
Pick ingredients based on your skin type and goals. IMO, keep it minimal on your first try. You can always get fancier later.
Water Phase Options
- Distilled water: simple, safe, universal
- Rose hydrosol: gentle, slightly astringent, smells like a spa
- Chamomile hydrosol: soothing, great for redness
- Aloe juice: calming and hydrating (use 10–30% of your water phase)
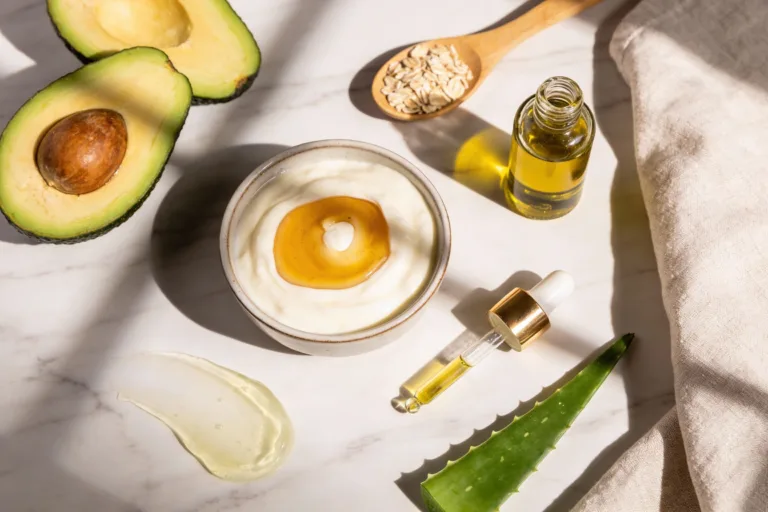
Oil Phase Options
- Jojoba oil: balances oil, lightweight
- Squalane (olive or sugarcane): ultra-light, sinks in fast
- Sweet almond oil: gentle, softening
- Argan oil: great for mature or dry skin
- Shea butter: rich and protective; use sparingly (2–5%) to avoid heaviness
Humectants + Actives
- Glycerin (2–4%): pulls in moisture—budget hero
- Sodium hyaluronate (0.1–0.5%): plumps and hydrates
- Panthenol (1–2%): soothes and strengthens
- Niacinamide (2–4%): brightens and supports barrier (use with a pH around 5–6)
Emulsifiers + Preservatives
- Emulsifying wax NF or Polawax (4–8%): beginner-friendly, stable
- BTMS-50: silky feel, especially nice for dry skin
- Preservatives: Optiphen, Liquid Germall Plus, or Geogard/Preservative Eco (use per supplier’s rate)
FYI: Essential oils look cute on Instagram, but they can irritate skin. If you use them, keep total under 0.5% and patch test. Or skip them entirely—your face won’t miss them.
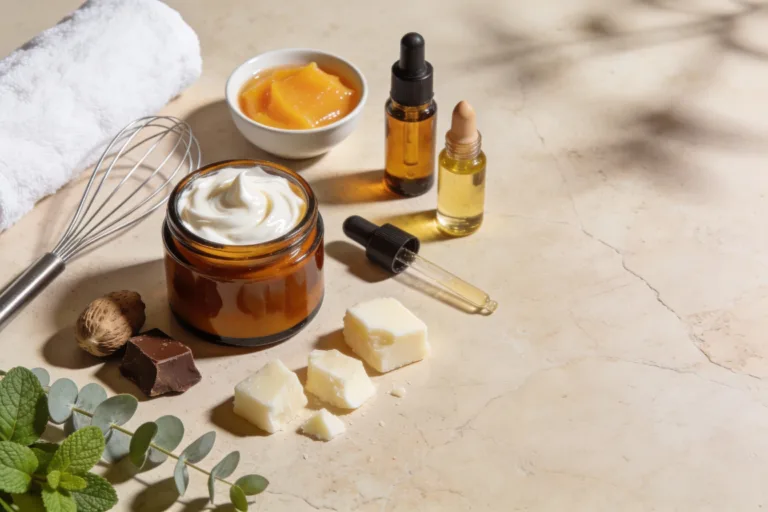
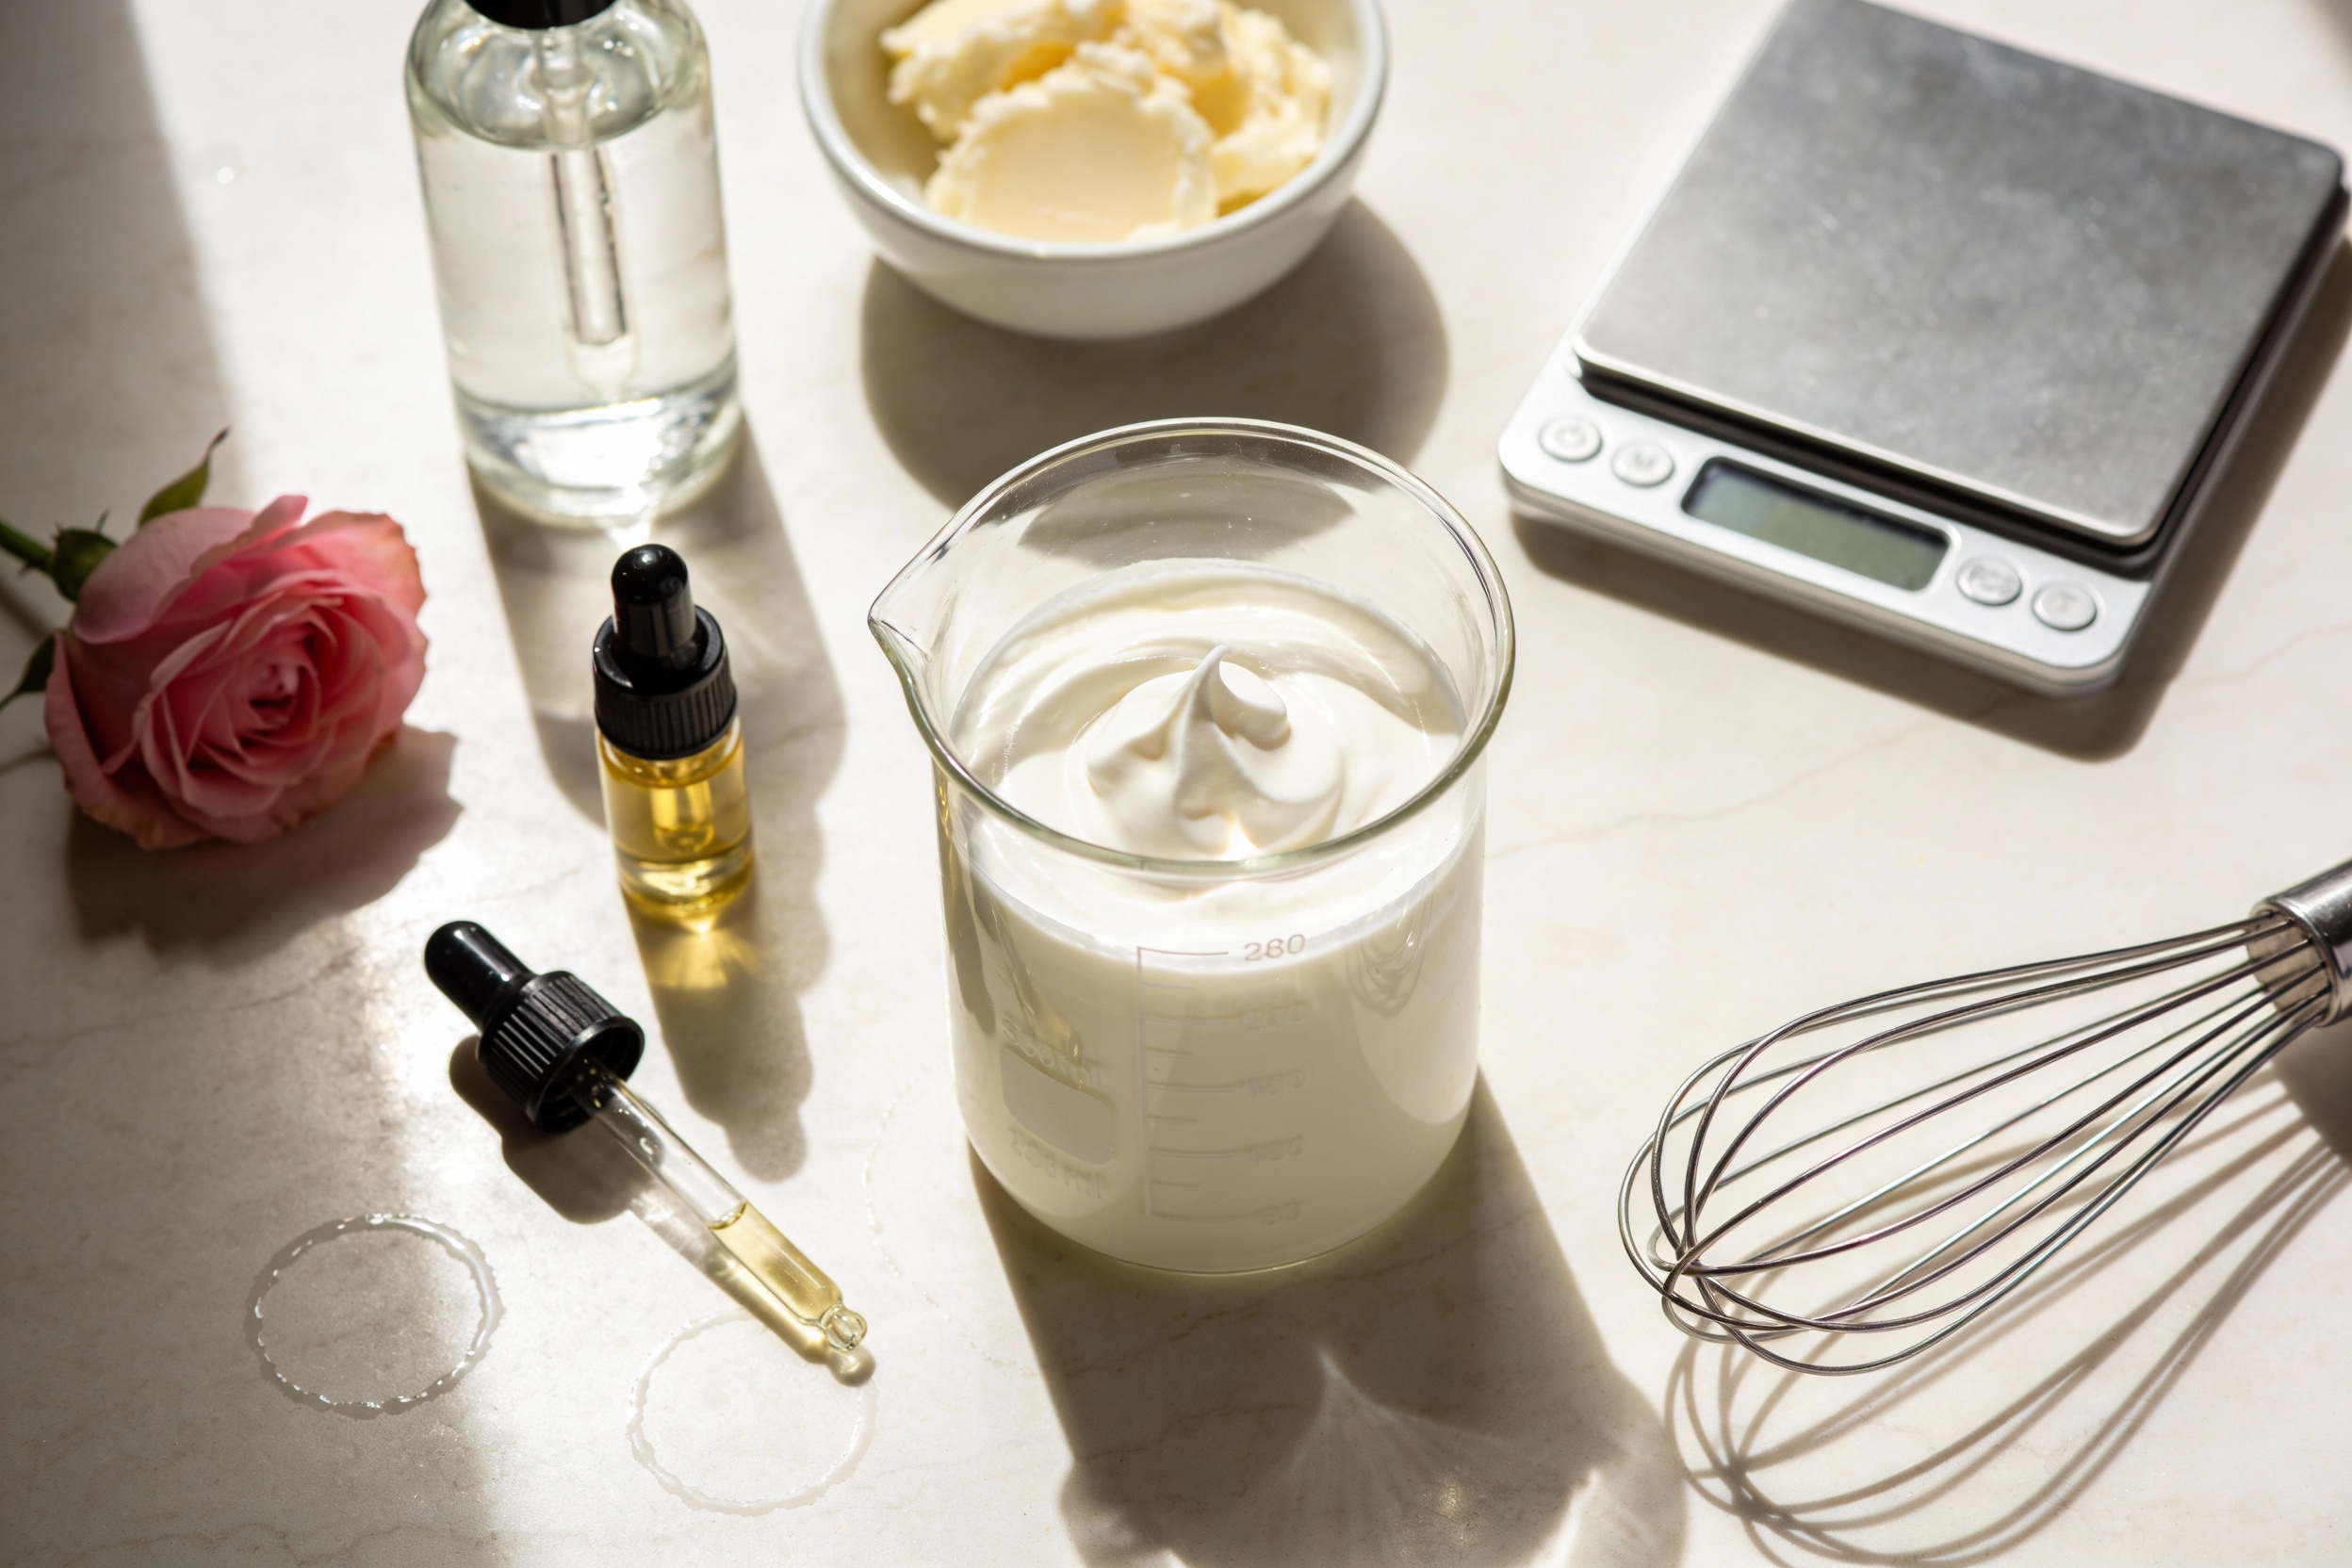
Tools You’ll Need
Nothing fancy. Just:
- Heat-safe glass beakers or bowls (2)
- Digital scale (grams = accuracy = success)
- Mini whisk or milk frother
- Thermometer (helpful but optional)
- Clean spatulas and alcohol-wiped containers
Cleanliness matters. Wipe tools with 70% isopropyl alcohol and wash your hands. We want glow, not petri-dish vibes.
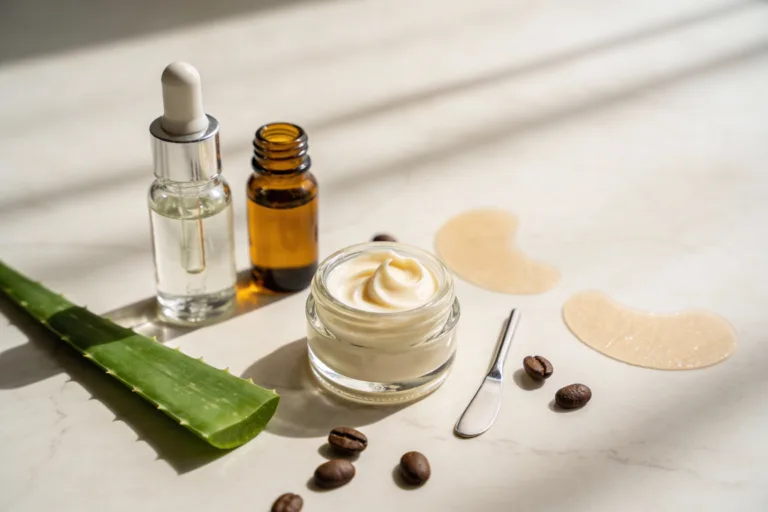
Beginner-Friendly Glowy Face Cream Recipe (100g)
This makes a light, dewy cream that layers well under sunscreen and makeup.
Water Phase (71.5%)
- Distilled water: 65 g
- Glycerin: 3 g
- Aloe juice: 3.5 g
Oil Phase (23.5%)
- Jojoba oil: 10 g
- Squalane: 8 g
- Shea butter: 2 g
- Emulsifying wax NF: 3.5 g
Cool-Down Phase (5%)
- Panthenol: 1 g
- Niacinamide: 2 g
- Preservative (per supplier rate to reach ~0.8–1%): 1 g (adjust to your preservative)
- Optional fragrance/essential oil: 0–0.5 g
Steps
- Heat both phases. Combine water phase in one beaker and oil phase in another. Heat each to about 70°C (158°F) using a double boiler. Keep them at roughly the same temp for good emulsification.
- Combine and blend. Pour the oil phase into the water phase. Mix with a mini whisk or frother for 1–2 minutes until it turns creamy and uniform.
- Cool and add extras. Let the mixture cool to 40°C (warm but not hot). Add your cool-down ingredients and stir until smooth. Check texture—want thicker? It’ll set more as it cools.
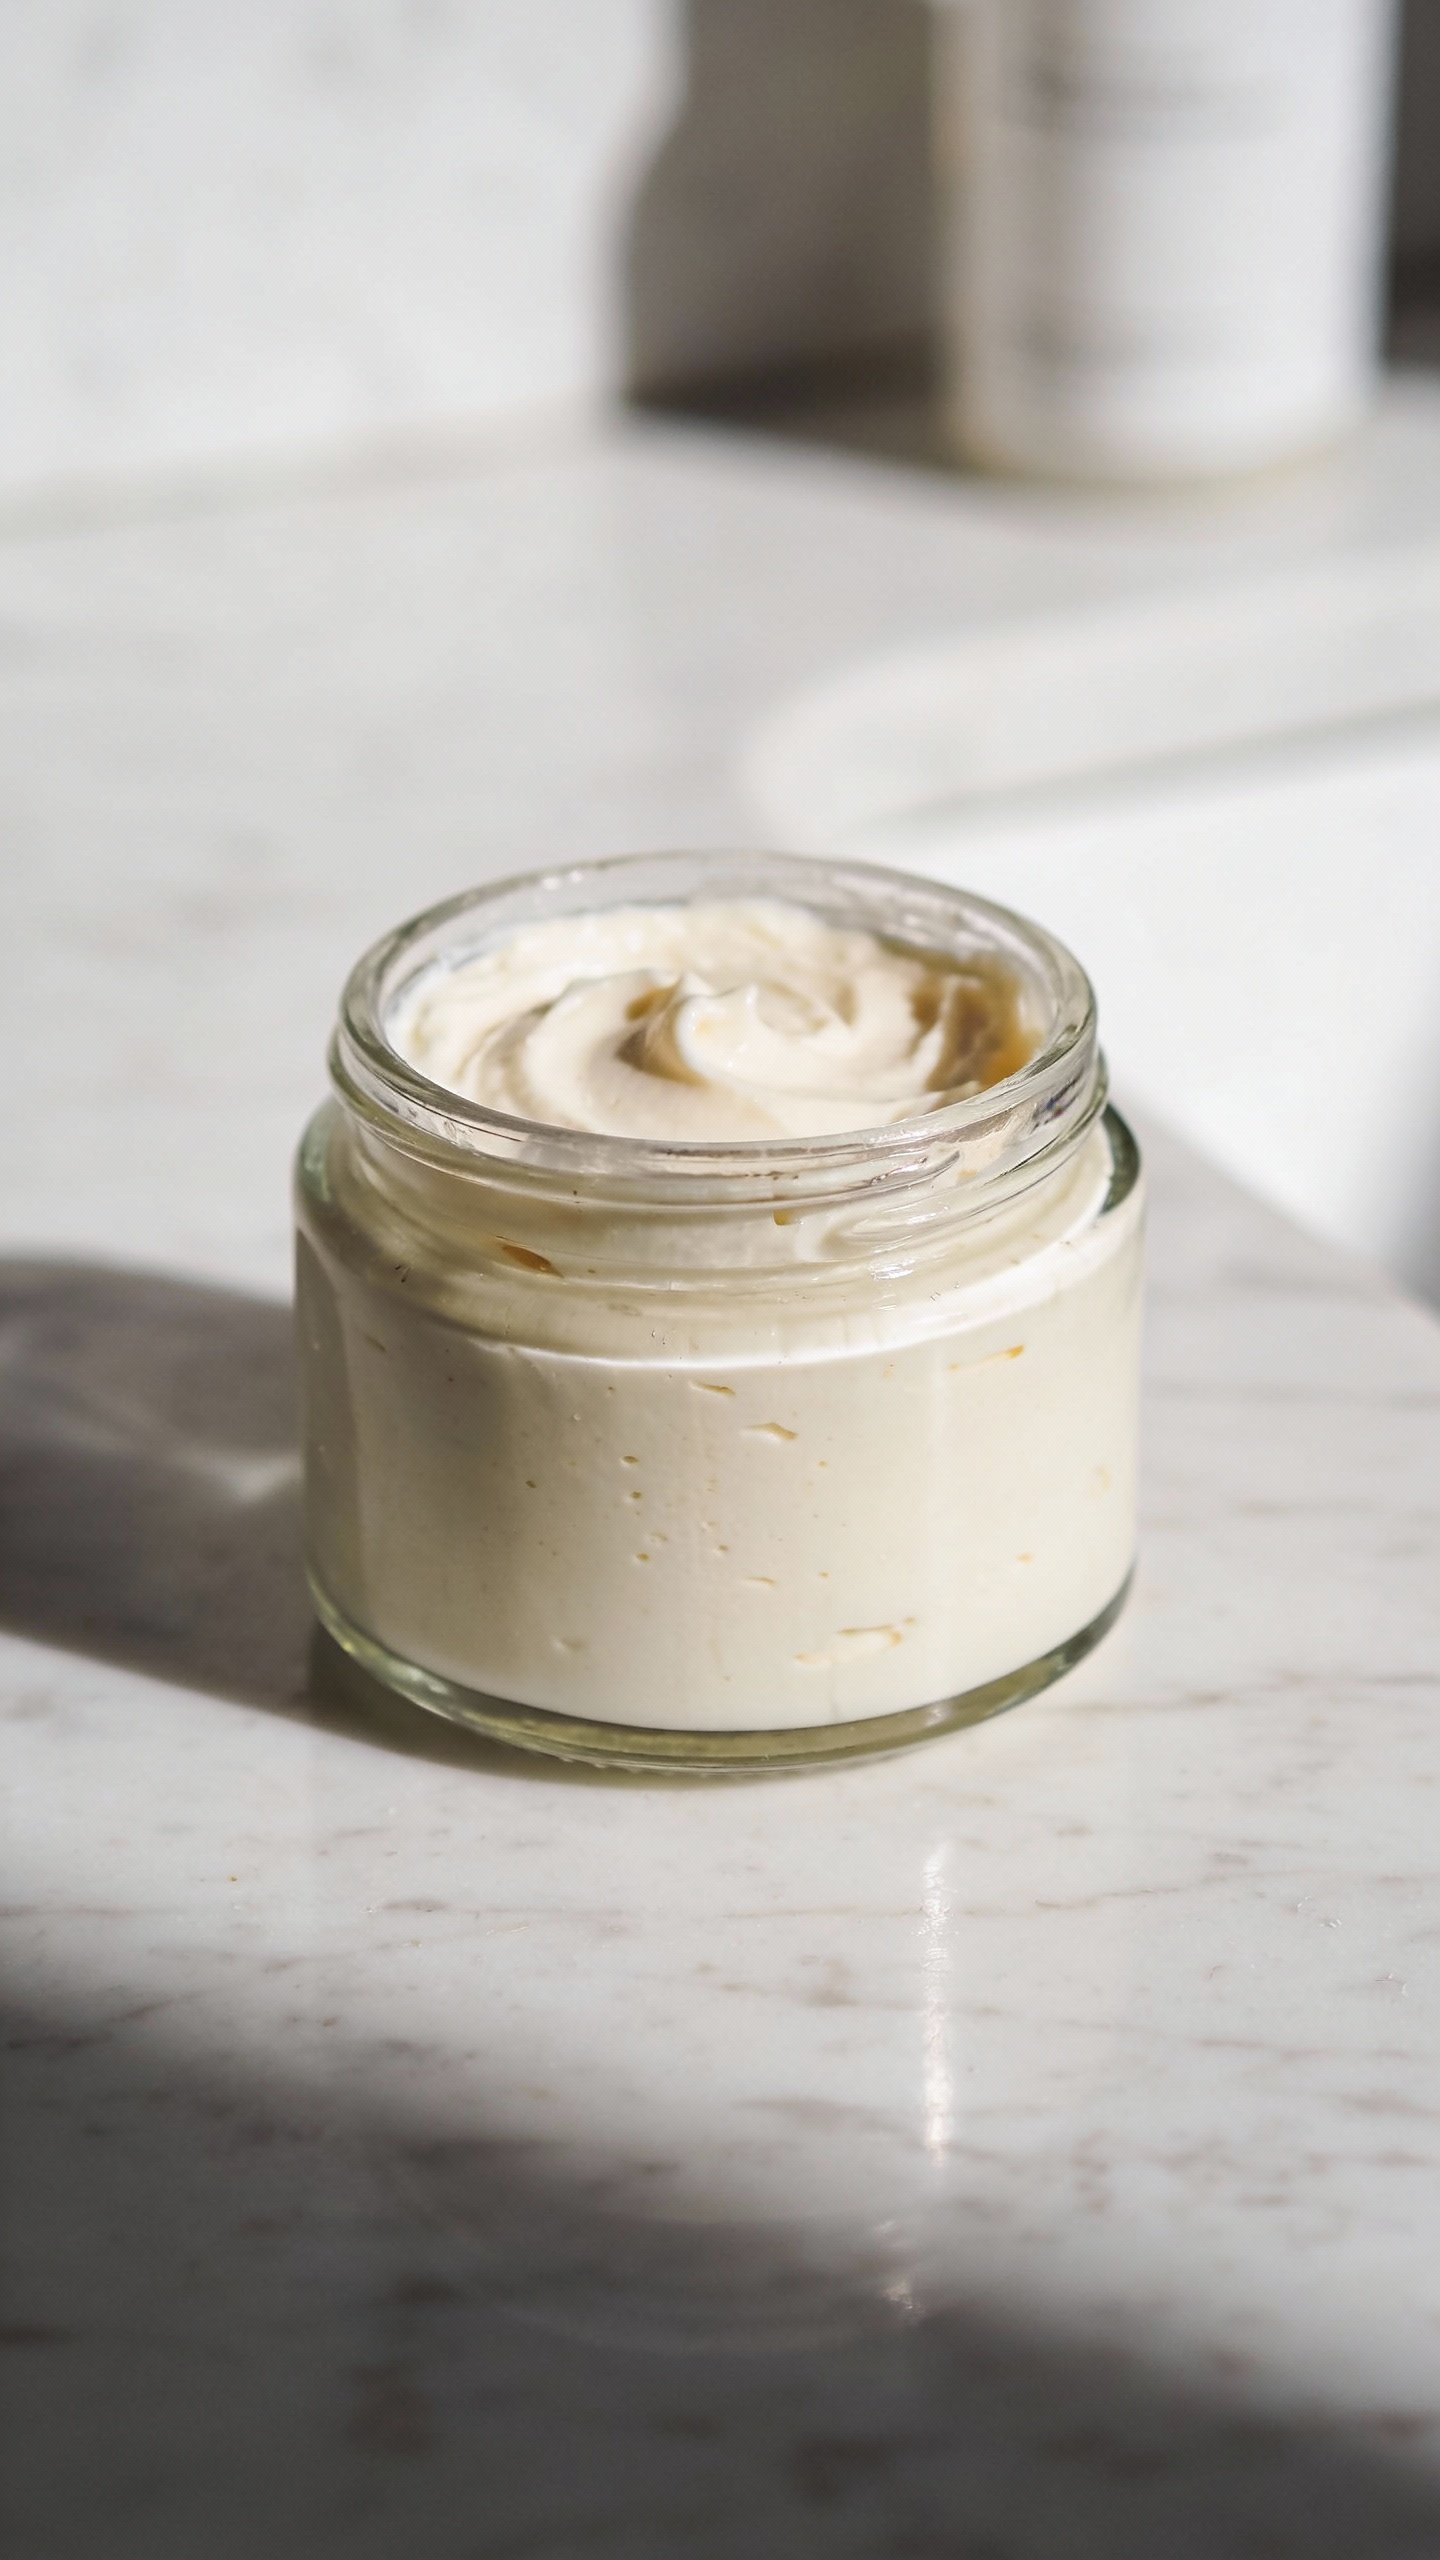
- Package and label. Transfer to a clean jar or airless pump. Note the date and formula—future you will thank you.
Texture tweak tips:
- Too thick? Reduce butter or emulsifying wax by 0.5–1% and add that to water.
- Too light? Add 1–2% more squalane or a touch more emulsifying wax.
- Pills under makeup? Reduce shea butter and glycerin slightly, and keep the layer thin.

Make It Work For Your Skin
For Oily or Acne-Prone
- Swap jojoba for grapeseed or hemp seed oil
- Use less butter (0–1%) and more water
- Add niacinamide (3–4%) and keep the finish light
For Dry or Mature
- Increase shea or mango butter to 4–5%
- Add ceramide complex or cholesterol if available (1–2%)
- Use argan or marula oil for extra nourishment
For Sensitive
- Skip essential oils and fragrance
- Use chamomile or rose hydrosol
- Keep actives simple: panthenol and glycerin
Glow-Boosting Add-Ons (Optional but Fun)
Want more radiance? Try:
- Sodium ascorbyl phosphate (2–5%): stable vitamin C derivative for brightening
- Licorice root extract (0.5–2%): helps with dullness and uneven tone
- Allantoin (0.2–0.5%): soothing, reduces irritation
- Urea (2–5%): gentle exfoliating hydration for smoother texture
Keep total extras within your “cool-down” range and follow supplier solubility/pH instructions. More isn’t more—your skin likes balance.
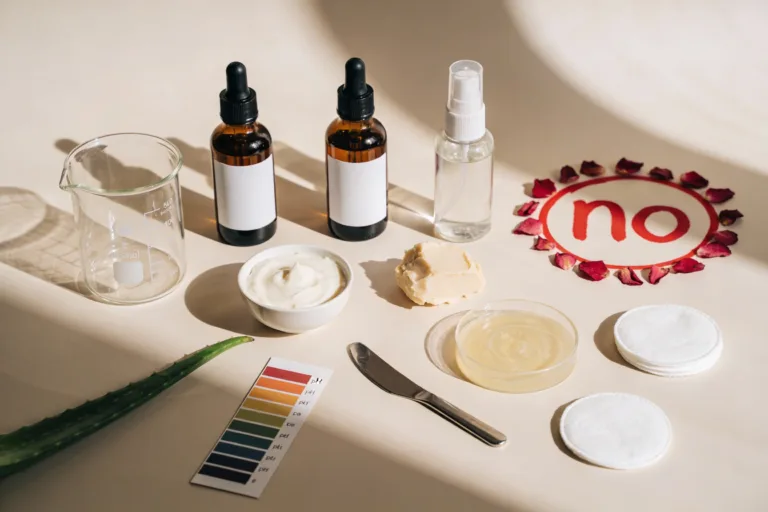
Storage, Shelf Life, and Safety (Don’t Skip)
Preservative = mandatory. Water invites microbes. You’re making skincare, not kombucha.
- Use distilled water only
- Store in a pump or airless bottle to reduce contamination
- Keep away from heat and sunlight
- Use within 2–3 months at room temp
- If it smells off, changes color, or separates weirdly—retire it. Your face deserves better
Patch test on your inner arm or behind your ear for 24 hours first. And always wear SPF during the day—glow looks better when not sun-fried, IMO.
FAQ
Can I make this without a preservative?
Short answer: Nope. Water-based products grow bacteria and mold faster than your houseplants. If you want preservative-free, make a balm (oil-only). For a cream, use a broad-spectrum preservative at the supplier’s recommended rate.
Can I replace emulsifying wax with beeswax?
Beeswax doesn’t emulsify water and oil on its own. You’ll get separation, not a cream. Use an actual emulsifier like Emulsifying Wax NF, Polawax, or BTMS-50. Beeswax can join the party at 1–2% for occlusion, but only with a real emulsifier.
What if my cream separates or feels gritty?
Separation usually means the phases weren’t the same temp or you didn’t blend enough. Reheat gently and re-emulsify if it’s fresh. Grittiness can come from crystallizing butters—melt thoroughly and cool faster, or switch to mango butter for a smoother feel.
How do I adjust pH, and do I need to?
For most face creams, aim for pH 5–6. If you add actives like niacinamide or certain preservatives, test with pH strips. To lower pH, use a tiny lactic/citric acid solution; to raise it, add a few drops of sodium hydroxide solution. Go slow—this is a “drops count” situation, FYI.
Can I add retinol or strong acids?
I wouldn’t, IMO. These need specific conditions and stabilization. Use retinoids and exfoliating acids in separate, professionally formulated products. Your DIY cream can focus on hydration, barrier support, and gentle brightening.
Is this safe for acne-prone skin?
Yes, with tweaks. Use lighter oils (squalane, hemp, grapeseed), keep butters low, and avoid fragrance. Patch test first. If breakouts appear, simplify—your skin may prefer fewer extras.
Conclusion
You just learned how to build a custom face cream from the ground up. Start simple, keep it clean, and tweak as you go. When your skin starts glowing like it got eight hours of sleep and a raise, don’t be surprised. You made it—literally.