How to Create a Natural Foot Cream at Home That Works
Dry heels and cranky cuticles? Your feet walk you through life, but they rarely get VIP treatment. Let’s fix that. You can whip up a natural, luxurious foot cream in your kitchen with ingredients you recognize and can actually pronounce. It’s easy, affordable, and it smells a lot better than your gym bag—promise.
Why Make Your Own Foot Cream?
You control every ingredient. No mystery chemicals, no weird fillers—just the good stuff your skin actually wants. Plus, homemade creams usually come out richer than store-bought, which your heels will drink up like a latte.
Also, you can tweak the recipe for different seasons or skin moods. Need heavier moisture in winter? Add more butter. Prefer a lighter feel for summer? Swap in a faster-absorbing oil. It’s like skincare, but with power tools (okay, a whisk).
Overeating doesn’t mean something is wrong with you. It means your system needs a reset.
If cravings keep pulling you off track, this helps you regain control without restriction. You’ll learn simple, realistic steps to stop overeating and feel satisfied again.
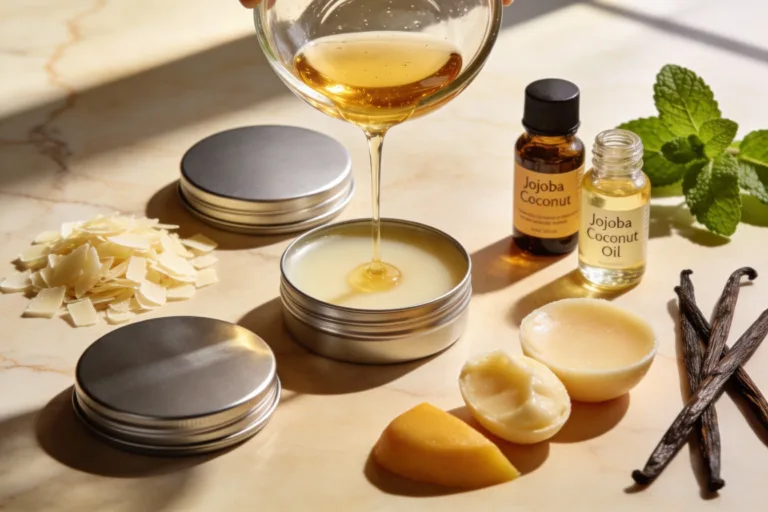
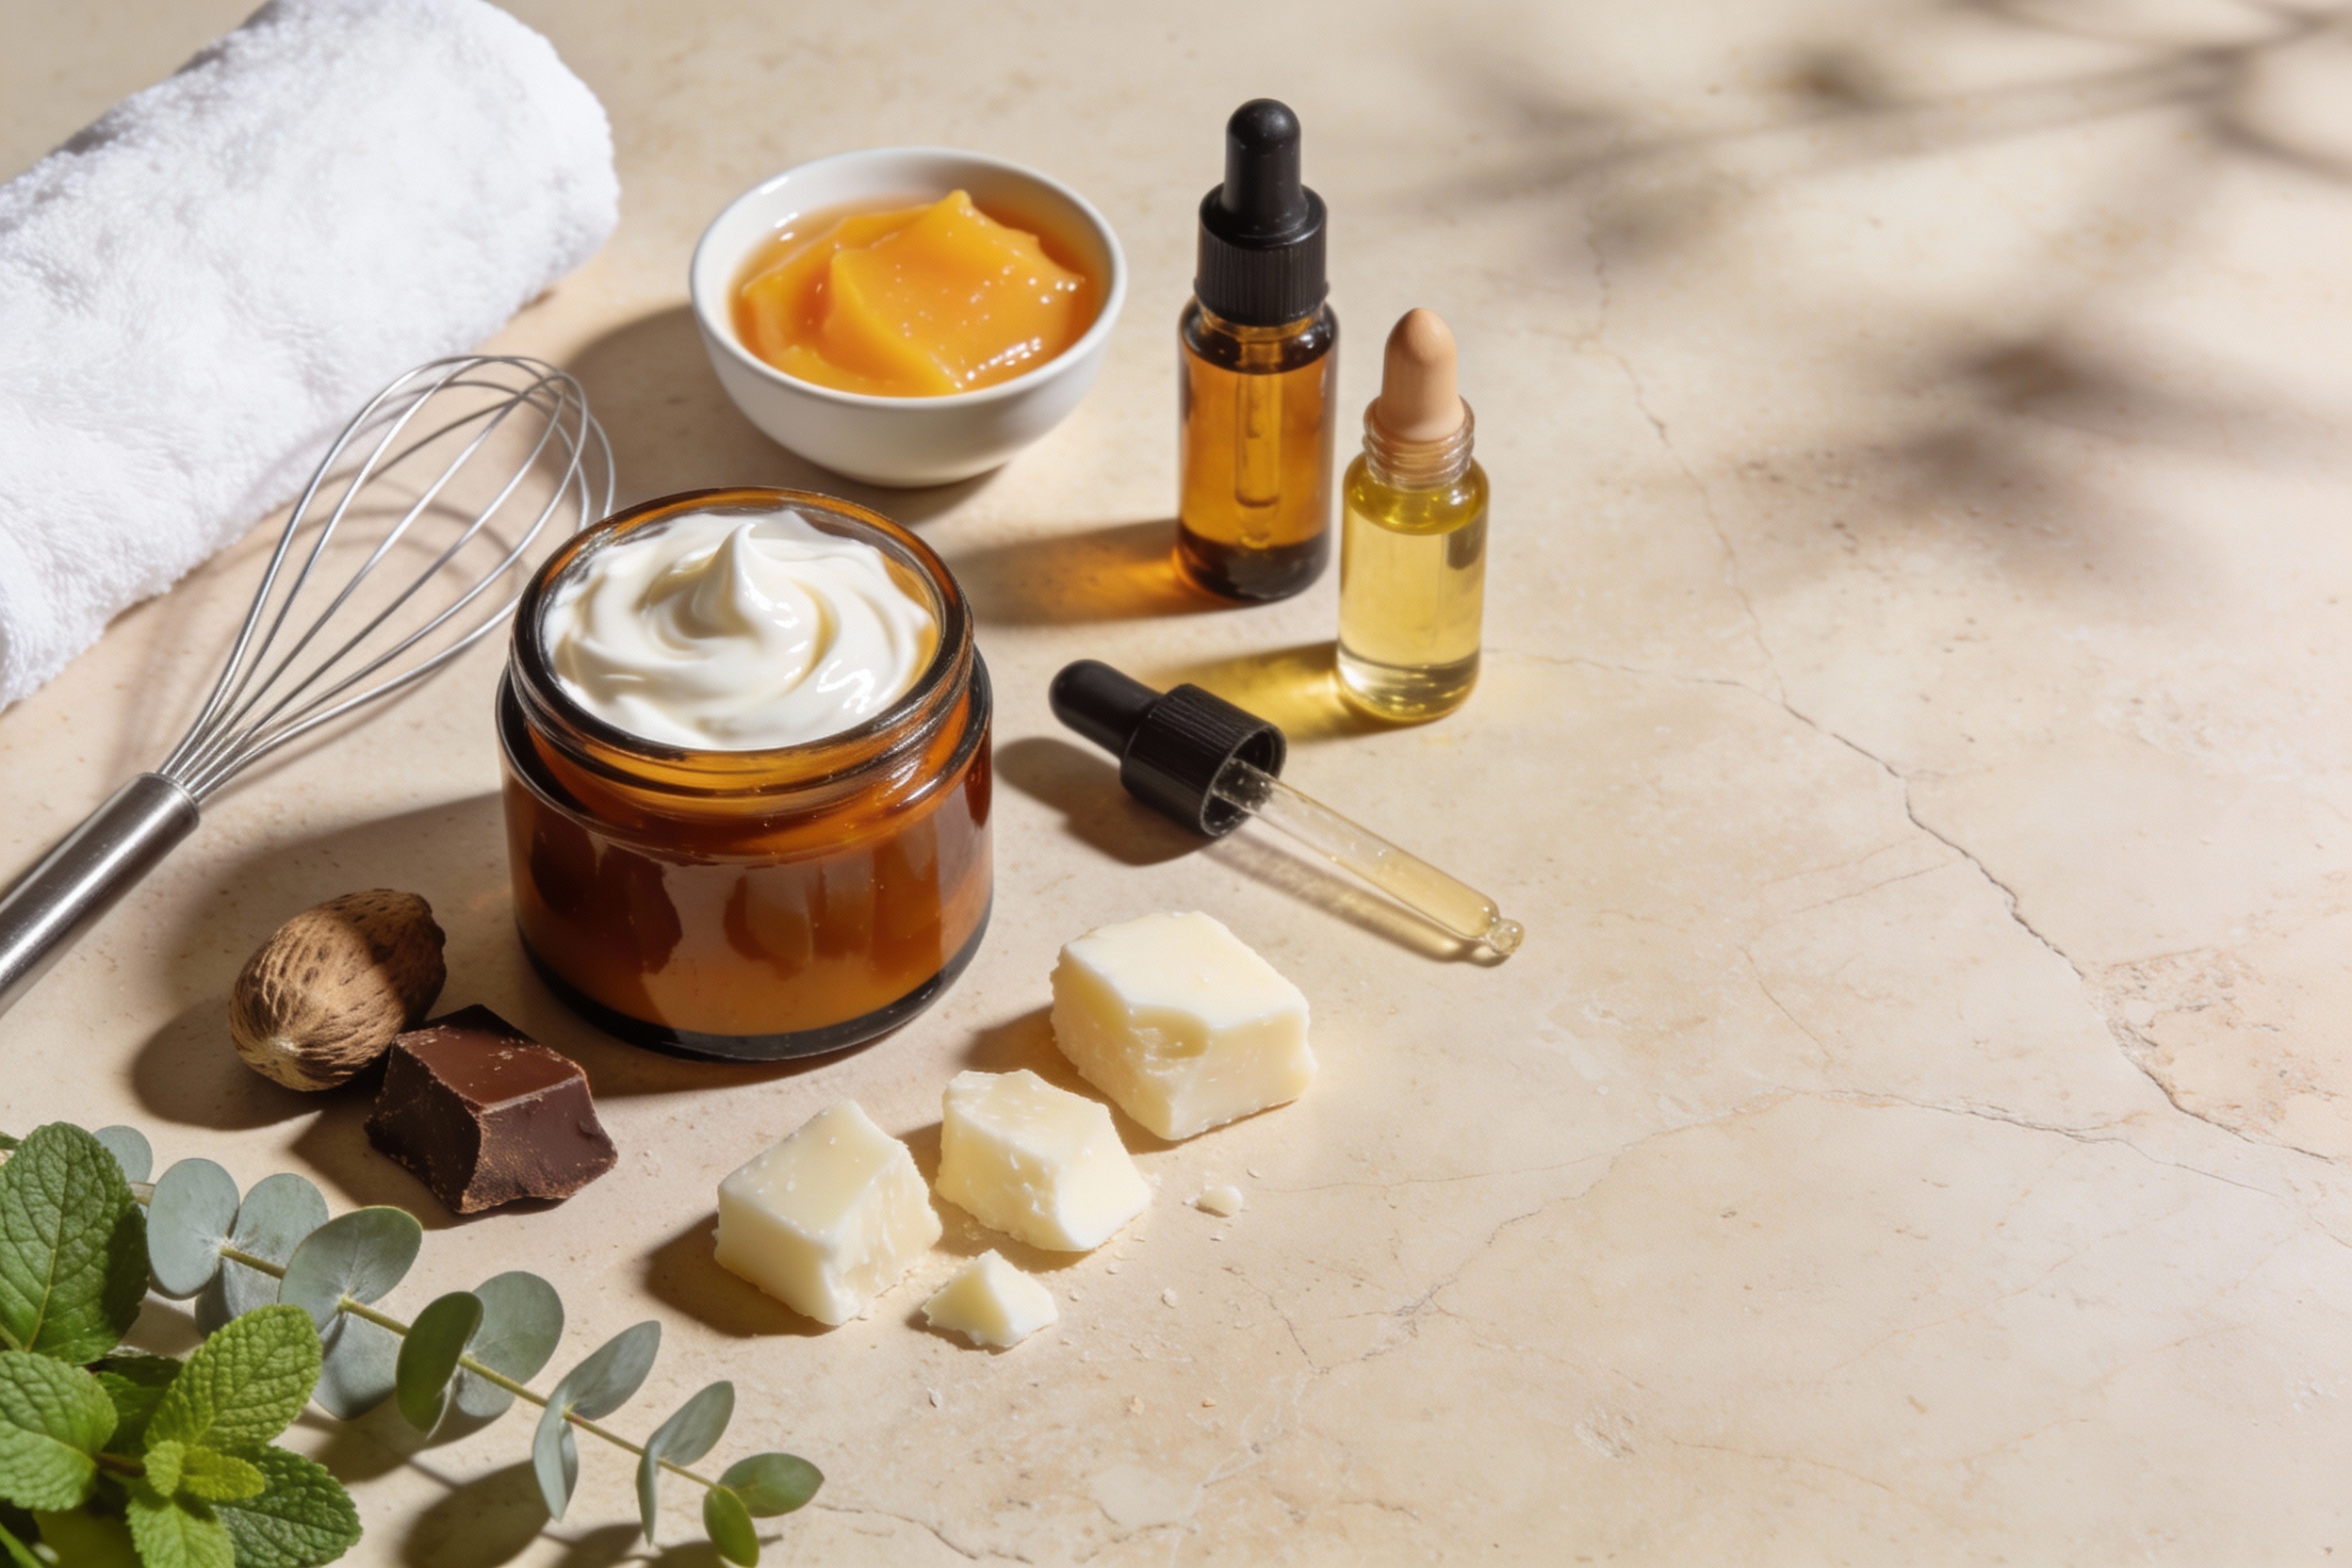
Key Ingredients That Actually Do the Work
Let’s keep it simple but effective. You only need a handful of ingredients to build a seriously good cream.
- Butters (20–30%): Shea butter for deep moisture and healing; cocoa butter for firming and a subtle chocolaty scent; mango butter for a lighter, non-greasy feel.
- Oils (20–30%): Sweet almond or jojoba for everyday moisture; olive oil for rich nourishment; coconut oil for softness (but it can feel waxy if you overdo it).
- Water (30–40%): Hydrates your skin and keeps the cream from feeling oily. Use distilled water for safety.
- Humectants (3–5%): Glycerin or aloe vera juice to draw in moisture. Your feet will thank you.
- Emulsifying wax (5–7%): Makes oil and water be friends. No emulsifier = separated sad soup.
- Preservative (per label, usually 0.5–1%): Must-have when water enters the chat. Look for broad-spectrum options like preservative ECO, Optiphen, or Geogard ECT.
- Essential oils (0.5–1%): Tea tree for funky feet, peppermint for cooling, lavender for soothing. Keep totals under 1%.
- Optional extras: Vitamin E (0.5%) as an antioxidant, urea (5–10%) for softening calluses, or a pinch of arrowroot to cut greasiness.
What to Skip
Avoid citrus oils on cracked skin (can sting), heavy fragrance oils on sensitive skin, and any essential oils you haven’t patch-tested. Also, FYI, straight coconut oil won’t fix deep cracks—it needs friends.
Gear You Need (Nothing Fancy)
No lab coat, no problem. You can make a gorgeous cream with stuff you probably have.
- Two heat-safe bowls (glass or stainless steel)
- Small saucepan for a double boiler setup
- Digital kitchen scale (strongly recommended for accuracy)
- Silicone spatula and a whisk or stick blender
- Clean jar or pump bottle with a lid
- Rubbing alcohol and paper towels for wipe-downs
Cleanliness Matters
You’ll put this on cracked skin, so let’s not invite germs. Wipe tools and containers with alcohol and let them air-dry. Wash your hands before you start. It’s skincare, not a petri dish.
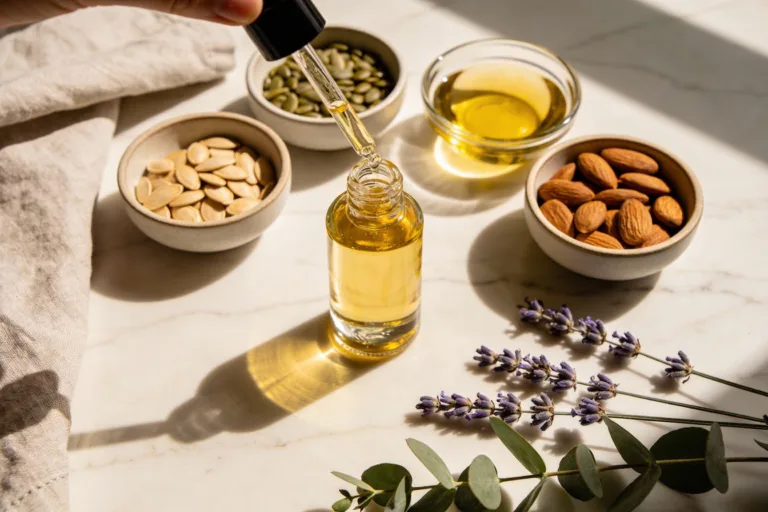
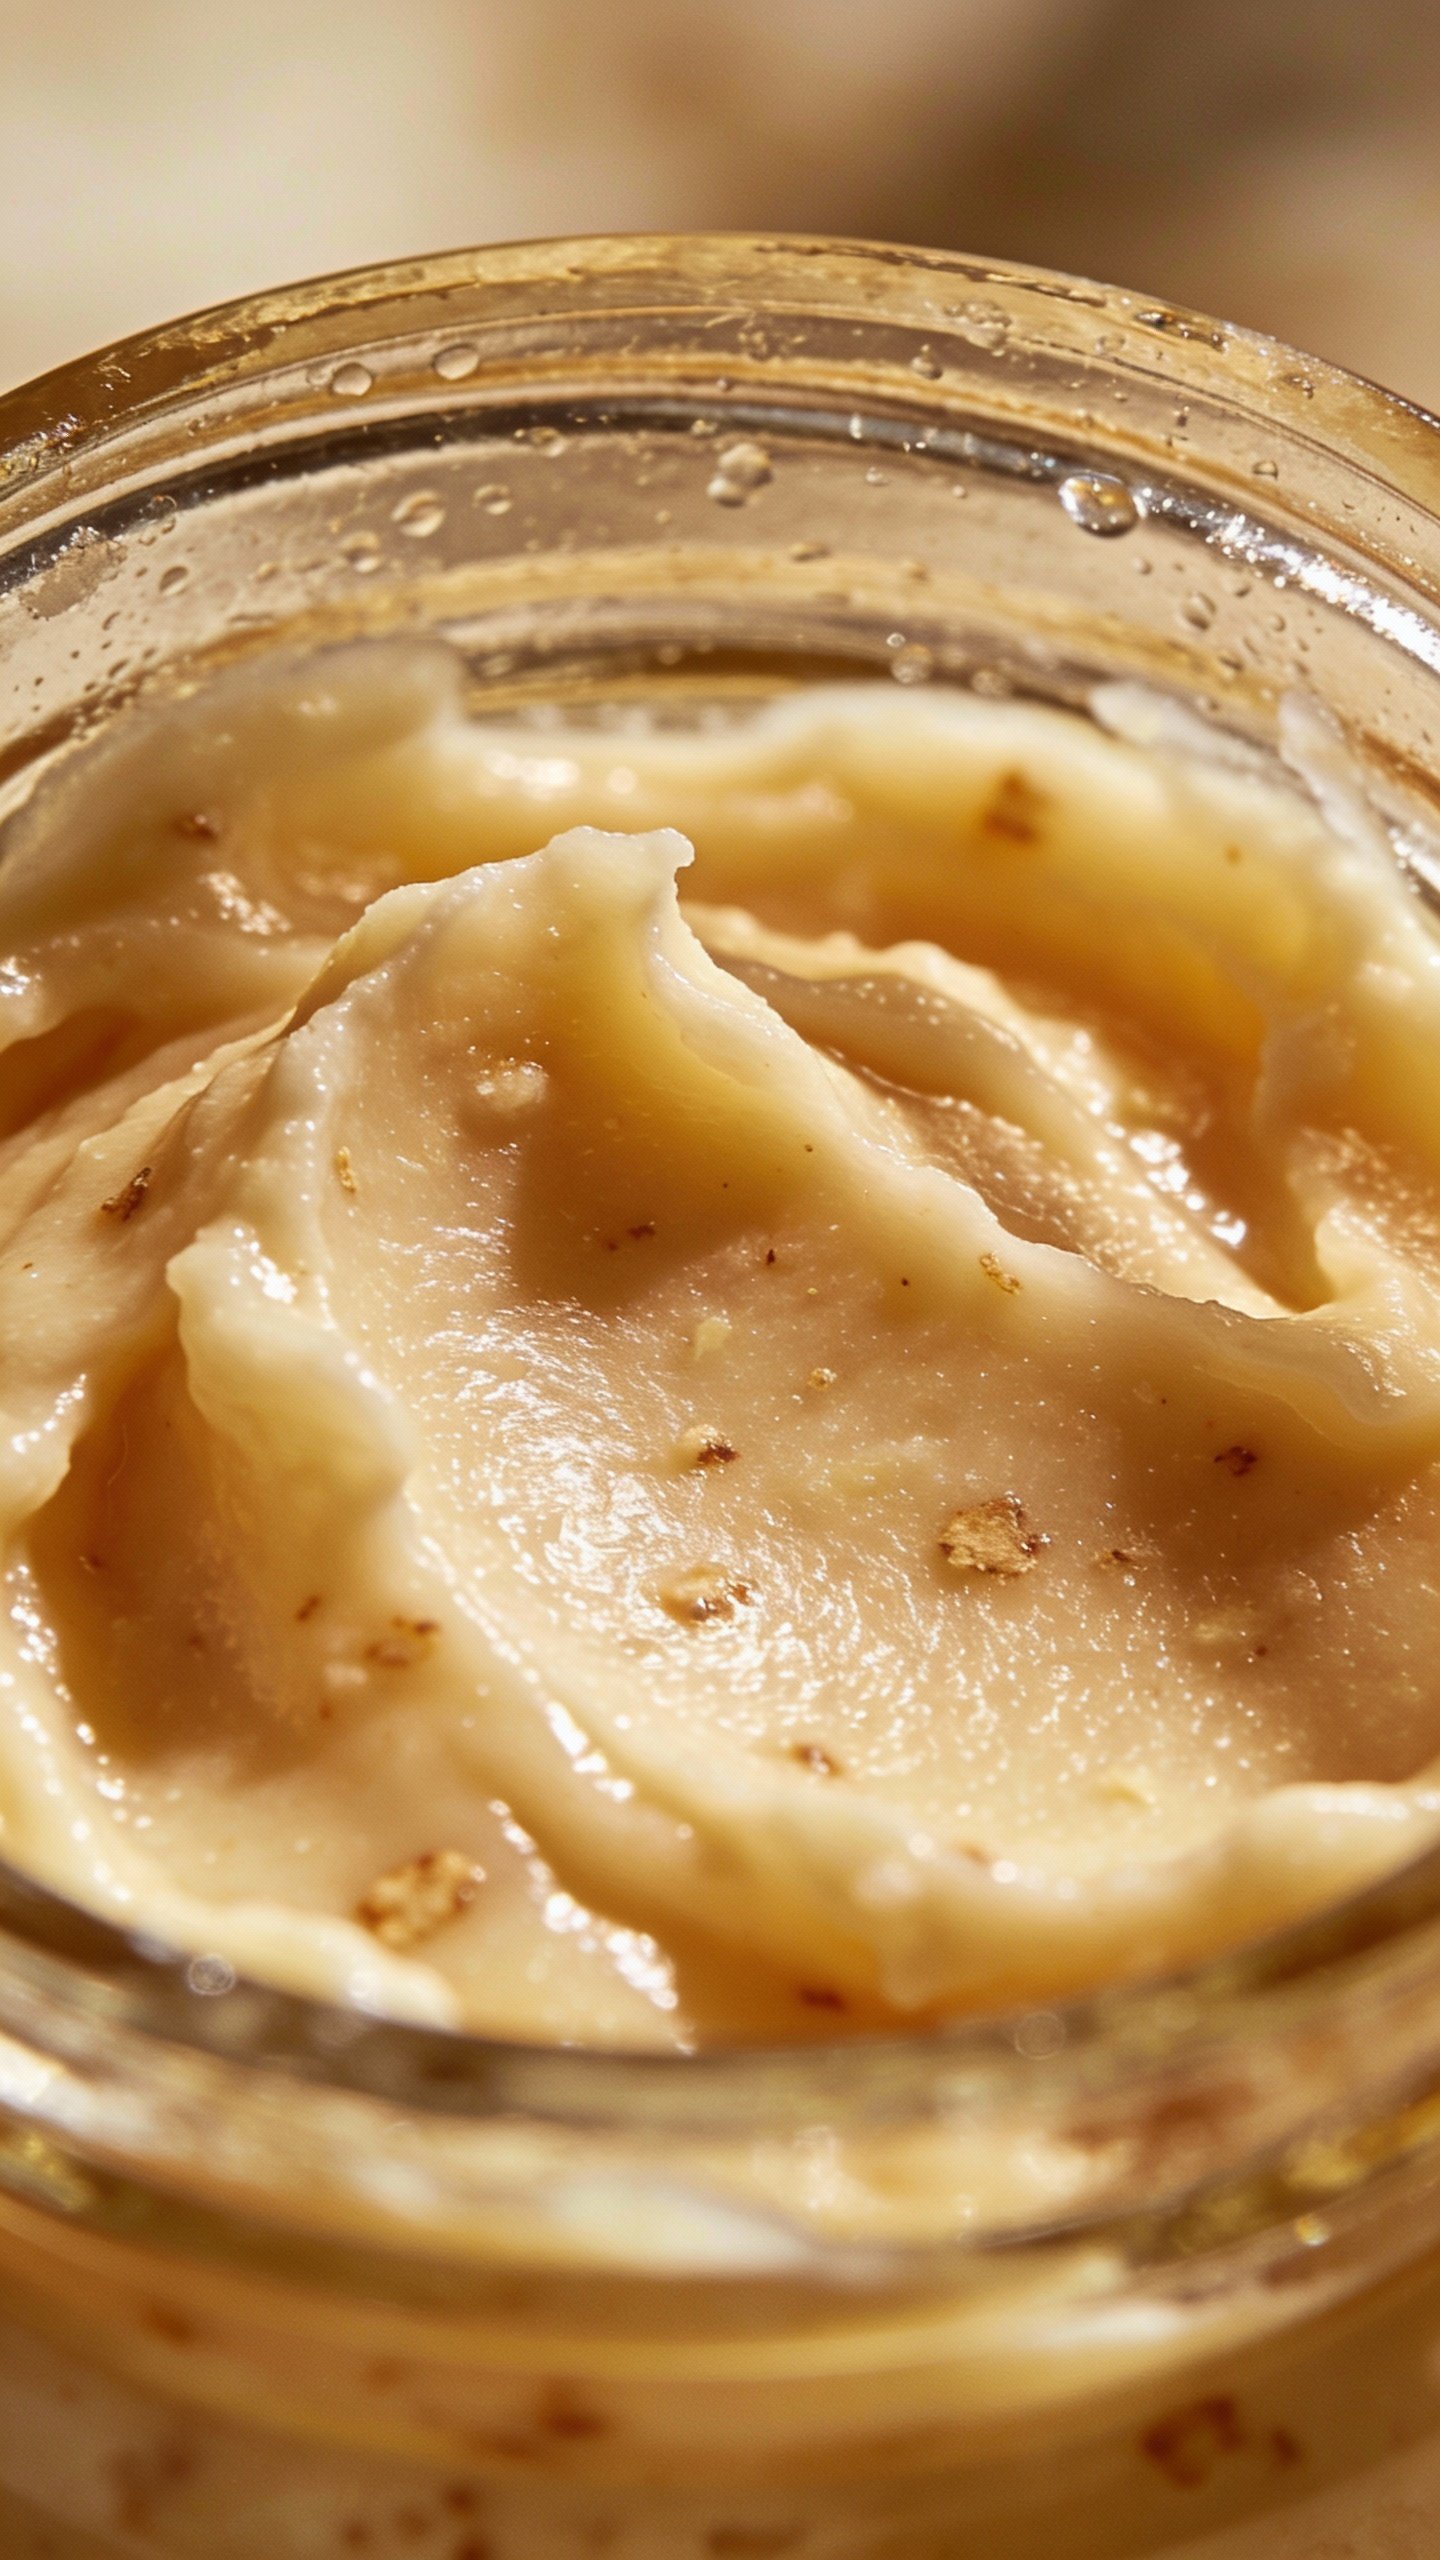
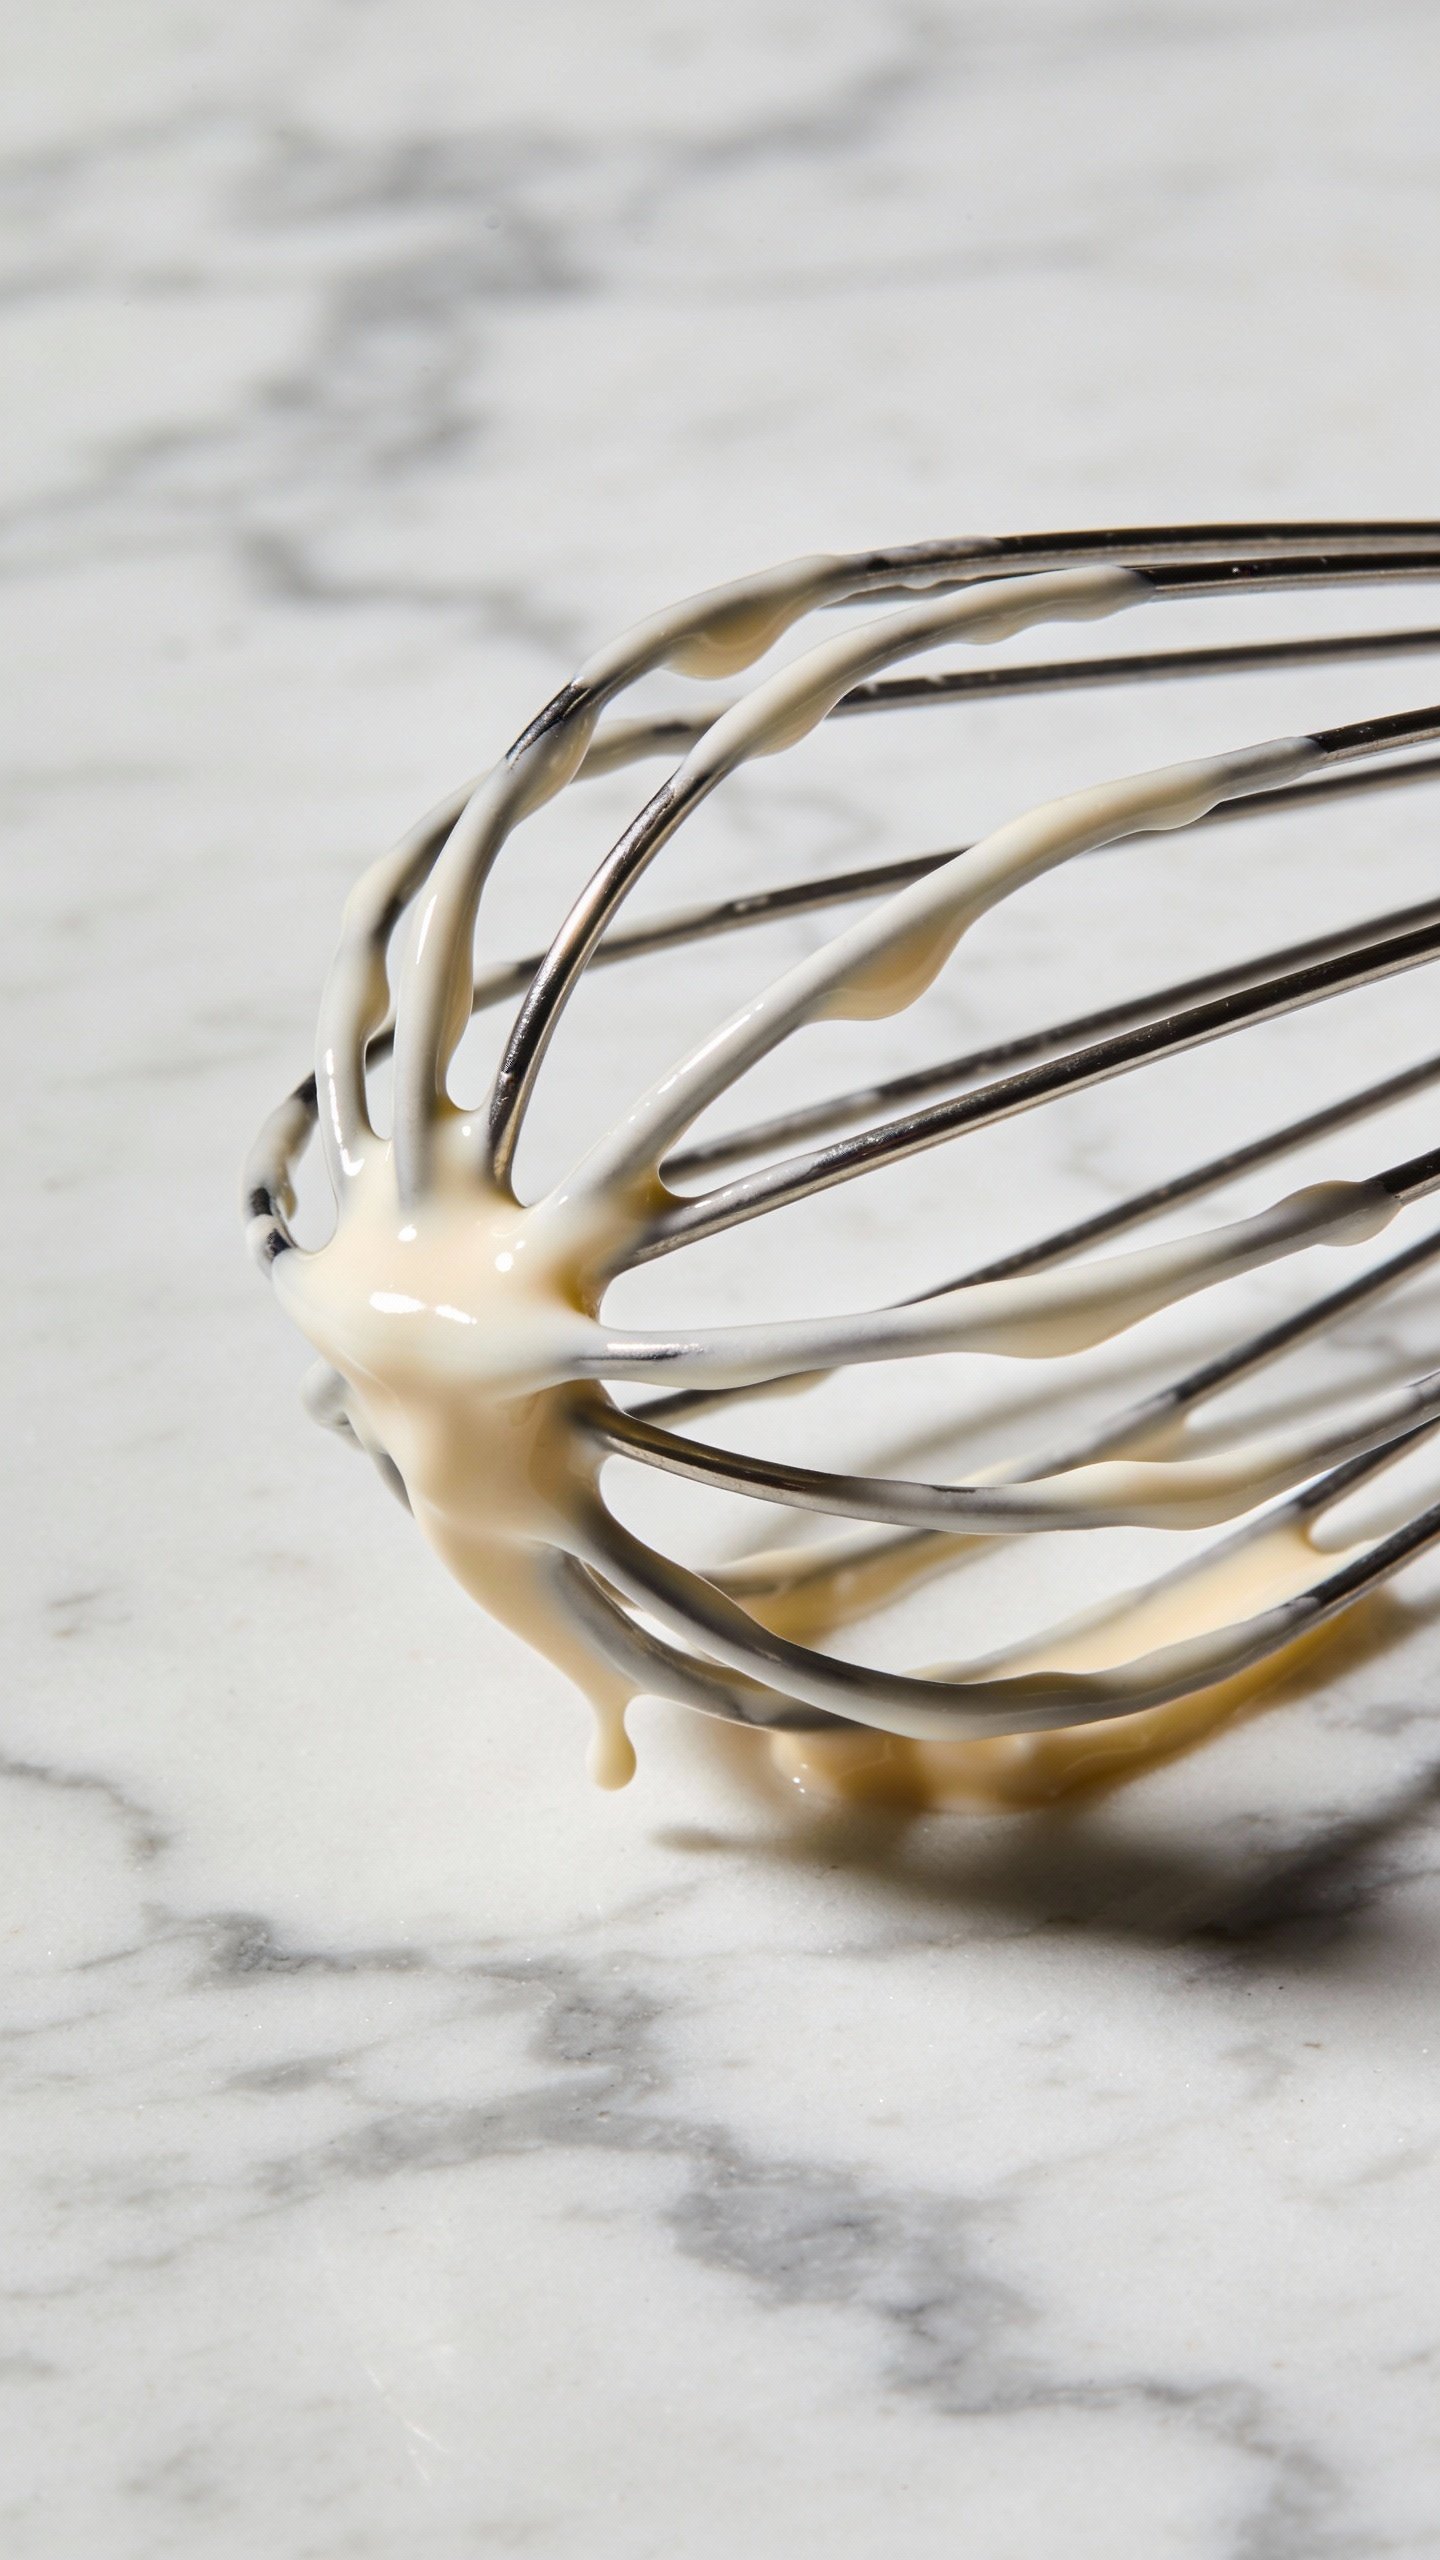
Simple, Reliable Foot Cream Recipe

This makes about 200 grams (roughly 7 oz) of rich, cooling cream. Perfect for one jar and a gift if you like to show off.
Oil Phase
- Shea butter: 40 g
- Jojoba or sweet almond oil: 30 g
- Emulsifying wax (NF or Olivem 1000): 12 g
- Vitamin E: 1 g
Water Phase
- Distilled water: 90 g
- Aloe vera juice: 15 g
- Glycerin: 8 g
- Urea (optional, for rough heels): 10 g
Cool-Down Phase
- Preservative (per manufacturer): ~1–2 g
- Essential oils (choose up to two): 0.8–1.5 g total
- Peppermint (cooling): up to 0.6 g
- Tea tree (deodorizing): up to 0.6 g
- Lavender (calming): up to 0.6 g
Step-by-Step Instructions
- Weigh and heat. In one bowl, combine the oil phase. In a second bowl, combine water, aloe, and glycerin. Place both bowls over a simmering water bath. Heat to around 70–75°C (160–170°F) for 20 minutes. This helps melt and reduces contamination.
- Combine and emulsify. Pour the water phase into the oil phase. Blend with a stick blender in short bursts for 1–2 minutes until it thickens and turns creamy.
- Cool and perfect. Let it cool to 40°C (just warm to the touch), then add preservative, vitamin E, and essential oils. Blend briefly to combine.
- Jar it. Spoon into clean containers. Label with the date and scent combo if you’re extra like me.
- Set and use. It thickens fully over 24 hours. Try not to poke it every 10 minutes. I fail at this regularly.
Make It Yours: Variations and Swaps
Want a lighter summer vibe or a rich winter balm? Easy tweaks ahead.
- For ultra-dry heels: Increase shea to 50 g, add 10 g cocoa butter, and keep urea at 10%. You’ll get a denser, more occlusive cream.
- For a fast-absorbing feel: Use mango butter instead of shea, swap jojoba for grapeseed oil, and add 1–2 g arrowroot powder during cool-down.
- For stink control: Use tea tree and a tiny bit of eucalyptus. Keep total EO under 1%.
- For sensitive skin: Skip essential oils and keep the formula fragrance-free. IMO, the plain version works great at night.
Want to Skip Water?
Make a balm instead. Melt 60 g shea + 30 g oil + 10 g beeswax, add vitamin E and a drop or two of EO. No preservative needed. It feels heavier but lasts forever and plays nice on very cracked heels.

How to Use Your Foot Cream Like a Pro
Timing matters. Apply at night after a shower when your skin holds moisture best. Massage for 1–2 minutes—yes, actually massage. Then pull on breathable socks and let it work while you sleep.
Weekly Foot TLC Routine
- 2–3x/week: Soak feet in warm water with a spoon of Epsom salt for 10 minutes.
- After soaking: Gently exfoliate with a foot file or a soft scrub. No cheese-grater energy, please.
- Every night: Apply cream. More on heels and sides where cracks love to party.
Storage, Safety, and Shelf Life
Because we used water, you must use a broad-spectrum preservative. No exceptions. Store in a cool, dry spot, and avoid sticking wet fingers into the jar. Use a clean spatula if possible.
Shelf life: 3–6 months if you follow good hygiene. If it smells weird, changes color, or separates dramatically, retire it. Your feet deserve better.
Troubleshooting: Don’t Panic, Fix It
- Too thick? Next batch, reduce butter and/or wax by 5–10%. You can also blend in a bit more warmed distilled water (small amounts) to loosen it.
- Too thin? Increase butter or wax slightly. A tiny bit of cetyl alcohol (2–3%) adds body if you have it.
- Greasy feel? Swap in lighter oils, add 1–2% arrowroot, or try mango butter. Peppermint EO also makes it feel fresher.
- Separation? You may have under-emulsified. Blend longer while warm and let it cool undisturbed.
- Stinging on cracks? Skip essential oils and urea until skin heals. Use the plainest version for a week.
FAQ
Can I make this without a preservative?
If you include water, no. Bacteria and mold love water-based products, and your feet deserve safe skincare. If you want preservative-free, make the balm version (no water) and store it cool.
What’s the best essential oil for foot odor?
Tea tree ranks top-tier for deodorizing and antimicrobial benefits. Peppermint adds cooling and a fresh scent. Keep the total under 1% and patch test—feet can be dramatic.
My cream feels waxy. What did I do?
You probably used too much beeswax or coconut oil. Reduce wax to 5–8% total if making a balm, or swap coconut oil for jojoba or sweet almond. Arrowroot (1–2%) also helps cut the draggy feel.
Is urea safe for at-home use?
Yes at 5–10% for softening rough spots. It hydrates and gently exfoliates. If you see redness or tingling, take a break and try the formula without it.
Can I use this on hands and elbows too?
Absolutely. It makes a fantastic multi-tasker, especially if you go lighter on essential oils. FYI, it might feel rich for daytime unless you tweak with lighter oils.
What if I don’t have a scale?
A scale makes this so much easier and more consistent. If you must use spoons and cups, expect some variance. IMO, a cheap digital scale is the best $10 you’ll spend on DIY skincare.
Wrapping It Up
You just built a spa-level foot cream with kitchen gear and common-sense ingredients. Customize the texture, scent, and richness to match your feet’s mood, and you’ll never go back to pricey mystery jars. Slather it on, throw on socks, and wake up with softer heels—no salon required.