How to Make a Diy Under-Eye Cream That Actually Works
You want brighter under-eyes without dropping half your paycheck on a tiny jar, right? Same. The good news: you can make a legit, skin-loving under-eye cream at home with a few quality ingredients and a couple of clean tools. We’ll keep it simple, customize it to your skin, and avoid anything irritating. Ready to look awake even when you’re running on fumes?
Why DIY Under-Eye Cream Is Worth It
You control the ingredients, which means no mystery fragrance or random fillers. You skip the hefty markup, too—FYI, a lot of pricey creams use cheap bases. And you can tweak your formula based on your skin’s mood: dry, puffy, or a little of both. It’s skincare, but make it personal.
Overeating doesn’t mean something is wrong with you. It means your system needs a reset.
If cravings keep pulling you off track, this helps you regain control without restriction. You’ll learn simple, realistic steps to stop overeating and feel satisfied again.
What Your Under-Eye Skin Actually Needs
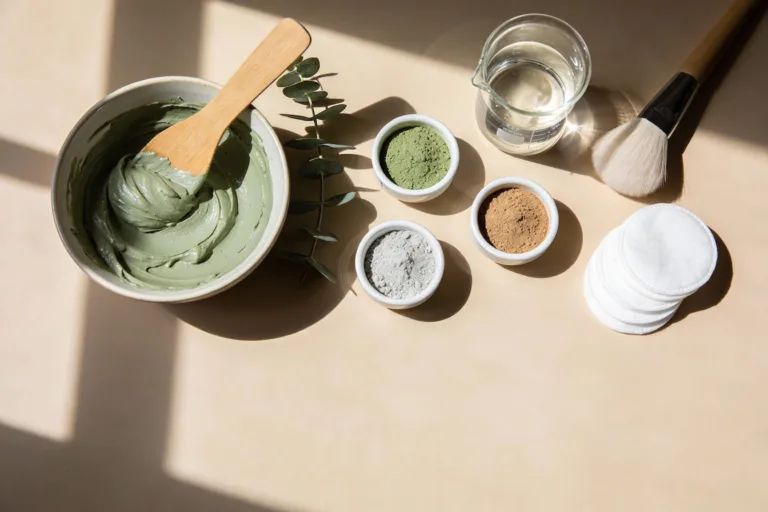
The skin under your eyes is thin, sensitive, and dramatic (relatable). So we want ingredients that focus on three things:
- Hydration: Think hyaluronic acid, glycerin, and aloe to pull in water.
- Nourishment: Butters and oils to seal in moisture and soften fine lines.
- De-puffing and brightening: Caffeine and gentle antioxidants to perk things up.
Keep it gentle. No harsh essential oils, no strong acids. Your under-eye is not the place to play chemist unless you enjoy tears.
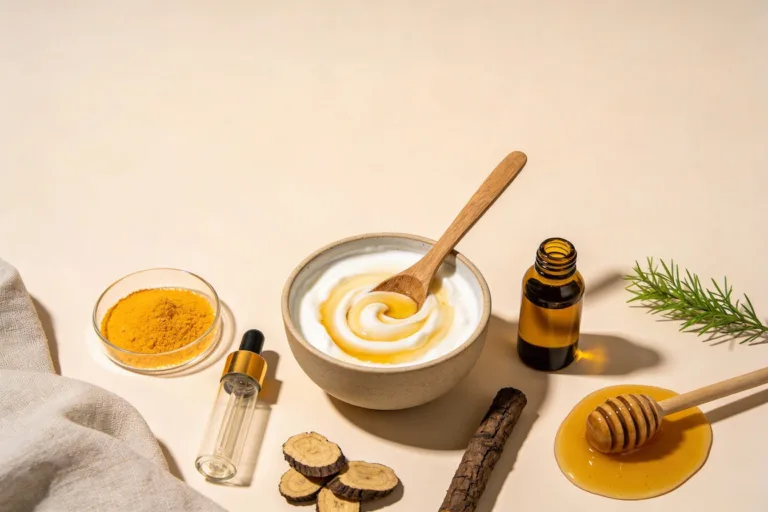
Ingredient Shortlist (Choose Your Adventure)
You don’t need everything here—mix and match based on your goals and what you can find.
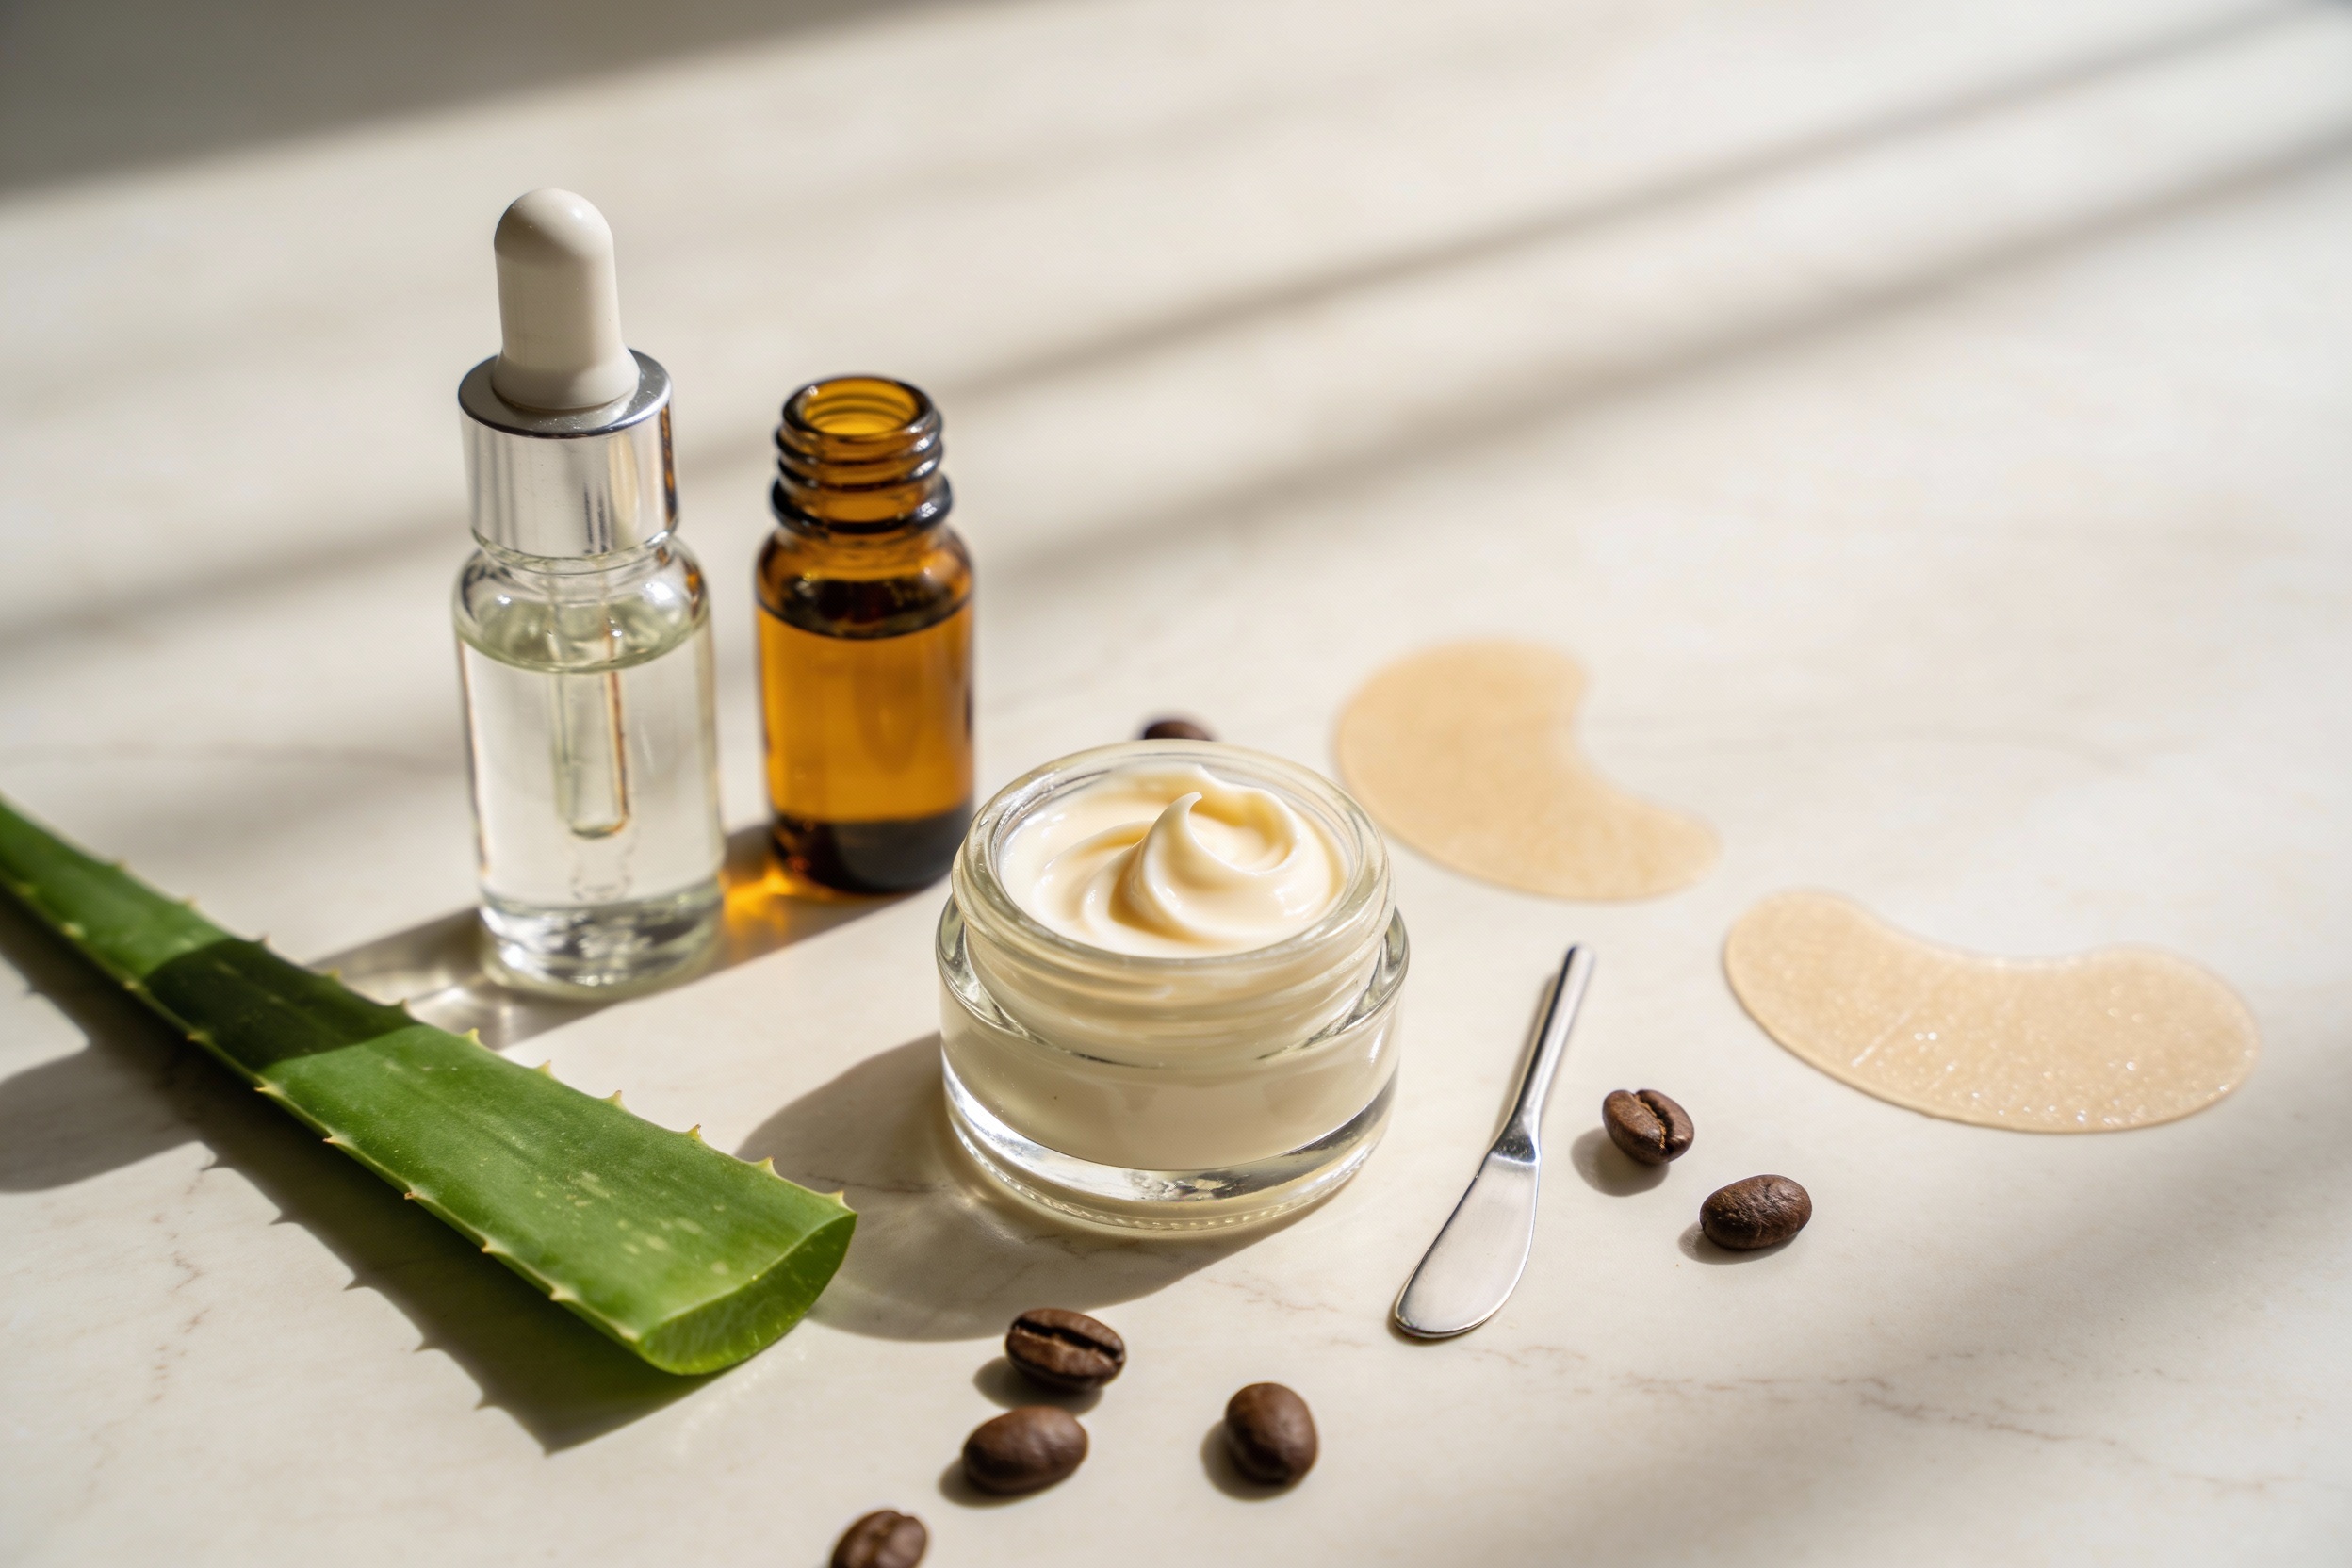
- Base (choose 1-2): Shea butter (rich), mango butter (lighter), cocoa butter (firmer)
- Oils (choose 1-2): Sweet almond (balanced), jojoba (non-greasy), rosehip (brightening), squalane (ultra-light)
- Hydrators: Aloe vera gel (soothing), glycerin (humectant), sodium hyaluronate serum (store-bought, 1-2%)
- Boosters (optional but great): Caffeine solution (e.g., 5% coffee extract), vitamin E (antioxidant), panthenol (B5, for barrier support)
- Preservation: If you include water-based ingredients (aloe, hydrosols), add a broad-spectrum preservative per label instructions. If you go oil-only, you can skip it.
Good-to-Know Safety Notes
– Patch test first. Apply behind your ear or on the jawline for 24 hours.
– Essential oils: IMO, skip them for under-eyes. If you insist, keep total EO under 0.2% and avoid mint/citrus.
– Vitamin C: Skip the L-ascorbic acid experiments here. It can sting and destabilize. Use a gentle oil-soluble derivative if you must.
Two Easy Formulas (Beginner-Friendly)
Pick one based on your comfort level. The balm is simplest. The cream feels lighter.
Option A: No-Water Balm (Beginner)
– Shea butter: 1 tablespoon
– Jojoba or squalane: 2 teaspoons
– Rosehip oil: 1 teaspoon
– Vitamin E: 3-4 drops
– Caffeine: Optional—use an oil-dispersible caffeine extract if available
Steps:
- Gently melt shea butter in a heat-safe bowl over hot water until just liquid.
- Remove from heat. Stir in oils and vitamin E.
- Cool in the fridge for 10-15 minutes until it thickens but stays soft.
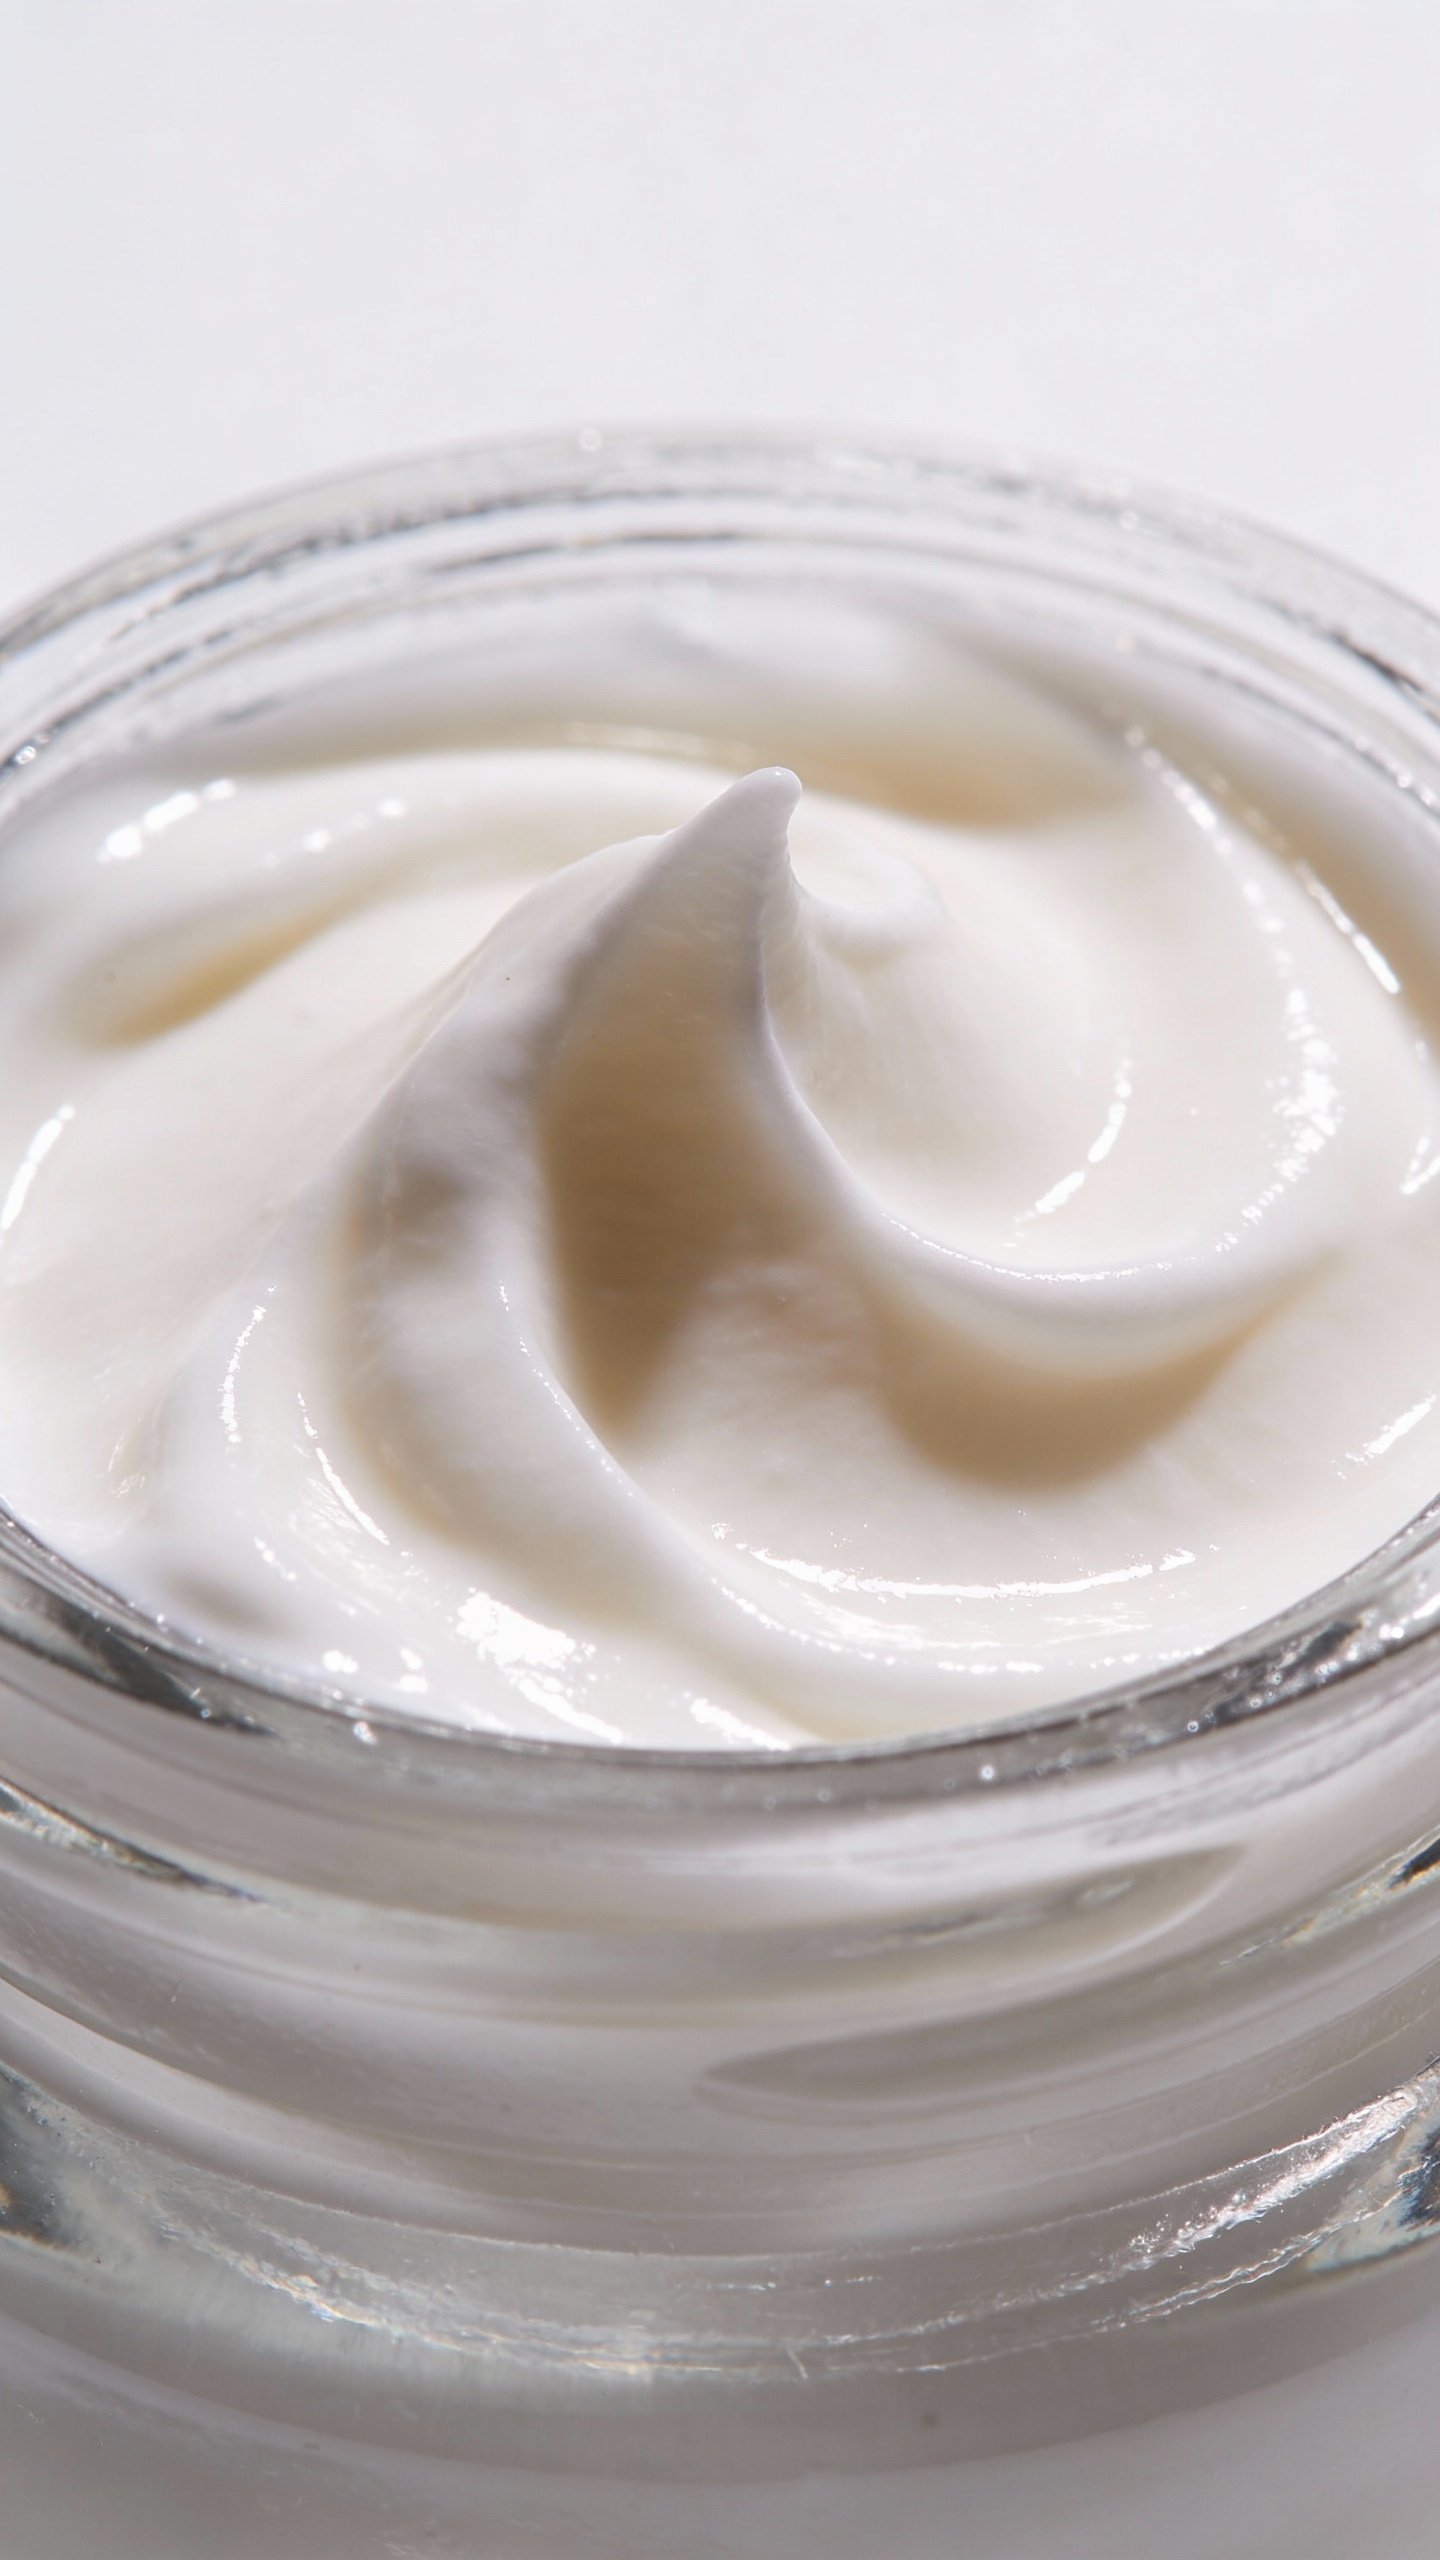
- Whip with a clean spoon or mini whisk until creamy. Jar it.
Result: A rich balm that seals in moisture and softens crepey texture. A little goes far.
Option B: Light Cream (With Water Phase)
– Oil phase:
- Mango butter: 1 teaspoon
- Squalane or jojoba: 1 teaspoon
- Emulsifying wax (e.g., Olivem 1000 or Polawax): 1 teaspoon
- Vitamin E: 3 drops
– Water phase:
- Aloe vera juice or hydrosol: 2 tablespoons
- Glycerin: 1/2 teaspoon
- Hyaluronic acid serum (1-2%): 1/2 teaspoon
– Cool-down:
- Caffeine solution (per supplier guidelines): 1/4–1/2 teaspoon
- Broad-spectrum preservative: per label (often ~0.5–1%)
Steps:
- Heat oil phase and water phase separately in double boilers until warm and the wax melts.
- Pour water phase into oil phase while mixing with a mini whisk or milk frother for 2-3 minutes.
- Let it cool until lukewarm, then mix in caffeine and preservative.
- Blend again until smooth. Jar it. It thickens as it cools.
Result: A soft, fast-absorbing cream that layers well under makeup.
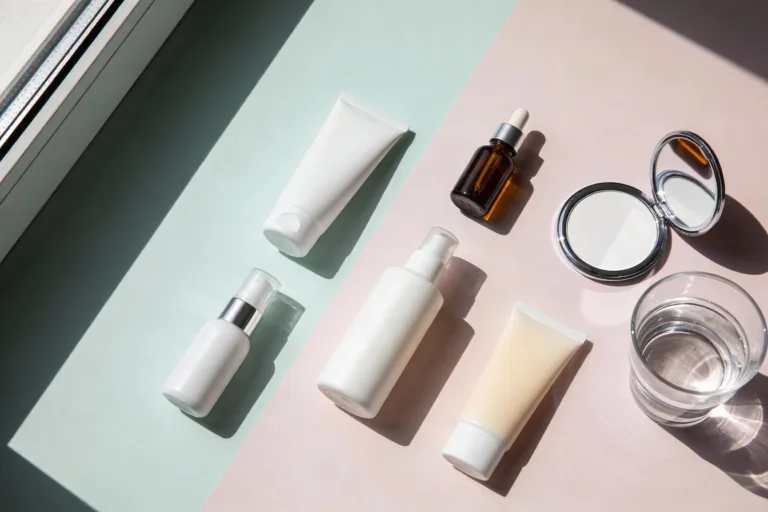
Tools, Cleanliness, and Shelf Life
You don’t need a lab, but you do need clean stuff.
- Tools: Heat-safe glass bowl, silicone spatula, mini whisk/frother, clean jars, measuring spoons.
- Sanitize: Wipe tools and jars with 70% isopropyl alcohol and let air-dry.
- Storage: Use a small jar or airless pump if you have one.
- Shelf life: Oil-only balm lasts 3-6 months if kept cool and clean. Cream with water lasts 2-3 months with preservative. If it smells weird or looks separated, toss it.

Customize It: Your Skin, Your Rules
Not vibing with shea? Swap it. Want more glow? Add it. Here’s how to tweak safely.
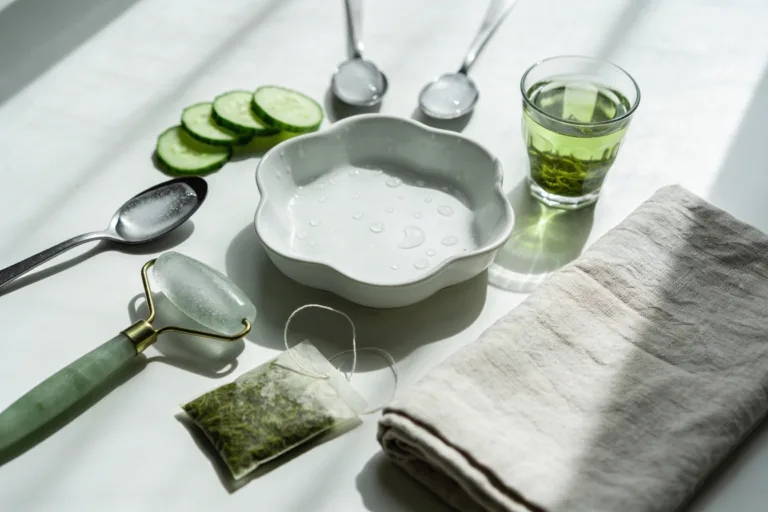
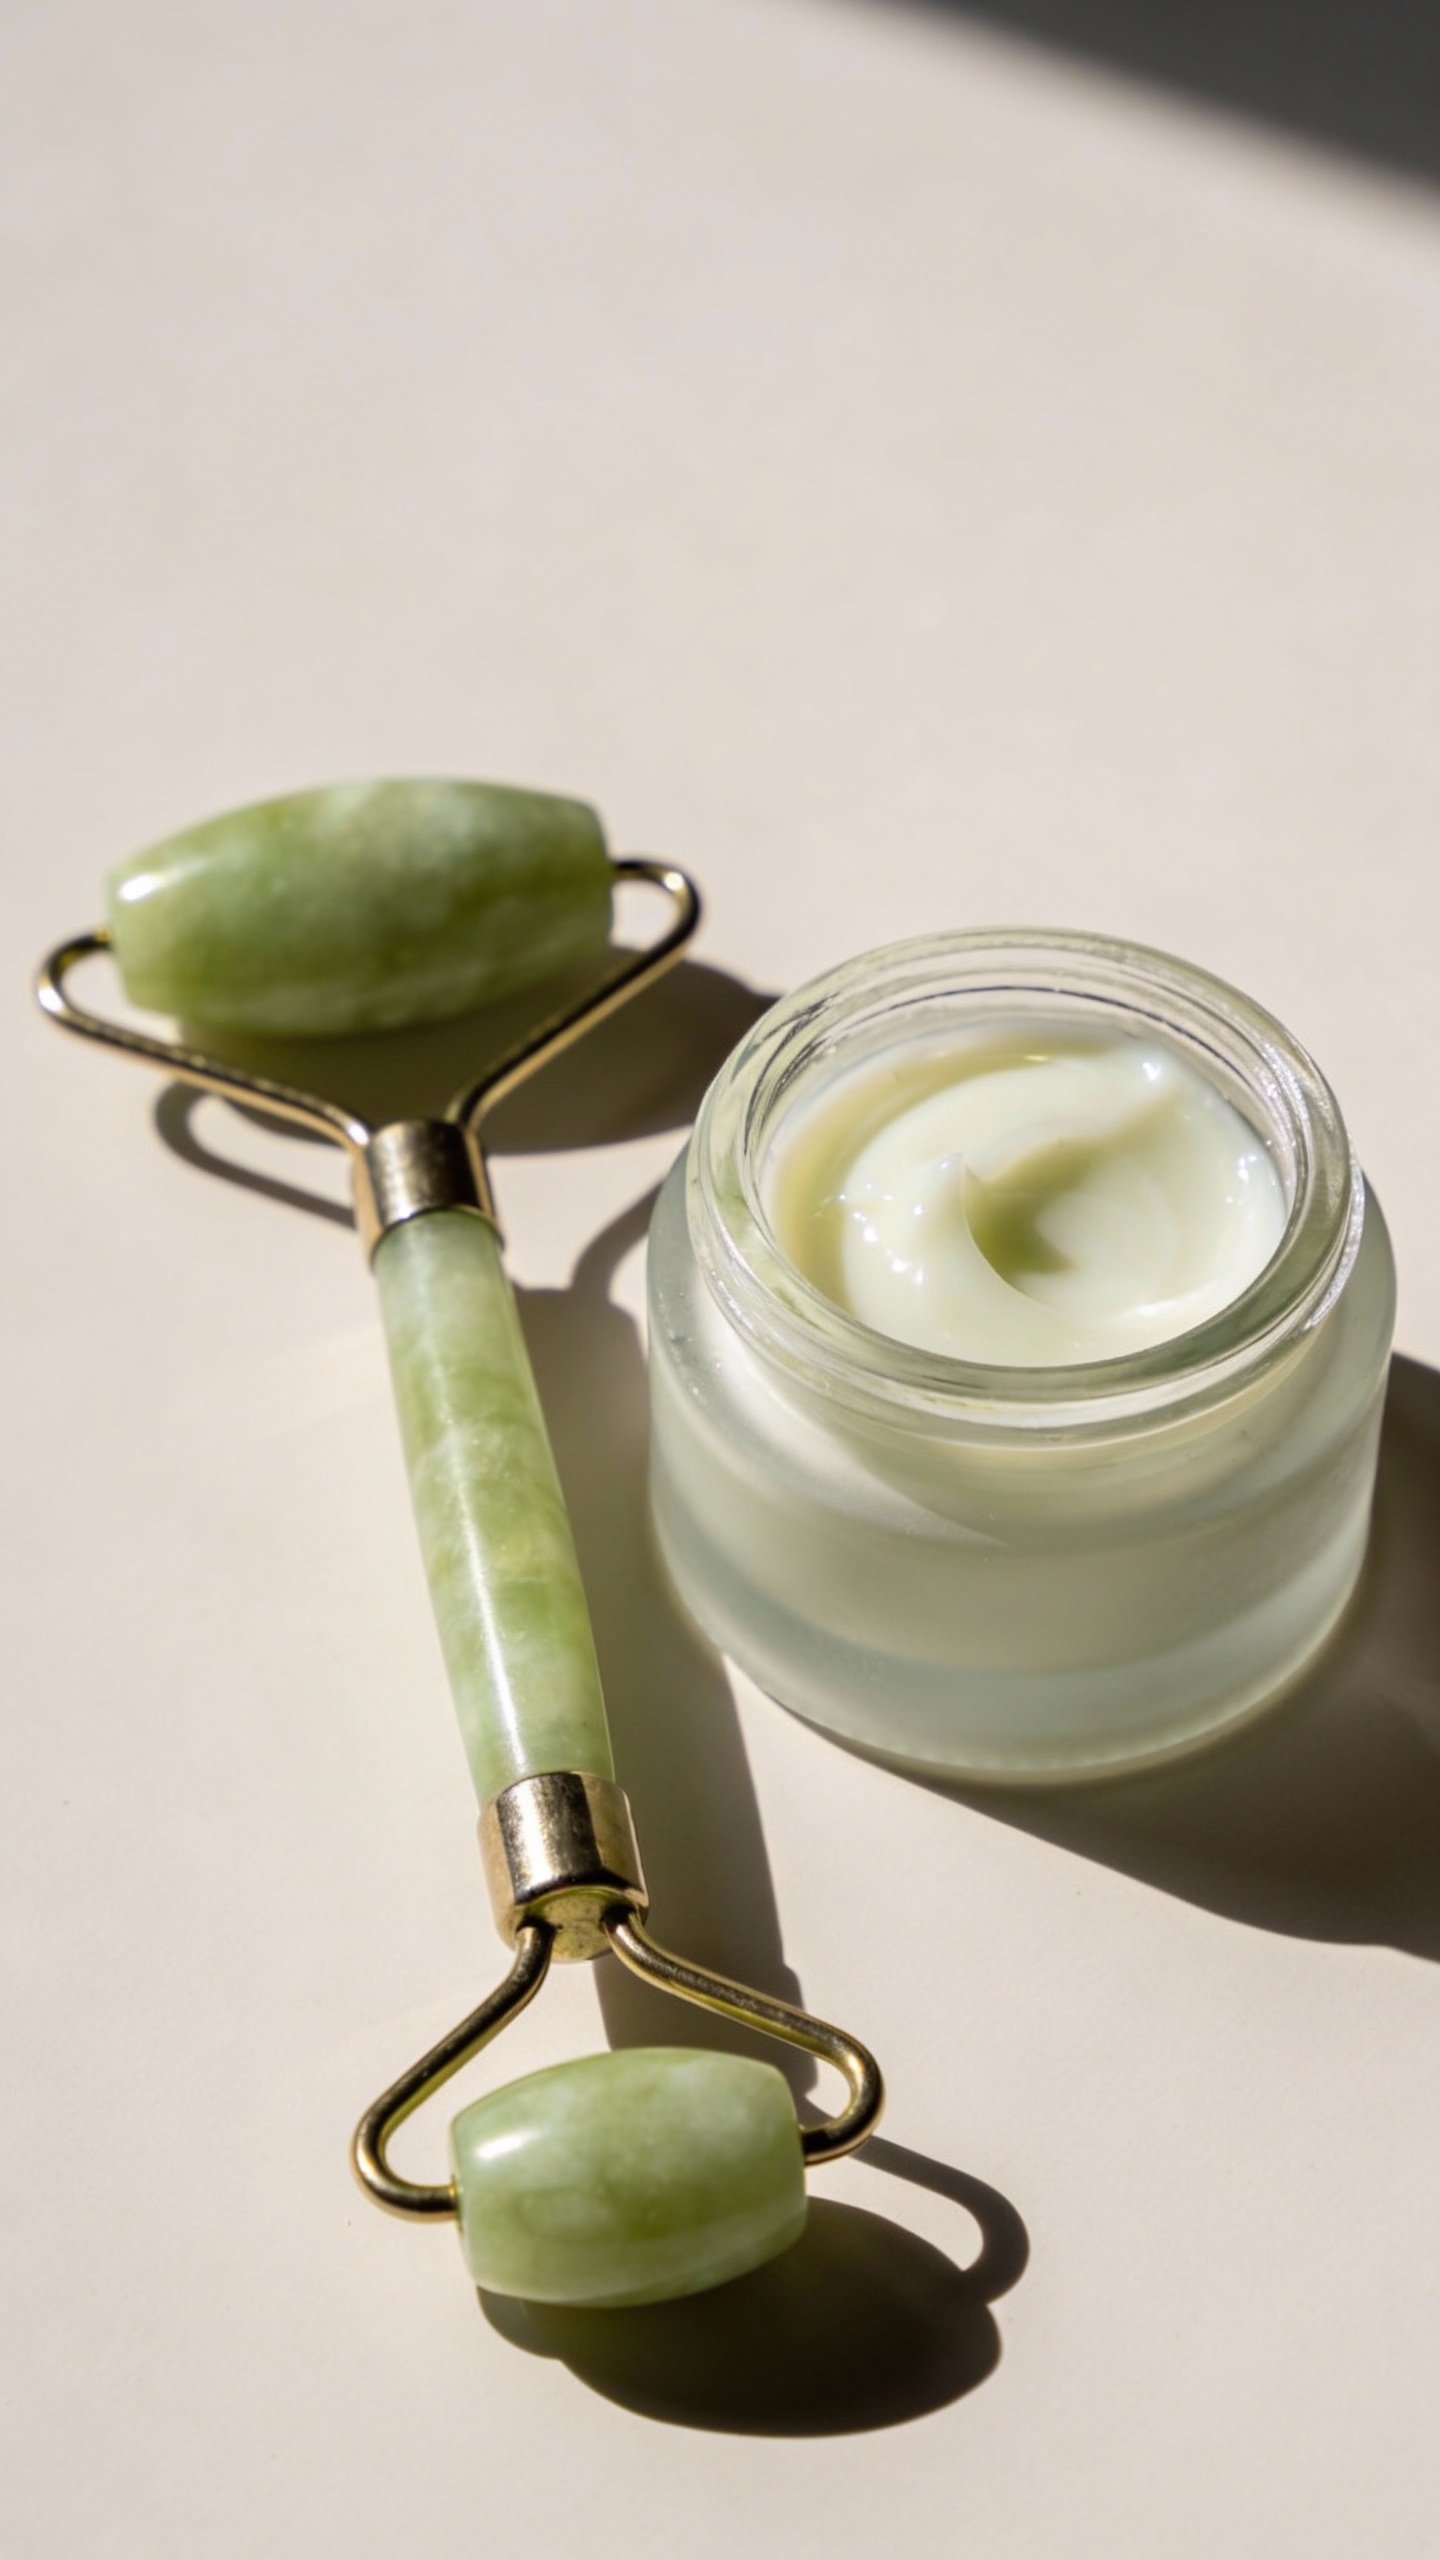
For Puffiness
– Caffeine is your MVP. Use supplier-recommended amounts.
– Store your cream in the fridge for a cooling de-puff session. Instant “I slept” vibes.
For Dry, Crepey Texture
– Choose mango or shea butter plus rosehip or marula oil.
– Add panthenol (B5) to water-based formulas for extra cushion.
For Dullness
– A touch of niacinamide (2-3%) can help in water-based formulas. Start low to avoid irritation.
– Or keep it simple: use rosehip oil for a subtle brightening effect.
If You Wear Makeup
– Keep the texture light. Choose squalane over heavier oils.
– Use a rice-grain amount and let it set 5-10 minutes before concealer. No slide, no creasing.
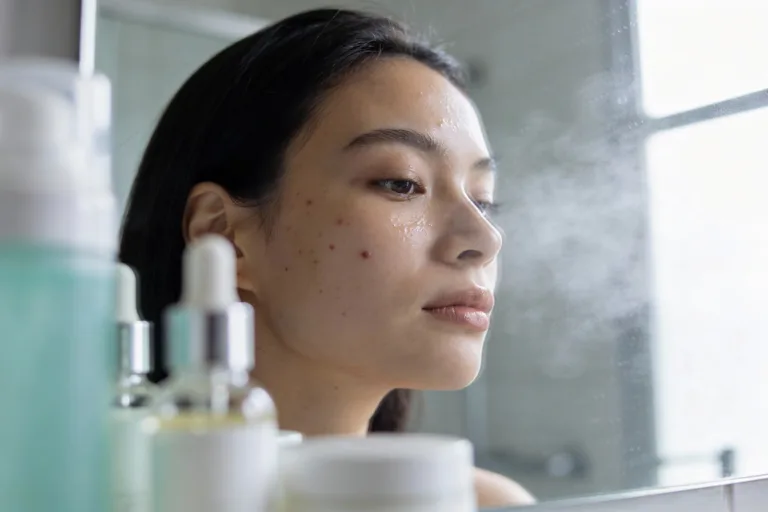
How to Apply (Without Wasting a Drop)
– Use a grain-of-rice amount per eye. Seriously—tiny.
– Tap along the orbital bone with your ring finger. Don’t massage aggressively. We’re not kneading dough.
– Apply on slightly damp skin after your serum, before sunscreen (AM) or after actives (PM).
– Nighttime: go richer. Daytime: go lighter, especially under makeup.
Troubleshooting: When Things Get Weird
– Feels greasy? Swap to squalane, reduce butter, or add a lil’ more emulsifier in creams.
– Stings or redness? Stop, rinse, and remove any actives next round. Patch test again.
– Grainy balm? It’s shea crystallizing. Remelt gently and cool it faster in the fridge.
– Separated cream? You under-emulsified. Reheat both phases gently and whisk again. It happens.
FAQ
Can I just put straight coconut oil under my eyes?
You can, but I wouldn’t. Coconut oil can feel heavy and may clog pores on some people. If you love oils, squalane or jojoba feels lighter and plays nicer with concealer.
Is caffeine safe for daily use under the eyes?
Yes, in sane amounts. Follow your extract’s usage rate and avoid contact with the actual eye. It helps with puffiness, but it won’t erase hereditary dark circles. IMO, it’s a great addition for morning use.
Do I need a preservative if I store it in the fridge?
If your formula contains water (aloe, hydrosols, glycerin solutions), yes. Refrigeration slows growth but doesn’t stop it. For oil-only balms, you can skip preservatives and just add vitamin E to help delay rancidity.
Can I add retinol to my DIY eye cream?
I’d skip it in DIY unless you’re experienced. Retinoids near the eyes can irritate easily, and stabilizing them at home can get tricky. Use a dedicated OTC retinol eye product and layer your DIY for moisture instead.
Will this fix dark circles?
Skincare helps with hydration and texture, and caffeine can reduce puffiness. But true dark circles often come from genetics, thin skin, or shadowing. Topicals help some, sleep and sunscreen help more, and fillers or lasers handle the rest—if you want to go there.
How often should I use it?
Start with once daily at night. If your skin loves it, go morning and night. If concealer slips, use less or switch to the lighter cream.
Wrap-Up: Your Tiny Jar of Eye Magic
You don’t need a fancy label to get results. With a few well-chosen ingredients, you can whip up an under-eye formula that hydrates, smooths, and fits your routine (and budget). Make a small batch, tweak as you go, and listen to your skin. FYI: the best cream is the one you’ll actually use—consistently.