How to Make Clean Skincare Products at Home That Work
You want clean skincare that actually respects your skin and your wallet? Make it yourself. You control every ingredient, skip the questionable stuff, and customize for your skin needs. It’s simpler than you think, and yes, you can make it smell nice without turning your bathroom into a chemistry lab. Grab some jars and let’s get mixing.
Why Go DIY With Skincare?
You skip filler ingredients and mystery fragrances. You also get fresher products that your skin can actually recognize and use. Plus, you can tweak textures and scents until you nail your perfect formula. Fun? Yes. Effective? Also yes.
Bonus: You’ll make small batches, so your products feel alive and potent. No year-old lotion pretending it’s “all natural.”
Overeating doesn’t mean something is wrong with you. It means your system needs a reset.
If cravings keep pulling you off track, this helps you regain control without restriction. You’ll learn simple, realistic steps to stop overeating and feel satisfied again.
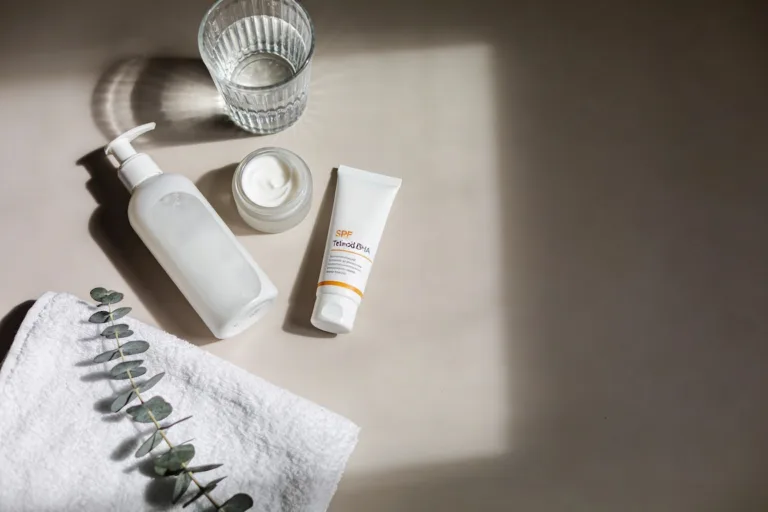
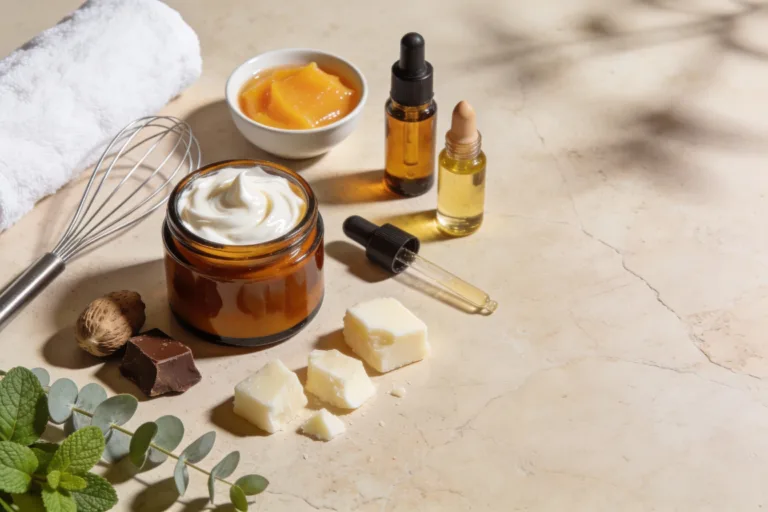
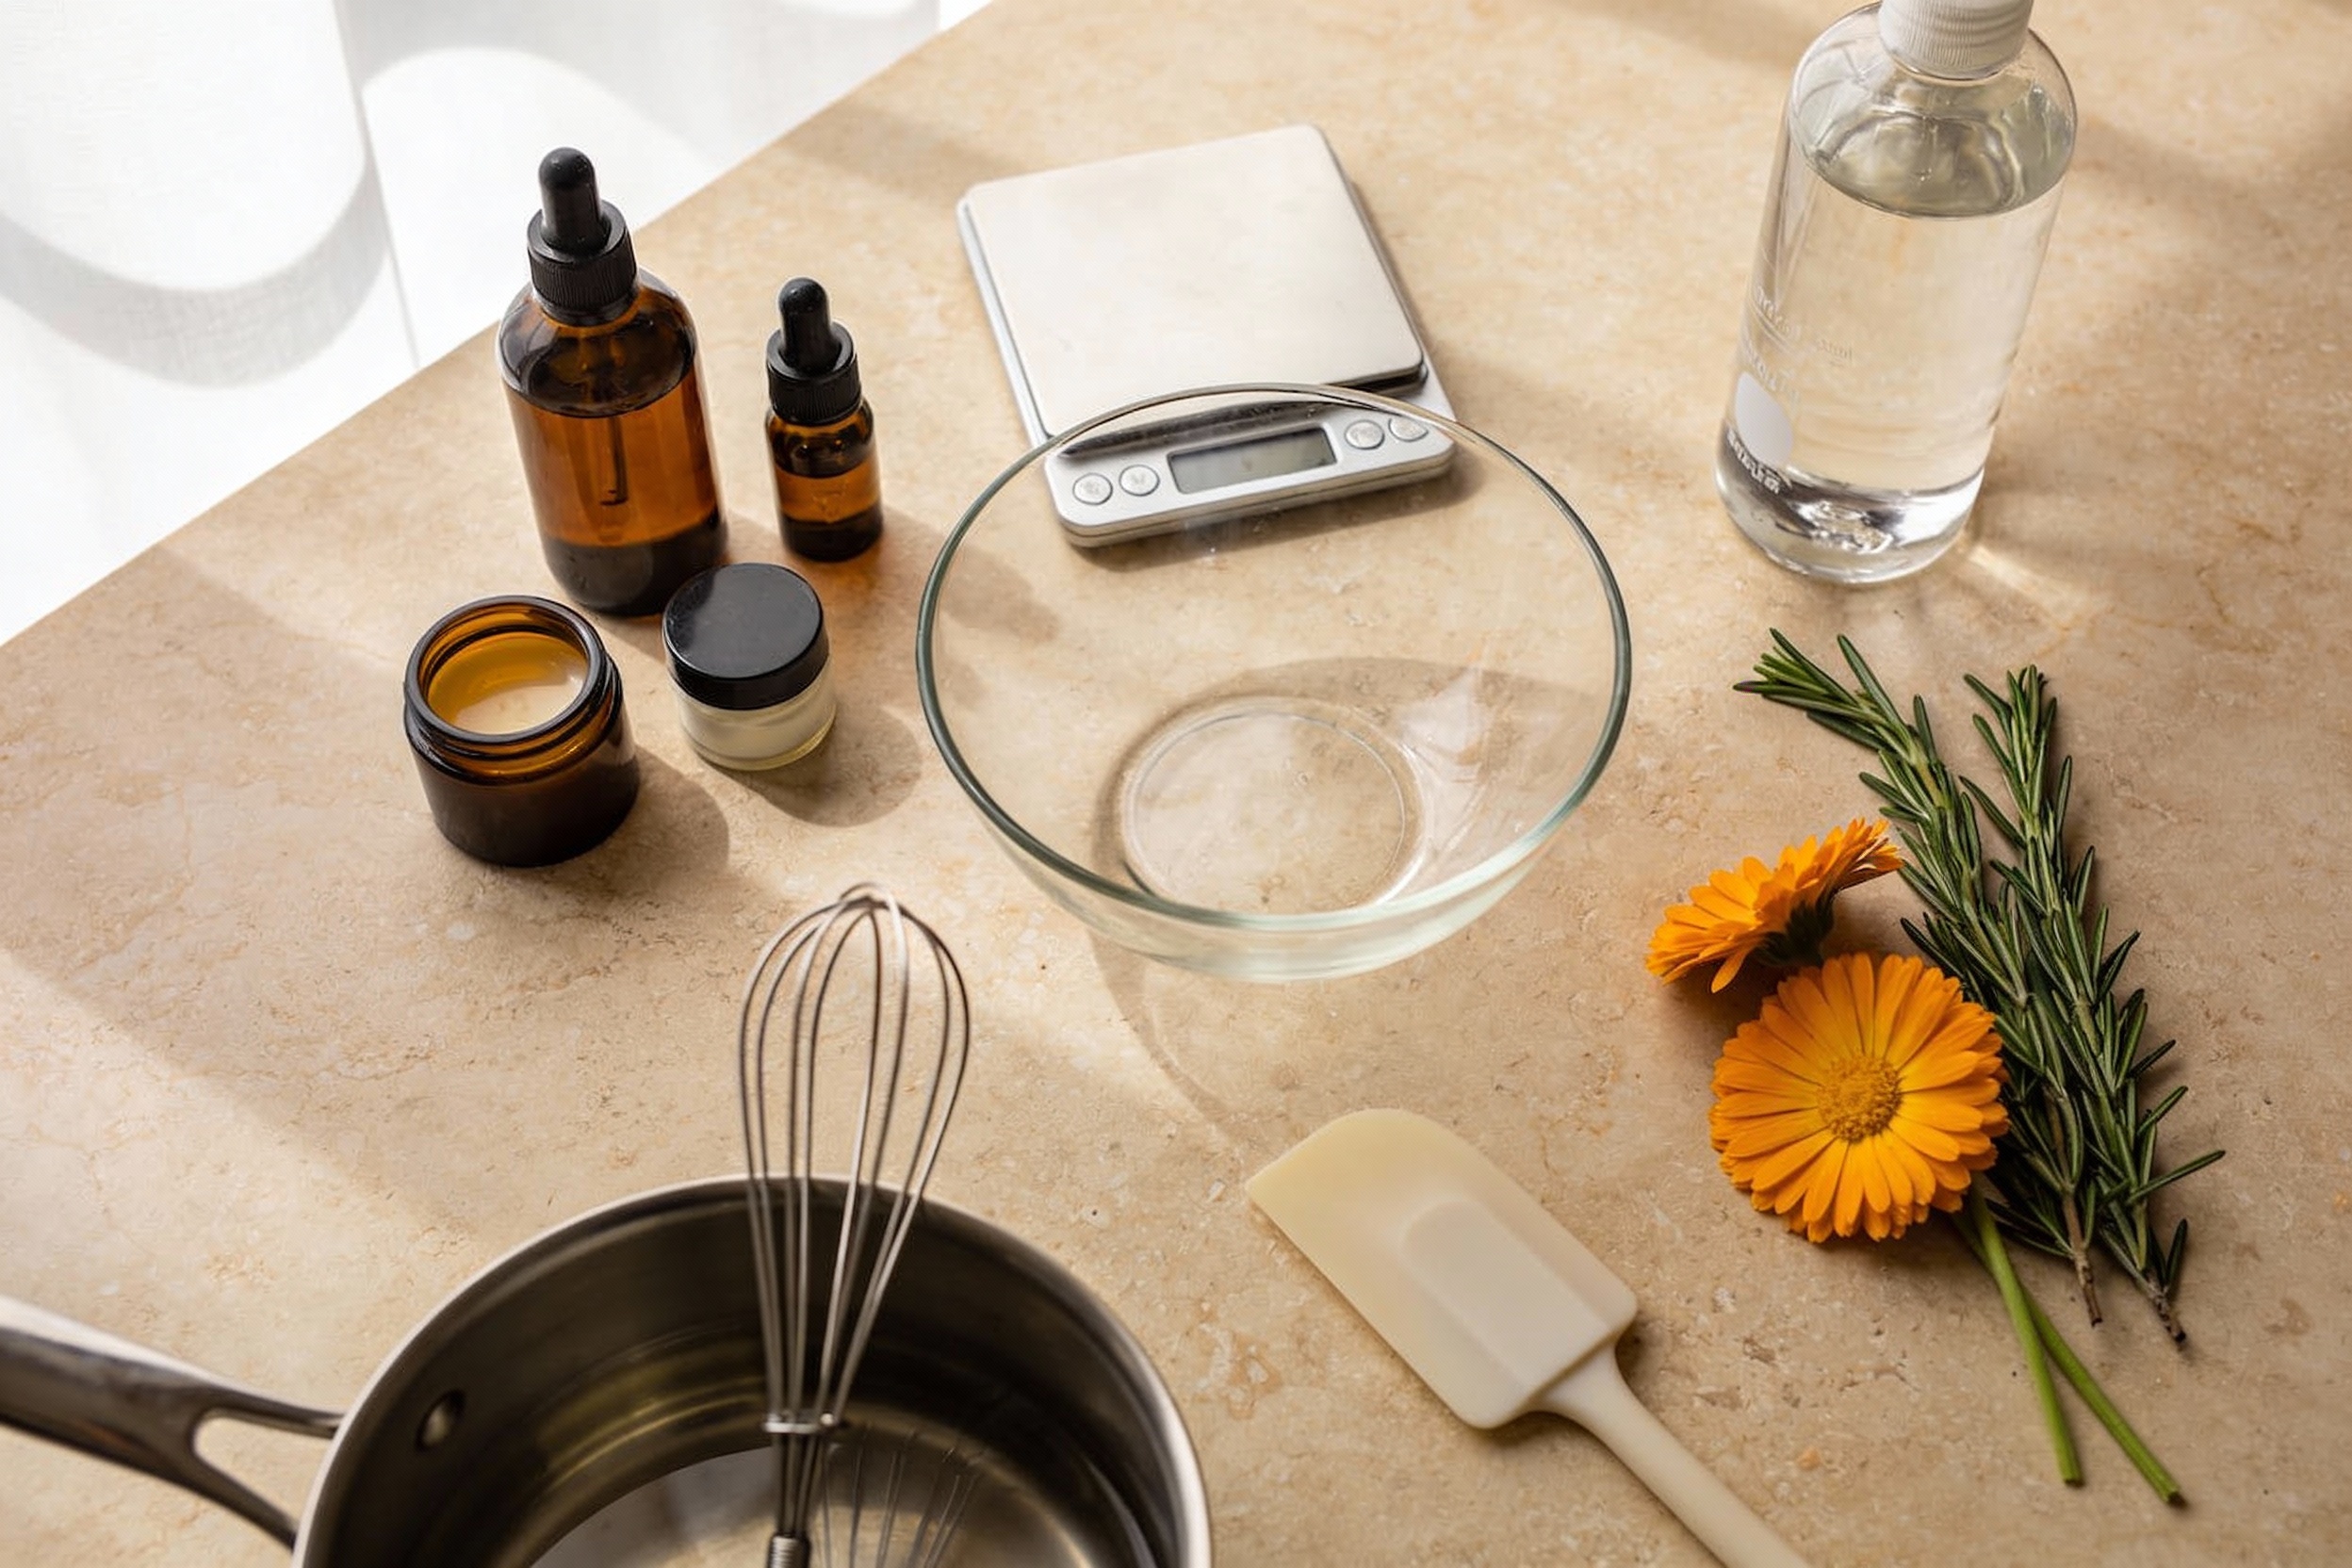
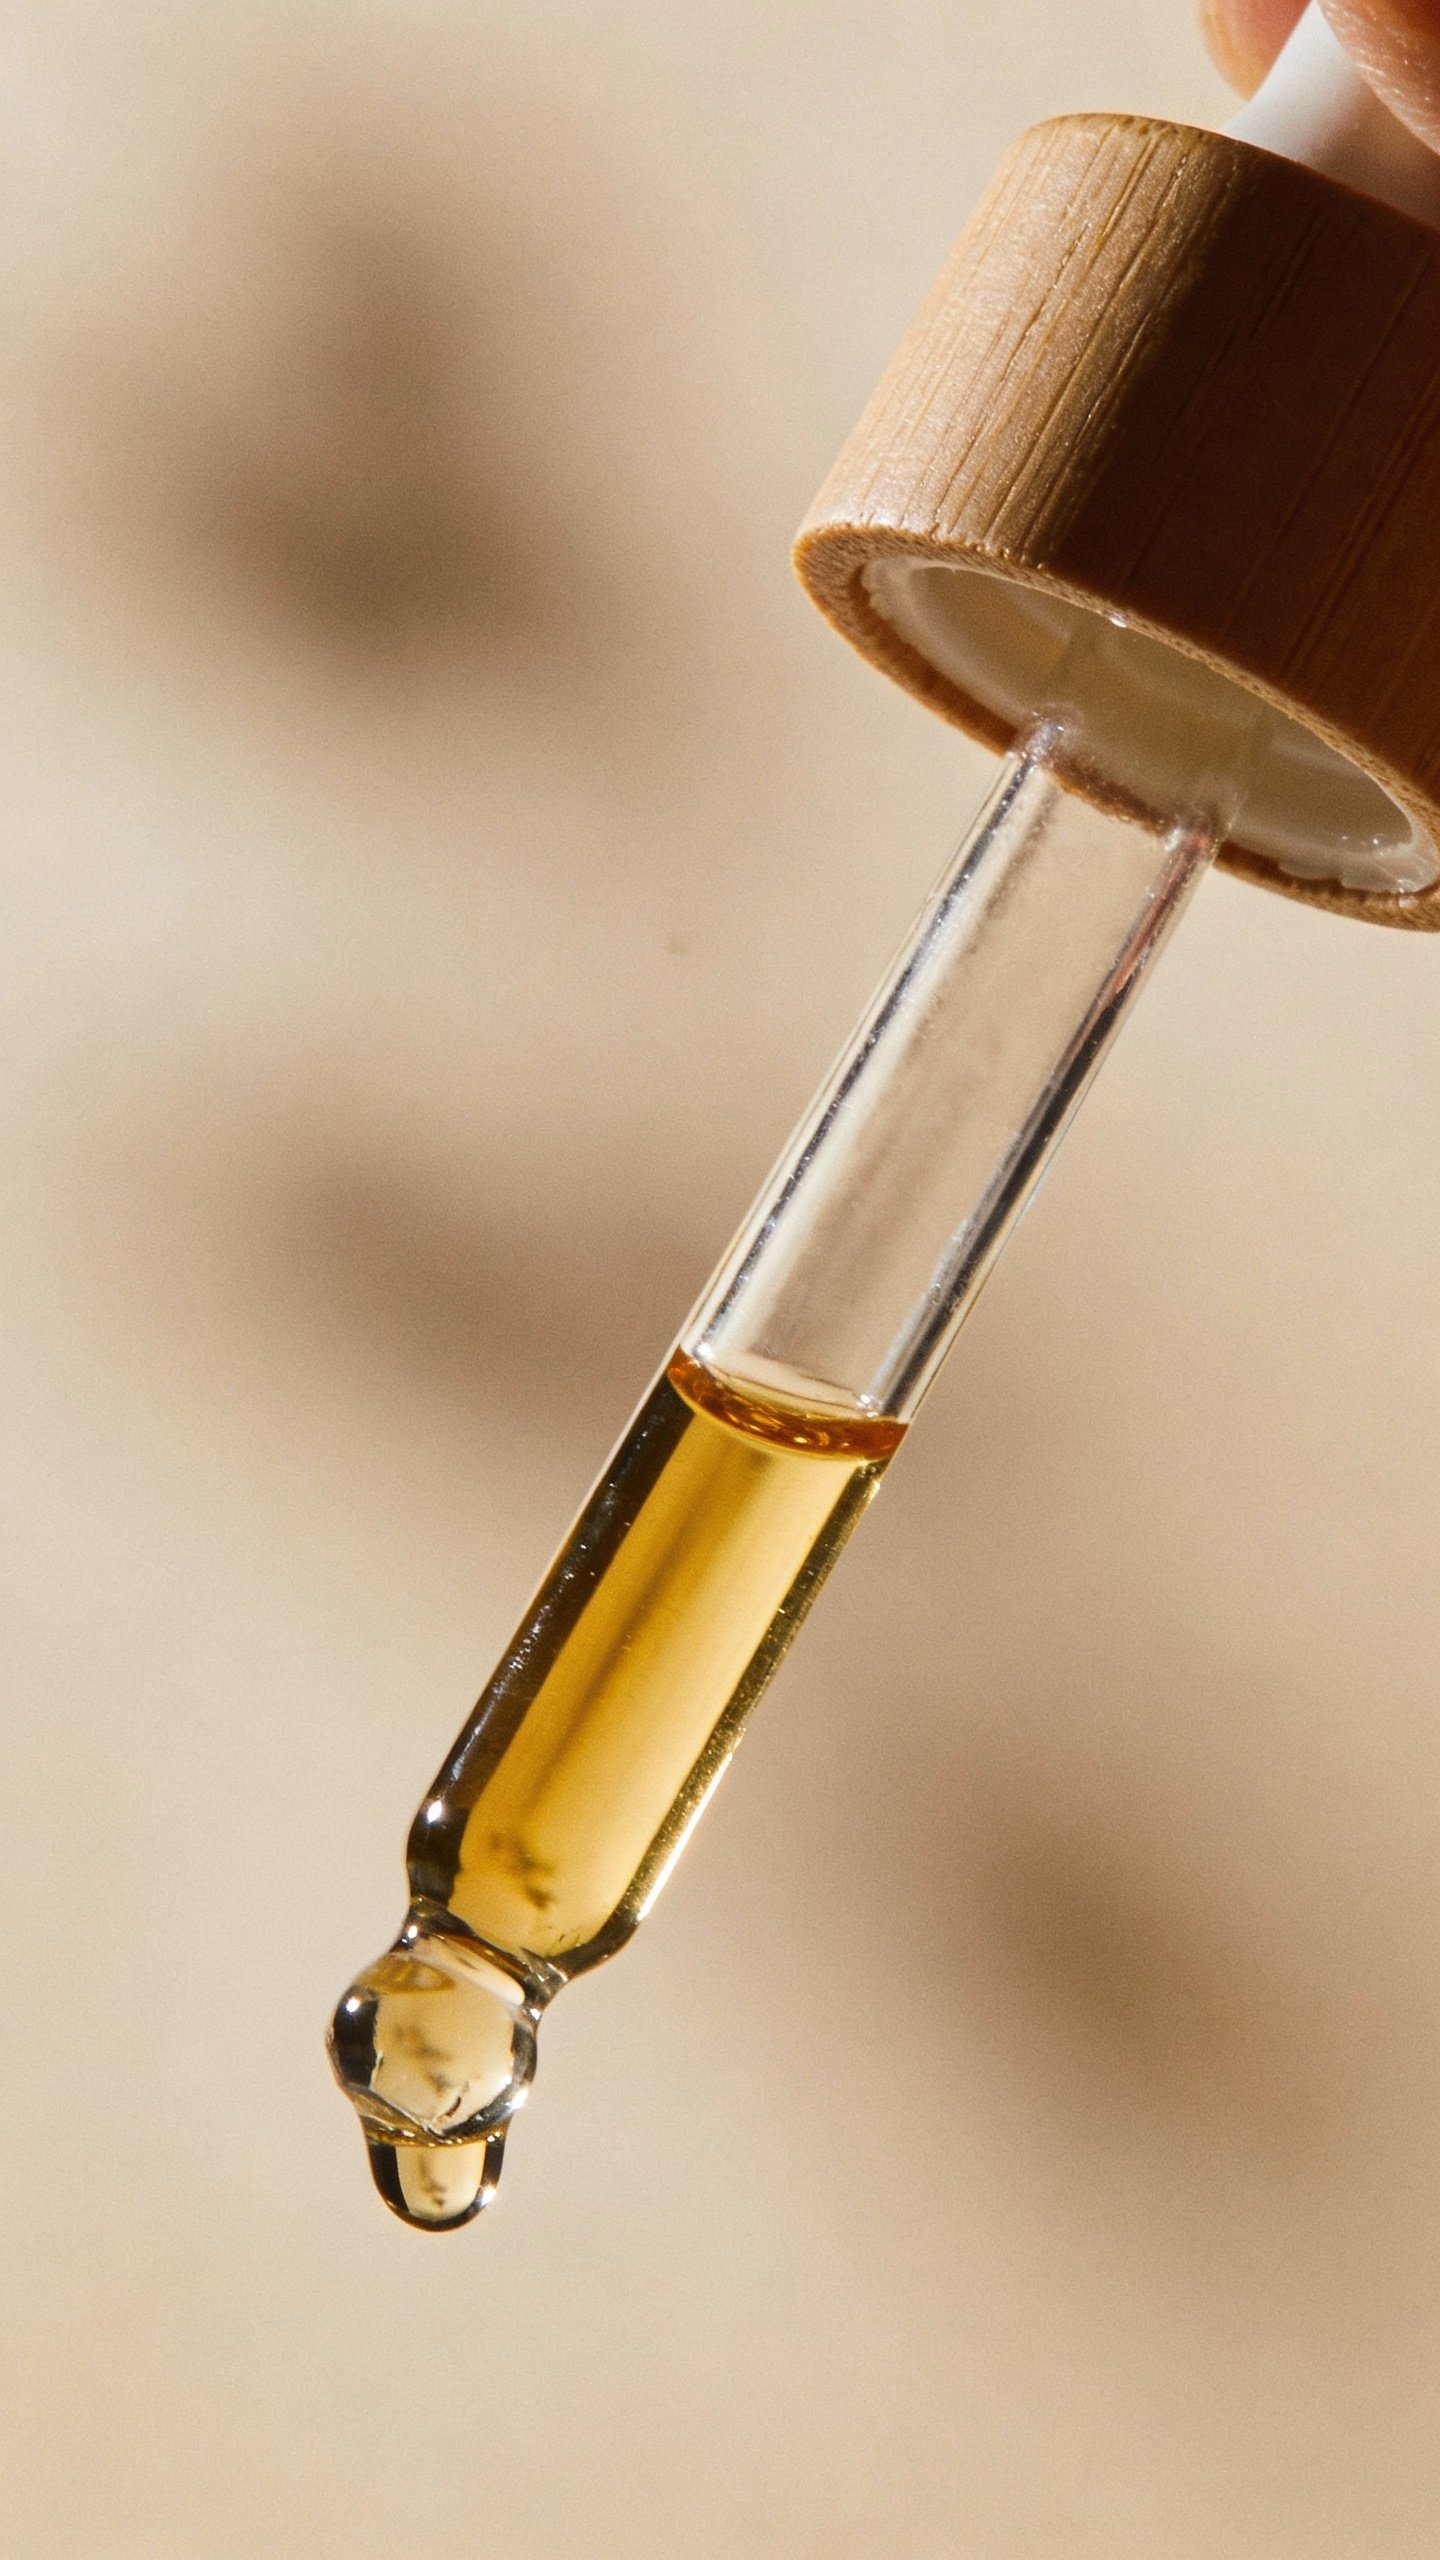
Start With the Basics: Your DIY Toolkit
You don’t need fancy gear. Keep it simple and clean.
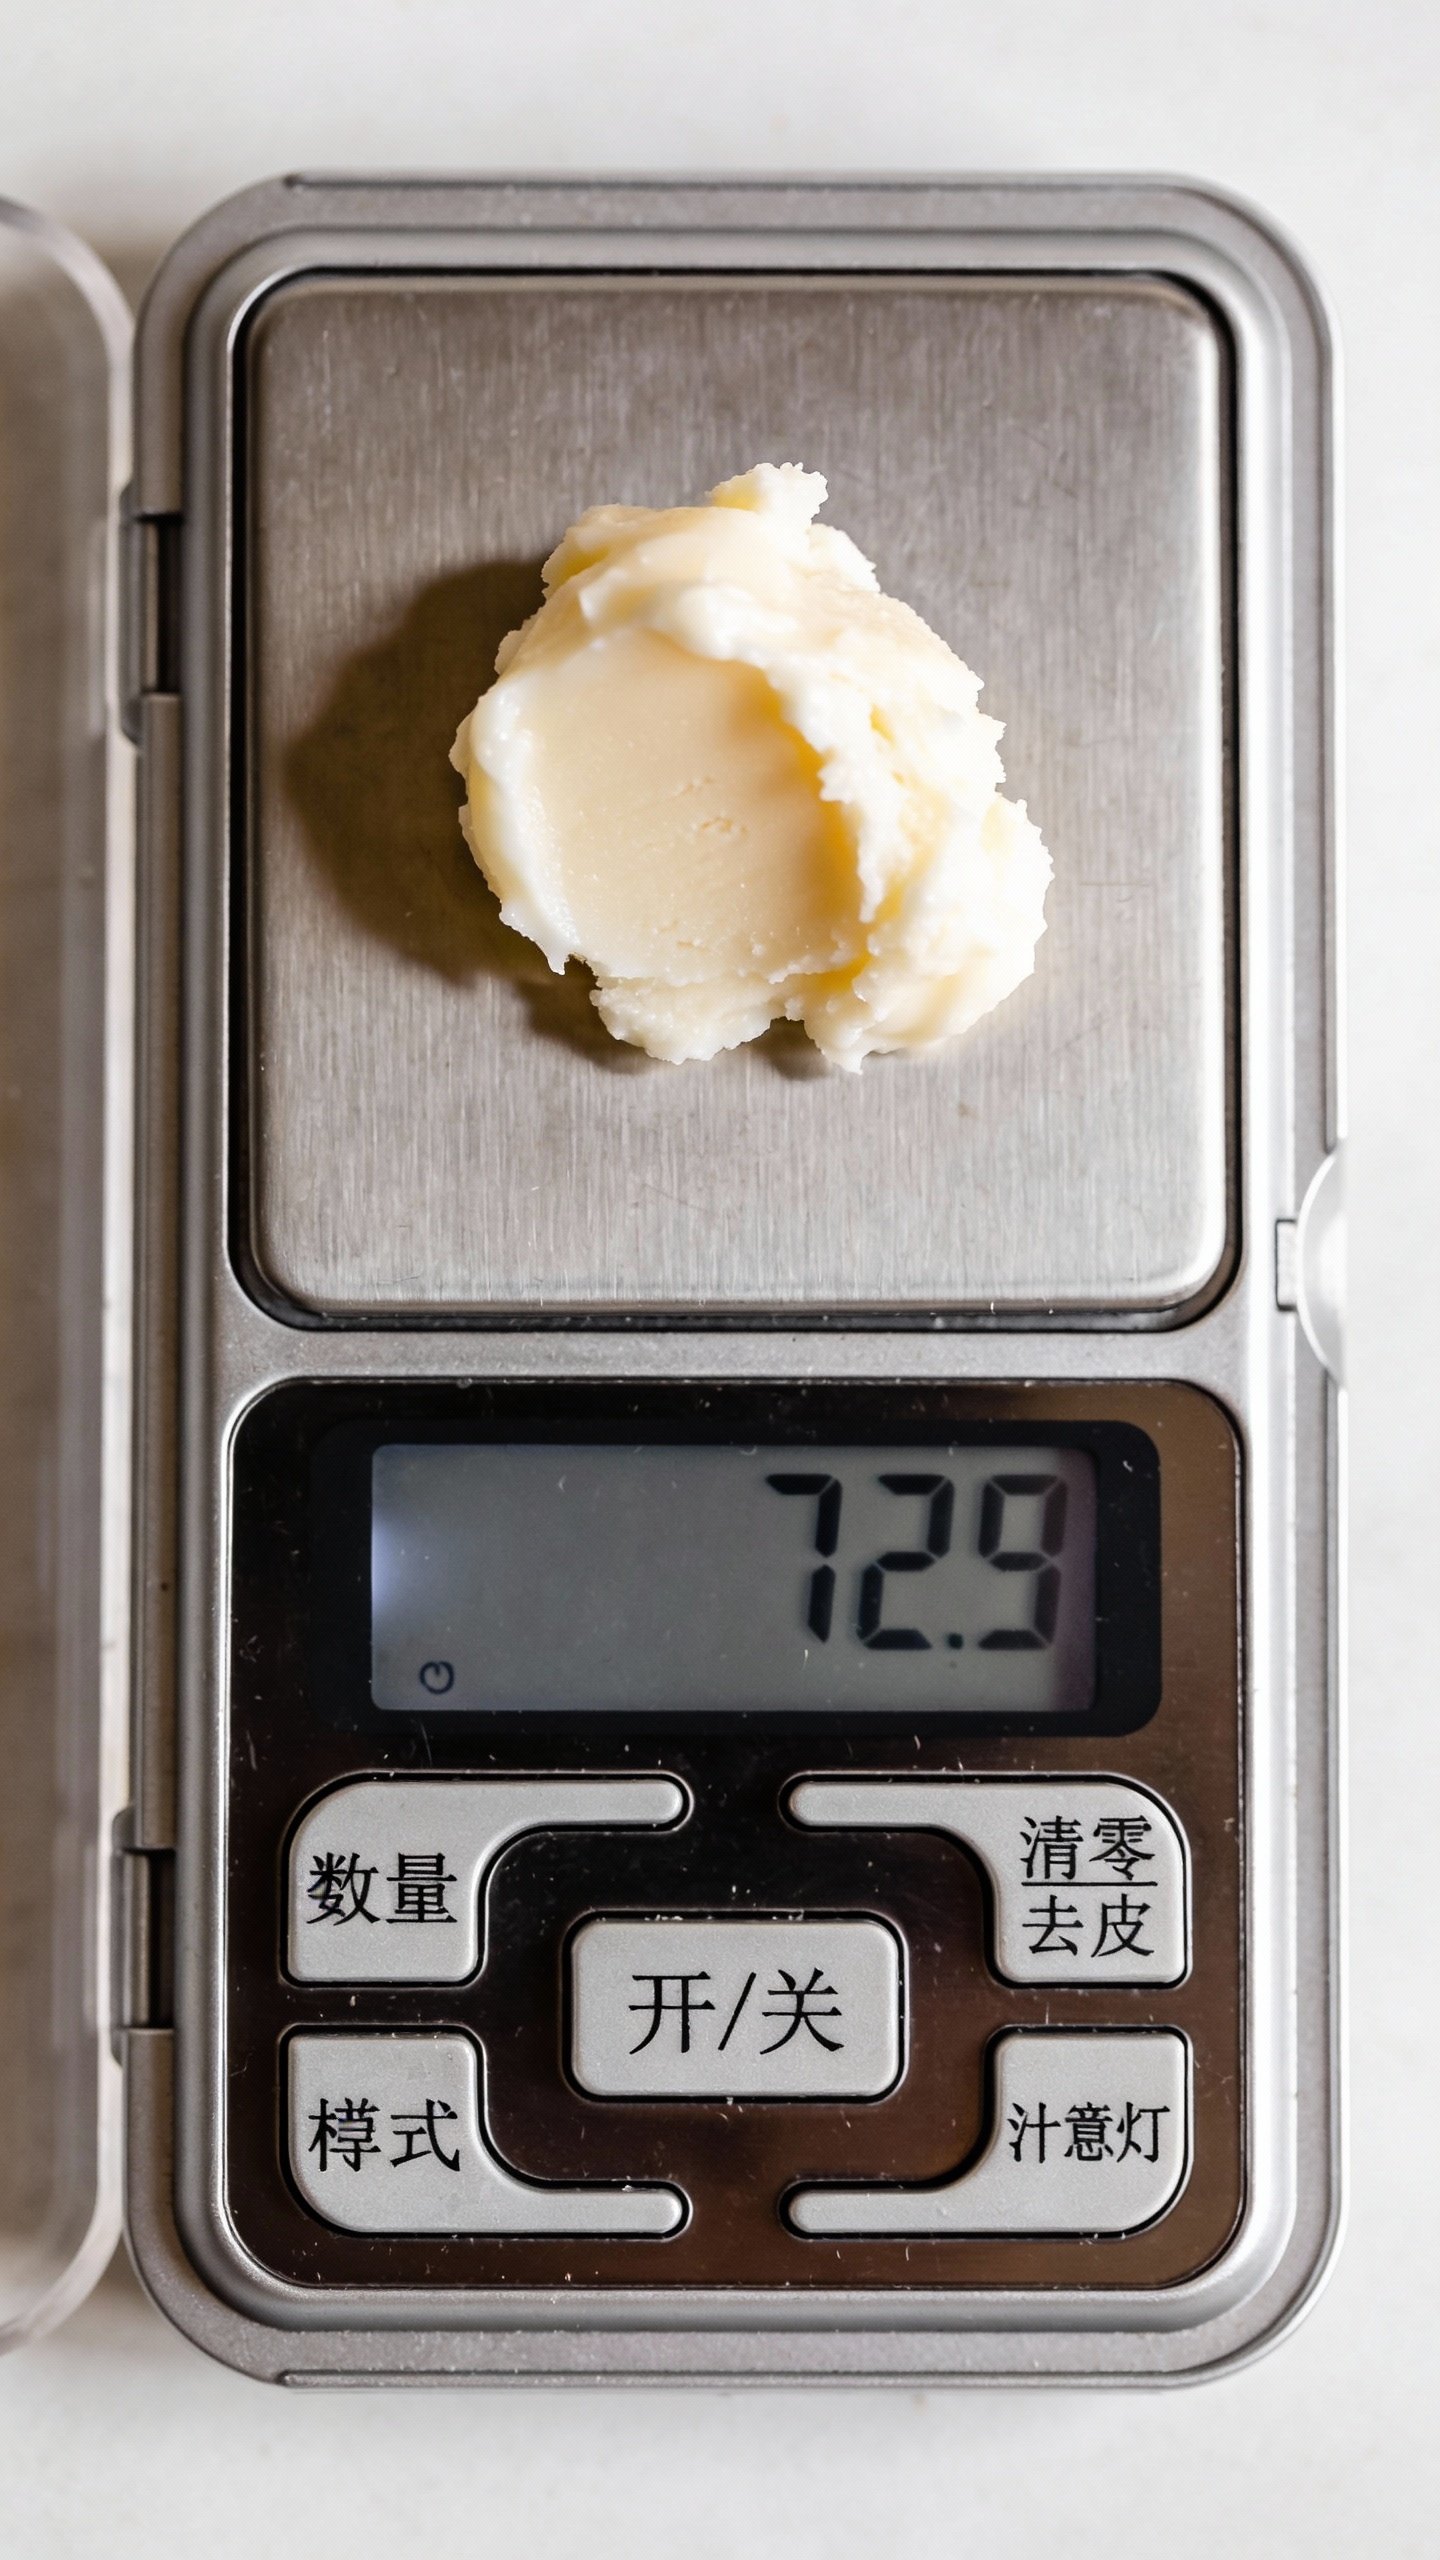
- Measuring tools: Digital scale (grams), measuring spoons.
- Mixing: Glass bowls, silicone spatulas, a mini whisk or milk frother.
- Heat: Double boiler (a bowl over a pot of simmering water).
- Storage: Dark glass bottles and jars with tight lids or pumps.
- Sanitation: 70% isopropyl alcohol for wiping tools and containers.
- Labels: Masking tape + marker for ingredients and dates. Future you will thank you.
Shopping List: Clean, Reliable Ingredients
Keep your starter kit small and targeted. Buy from reputable suppliers (cosmetic-grade, ideally).
- Oils: Jojoba, sweet almond, hemp seed, rosehip (for glow), squalane (non-greasy).
- Butters: Shea, cocoa, mango (mango feels lighter; great for summer).
- Humectants: Glycerin, hyaluronic acid (low molecular weight for hydration).
- Hydrosols: Rose, chamomile, or green tea hydrosol for gentle toners.
- Clays: Kaolin (gentle), French green (oil-absorbing), rhassoul (exfoliating).
- Actives: Niacinamide powder (easy, water-soluble), panthenol (pro-vitamin B5).
- Emulsifier: Polawax or Olivem 1000 for lotions.
- Preservative: Geogard ECT or Leucidal Complete for water-based products. Non-negotiable.
- Optional scent: Essential oils like lavender or chamomile. Use sparingly.
Rules You Shouldn’t Break (Unless You Like Mold)
I love a rebellious spirit, but let’s not gamble with skincare safety.
- Preserve anything with water. Hydrosols and aloe count. No preservative = short shelf life + potential ick.
- Sanitize everything. Wipe tools and containers with alcohol. Wash hands. Tie hair back. Play clean-room cosplay.
- Label. Note ingredients and date. Toss it if it looks or smells off.
- Patch test. Always try new formulas on your inner arm for 24 hours.
- Essential oils are potent. Keep total usage at or below 1% for face products. IMO, 0.5% feels safer.
Simple Formulas That Actually Work
Let’s build from easiest to slightly more advanced. No fluff, just proven basics.
1) Gentle Oil Cleanser (No Tightness, No Drama)
- Jojoba oil: 70%
- Sweet almond or squalane: 30%
- Optional: 1% polysorbate 80 to help rinse clean (not mandatory, but helpful)
Directions:
- Mix oils in a bottle. Shake.
- Massage onto dry face for 60 seconds.
- Emulsify with a little warm water and wipe with a damp cloth.
Why it works: Oils dissolve sunscreen and makeup gently. Jojoba mimics skin’s sebum.
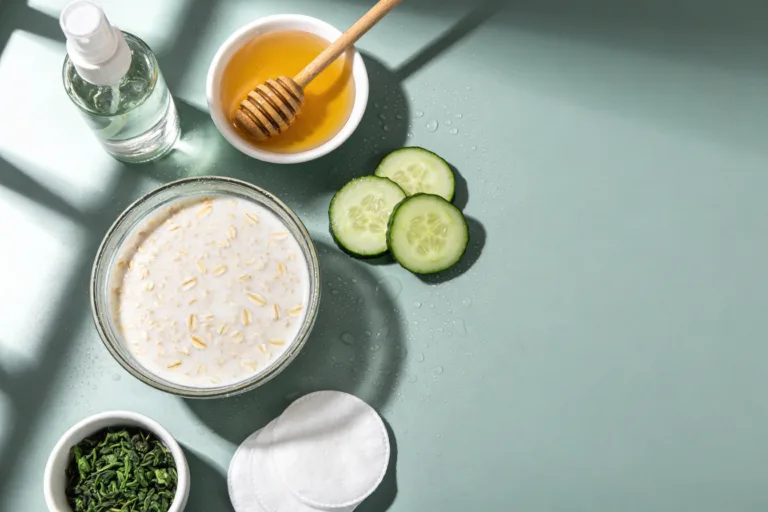
2) Hydrating Toner (Balanced and Bouncy)
- Rose hydrosol: 92%
- Glycerin: 3%
- Niacinamide (water-soluble): 3–4%
- Panthenol: 0.5–1%
- Broad-spectrum preservative: per supplier rate
Directions:
- Whisk all ingredients until dissolved.
- Bottle in a spray or pump. Label.
Why it works: Niacinamide supports barrier health, glycerin pulls in moisture, panthenol soothes. Use after cleansing, before moisturizer.
3) Glow Serum With HA (Light and Quenching)
- Distilled water: 88–90%
- Hyaluronic acid solution (1%): 5–7%
- Aloe vera juice: 3–5%
- Preservative: per supplier rate
Directions:
- Hydrate HA if needed, then mix into water + aloe.
- Adjust pH to 5–6 if you can (optional but ideal).
- Bottle with a pump. Store cool.
Pro tip: Apply to damp skin and seal with a cream or oil. Otherwise it can feel tight. FYI, that’s not dehydration—it’s user error.
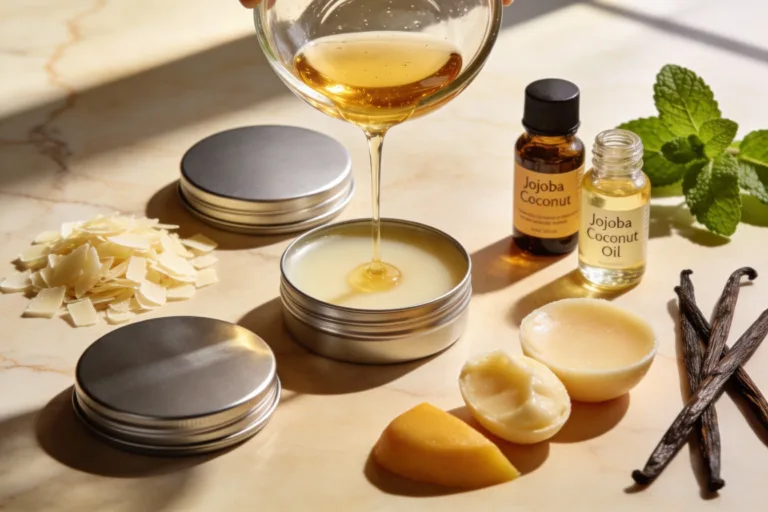
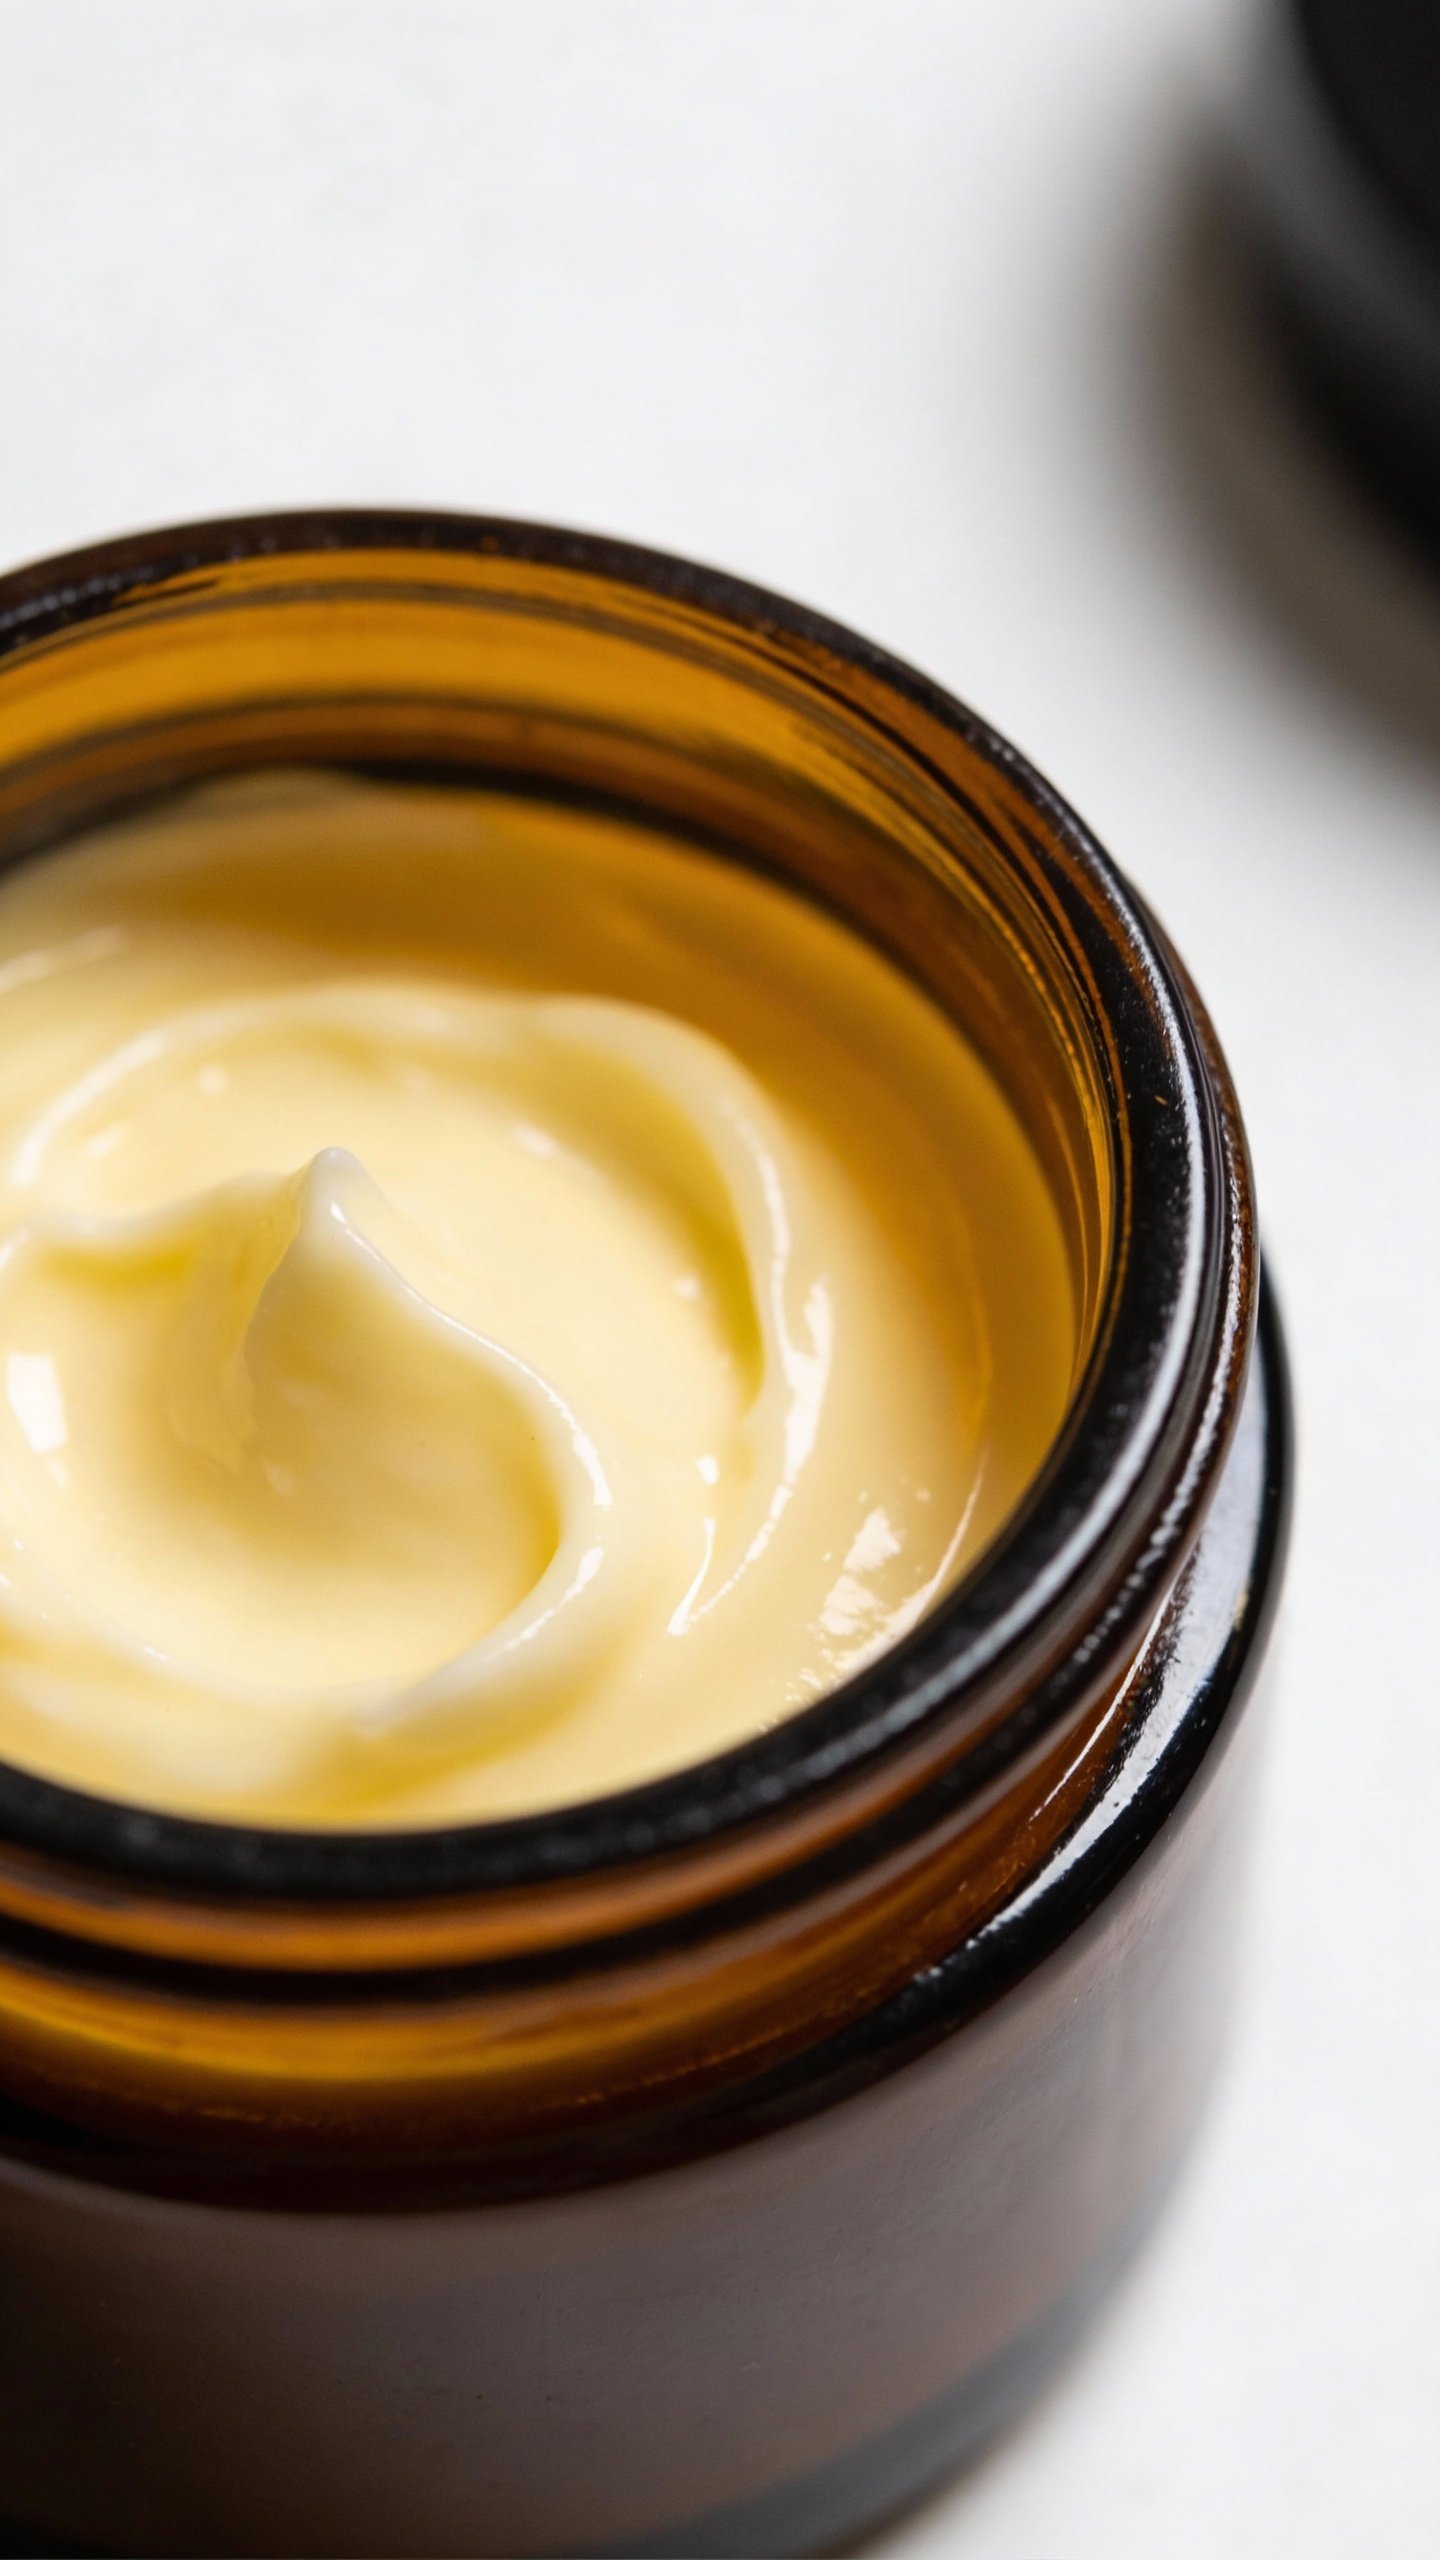
4) Whipped Body Butter (For Dry Skin and Showers-Too-Hot People)
- Shea butter: 50%
- Coconut oil or cocoa butter: 15%
- Jojoba or sweet almond oil: 35%
- Optional: 0.5% vanilla oleoresin or a skin-safe essential oil
Directions:
- Melt butters with oils over low heat.
- Chill until cloudy, then whip until fluffy.
- Scoop into a jar. No water = no preservative needed.
Note: A little goes a long way. Use after shower while skin is damp.
5) Basic Lotion (Beginner-Friendly Emulsion)
Phase A (Water phase):
- Distilled water or hydrosol: 70%
- Glycerin: 3%
Phase B (Oil phase):
- Jojoba or squalane: 15%
- Emulsifying wax (Polawax/Olivem 1000): 5–6%
Cool down:
- Niacinamide or panthenol: 2–4% total
- Preservative: per supplier rate
Directions:
- Heat Phase A and Phase B separately to ~70°C (hot but not boiling).
- Pour B into A while mixing. Blend 2–3 minutes until uniform.
- Cool to under 40°C, then add cool-down ingredients. Mix, bottle, label.
Texture tweaks: More water = lighter. More wax or butter = thicker.
Customize for Your Skin Type
You’re the formulator now. Tailor it.
- Oily or acne-prone: Favor squalane, hemp seed oil, niacinamide, green tea hydrosol, kaolin clay. Keep butters low.
- Dry or mature: Add rosehip oil, ceramide-rich products if available, panthenol, HA, and richer butters like mango.
- Sensitive: Go fragrance-free. Use chamomile hydrosol, oat extract (if you have it), panthenol, and squalane. Patch test religiously.
When to Add (or Avoid) Essential Oils
Use essential oils sparingly or skip them. They can irritate, especially on the face. If you insist, keep total usage under 1% and choose gentler options like lavender or Roman chamomile. IMO, fragrance-free usually feels better and behaves better.

Smart Storage and Shelf Life
Your fridge is not a magic potion vault, but it helps.
- Oil-only products: 6–12 months if stored cool and dark. Add a few drops of vitamin E to slow rancidity.
- Water-based products: 2–3 months if preserved properly. If color, scent, or texture changes, toss it.
- Packaging matters: Use pumps and squeeze bottles to reduce contamination. Open jars invite drama.
Signs It’s Time to Bin It
If you see cloudiness, separation that won’t mix, fuzz (yikes), or a sour/odd smell, say goodbye. Your skin deserves better than bio experiments.
Common Mistakes (So You Can Skip Them)
- Skipping preservatives in toners and serums. Please don’t. Microbes party in water.
- Adding essential oils by vibe instead of measurement. Measure in grams, not drops, for safety and consistency.
- Overdoing actives. More niacinamide doesn’t mean more glow. Stay in the 2–5% range.
- Not checking pH when using actives. Niacinamide and panthenol behave best around pH 5–6.
- Ignoring your climate. In humidity, lighter formulas feel better. In winter, bump up oils and butters.
FAQ
Can I skip preservatives if I store my toner in the fridge?
Nope. Cold temps slow growth, but they don’t stop it. Any water-based product needs a broad-spectrum preservative. Use the recommended rate and mix it in thoroughly.
What if I don’t have a scale?
Get one. Precise measurements matter for safety, texture, and repeatability. FYI, a small kitchen scale that measures to 0.1 g costs less than a fancy latte habit.
Are essential oils necessary?
Not at all. They smell nice, but they can irritate. If your skin gets cranky easily, skip them and enjoy the natural scent of your hydrosols and oils. Your barrier will clap.
How do I test if a new product breaks me out?
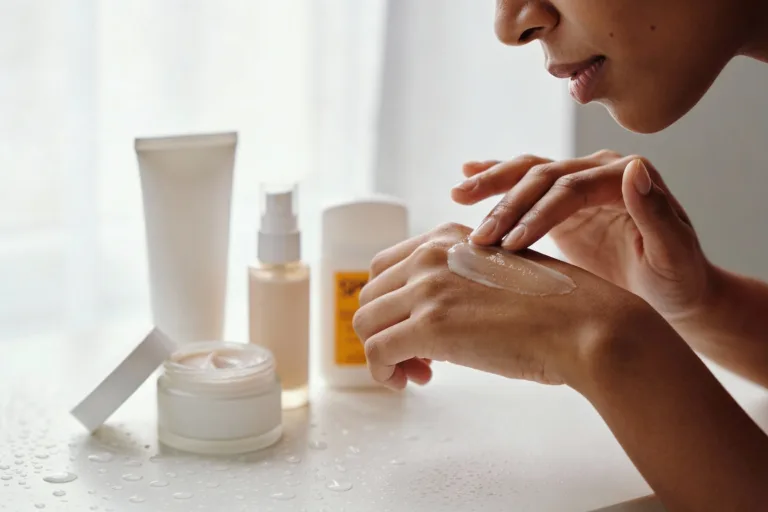
Patch test on your inner arm for 24 hours. Then try a pea-size amount on your jawline for a few nights. If your skin stays calm, go full face. Keep it simple—don’t introduce three new things at once.
Can I make vitamin C serum at home?
You can, but it oxidizes easily and requires careful pH control. If you’re new to formulating, start with niacinamide or panthenol serums first. They’re stable, effective, and beginner-friendly.
What’s the easiest product to start with?
An oil cleanser or a body butter. No water, no preservative, fewer ways to mess up. Quick wins feel good and keep motivation high.
Wrap-Up: You’ve Got This
Making clean skincare at home feels empowering, a little nerdy, and honestly pretty fun. Start with simple formulas, respect preservation, and tweak based on your skin’s feedback. Keep notes, stay curious, and don’t chase perfection. Your skin cares more about consistency than aesthetics—though cute jars never hurt, IMO.