How to Make a Diy Clay Mask for Clear Skin That Works Fast
You want clearer skin without dropping $$$ on a tiny jar of “miracle” goop? Same. A DIY clay mask gives you that deep-clean, spa-fresh feeling for the cost of a latte. We’ll keep it simple, effective, and totally customizable—because your face deserves nice things without drama. Ready to mix, mask, and glow?
Why Clay Masks Work (And Why Your Pores Love Them)
Clay masks don’t just sit there and look pretty. They bind to oil, pull out gunk, and gently exfoliate so your skin looks smoother and calmer. If you’ve got clogged pores, mild breakouts, or shine that could rival a disco ball, clay handles it.
Bonus: Clay also boosts circulation as it dries, which gives you that post-mask glow. Just don’t let it dry to a chalky crisp—cracking is cute on pottery, not on your face.
Overeating doesn’t mean something is wrong with you. It means your system needs a reset.
If cravings keep pulling you off track, this helps you regain control without restriction. You’ll learn simple, realistic steps to stop overeating and feel satisfied again.
Choose Your Clay Like a Pro
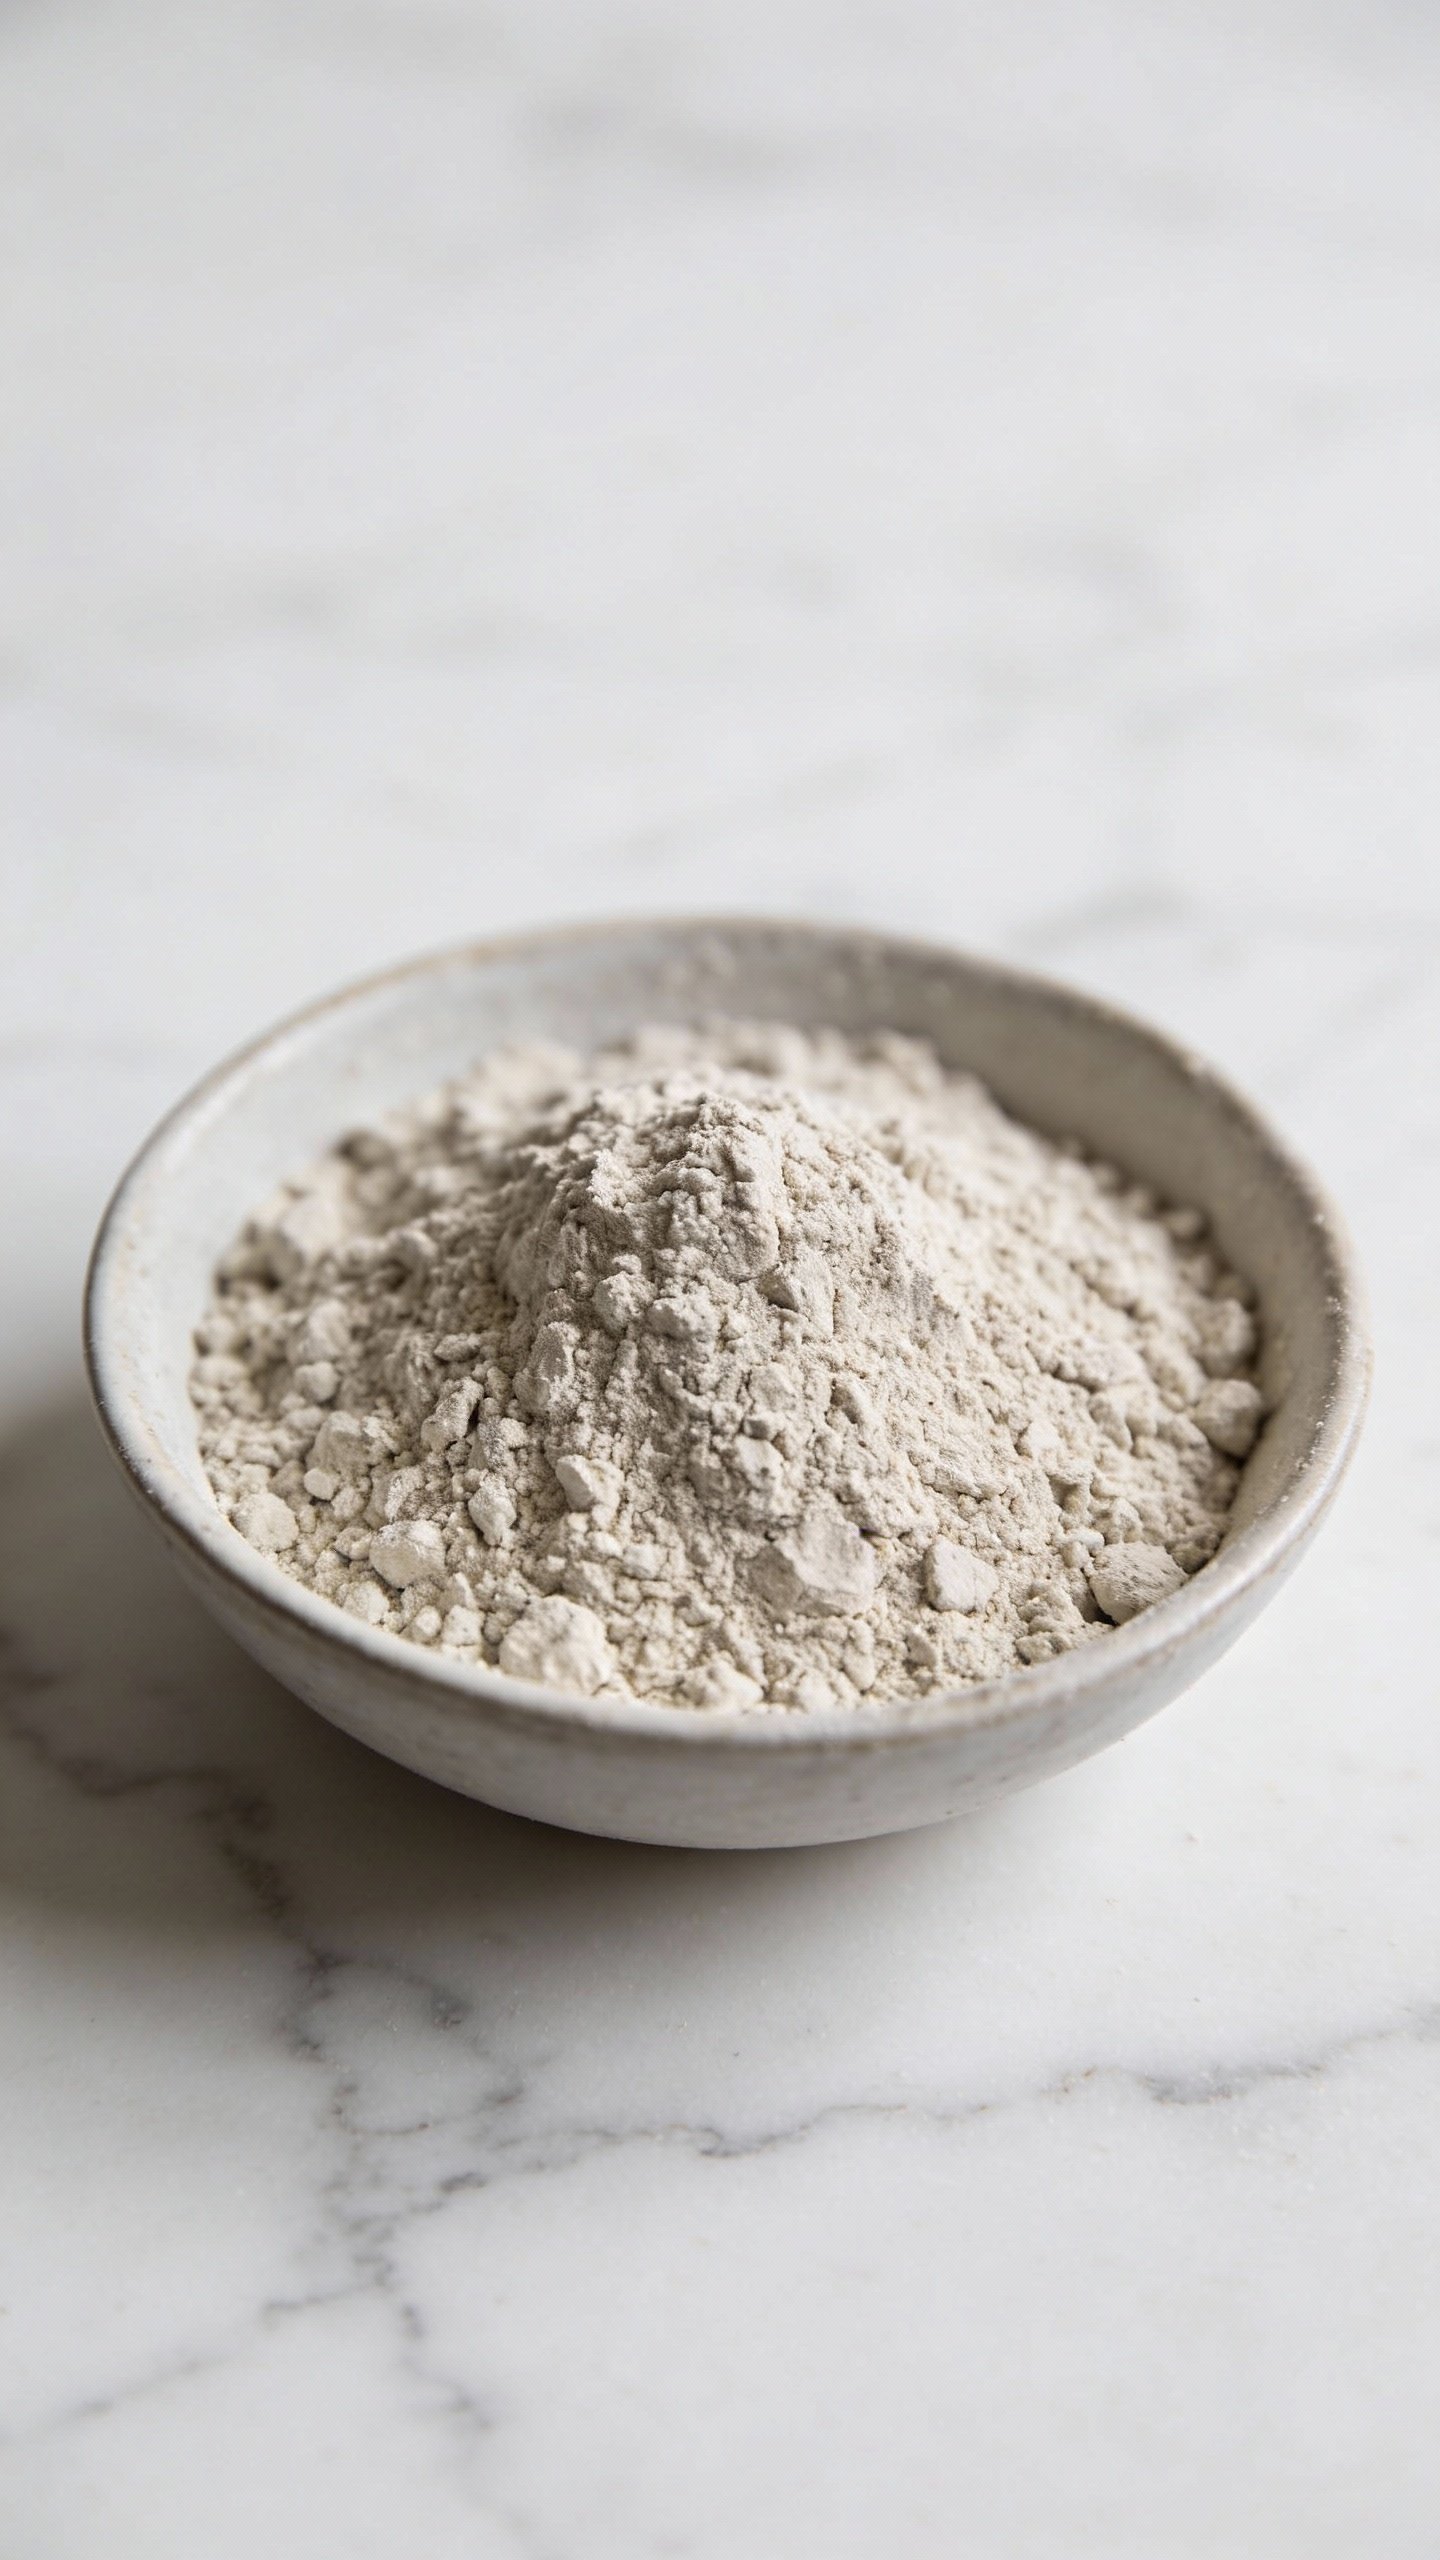
Not all clays behave the same. Pick one based on your skin’s vibe:
- Bentonite: Super absorbent. Great for oily and acne-prone skin. Tightens like a champ.
- French Green Clay: Detox queen. Pulls impurities and lightly exfoliates; ideal for combination and oily skin.
- Kaolin (White/Yellow): Gentle and friendly. Best for dry or sensitive skin.
- Rhassoul: Softens while it cleans. Lovely for combo skin and dullness.
What to Avoid
Skip essential oils if you have sensitive skin or active breakouts—they often do more harm than good. Also avoid metal bowls and spoons with bentonite; it can reduce the clay’s effectiveness. Use glass, ceramic, or wood instead. FYI, your cereal bowl works fine.
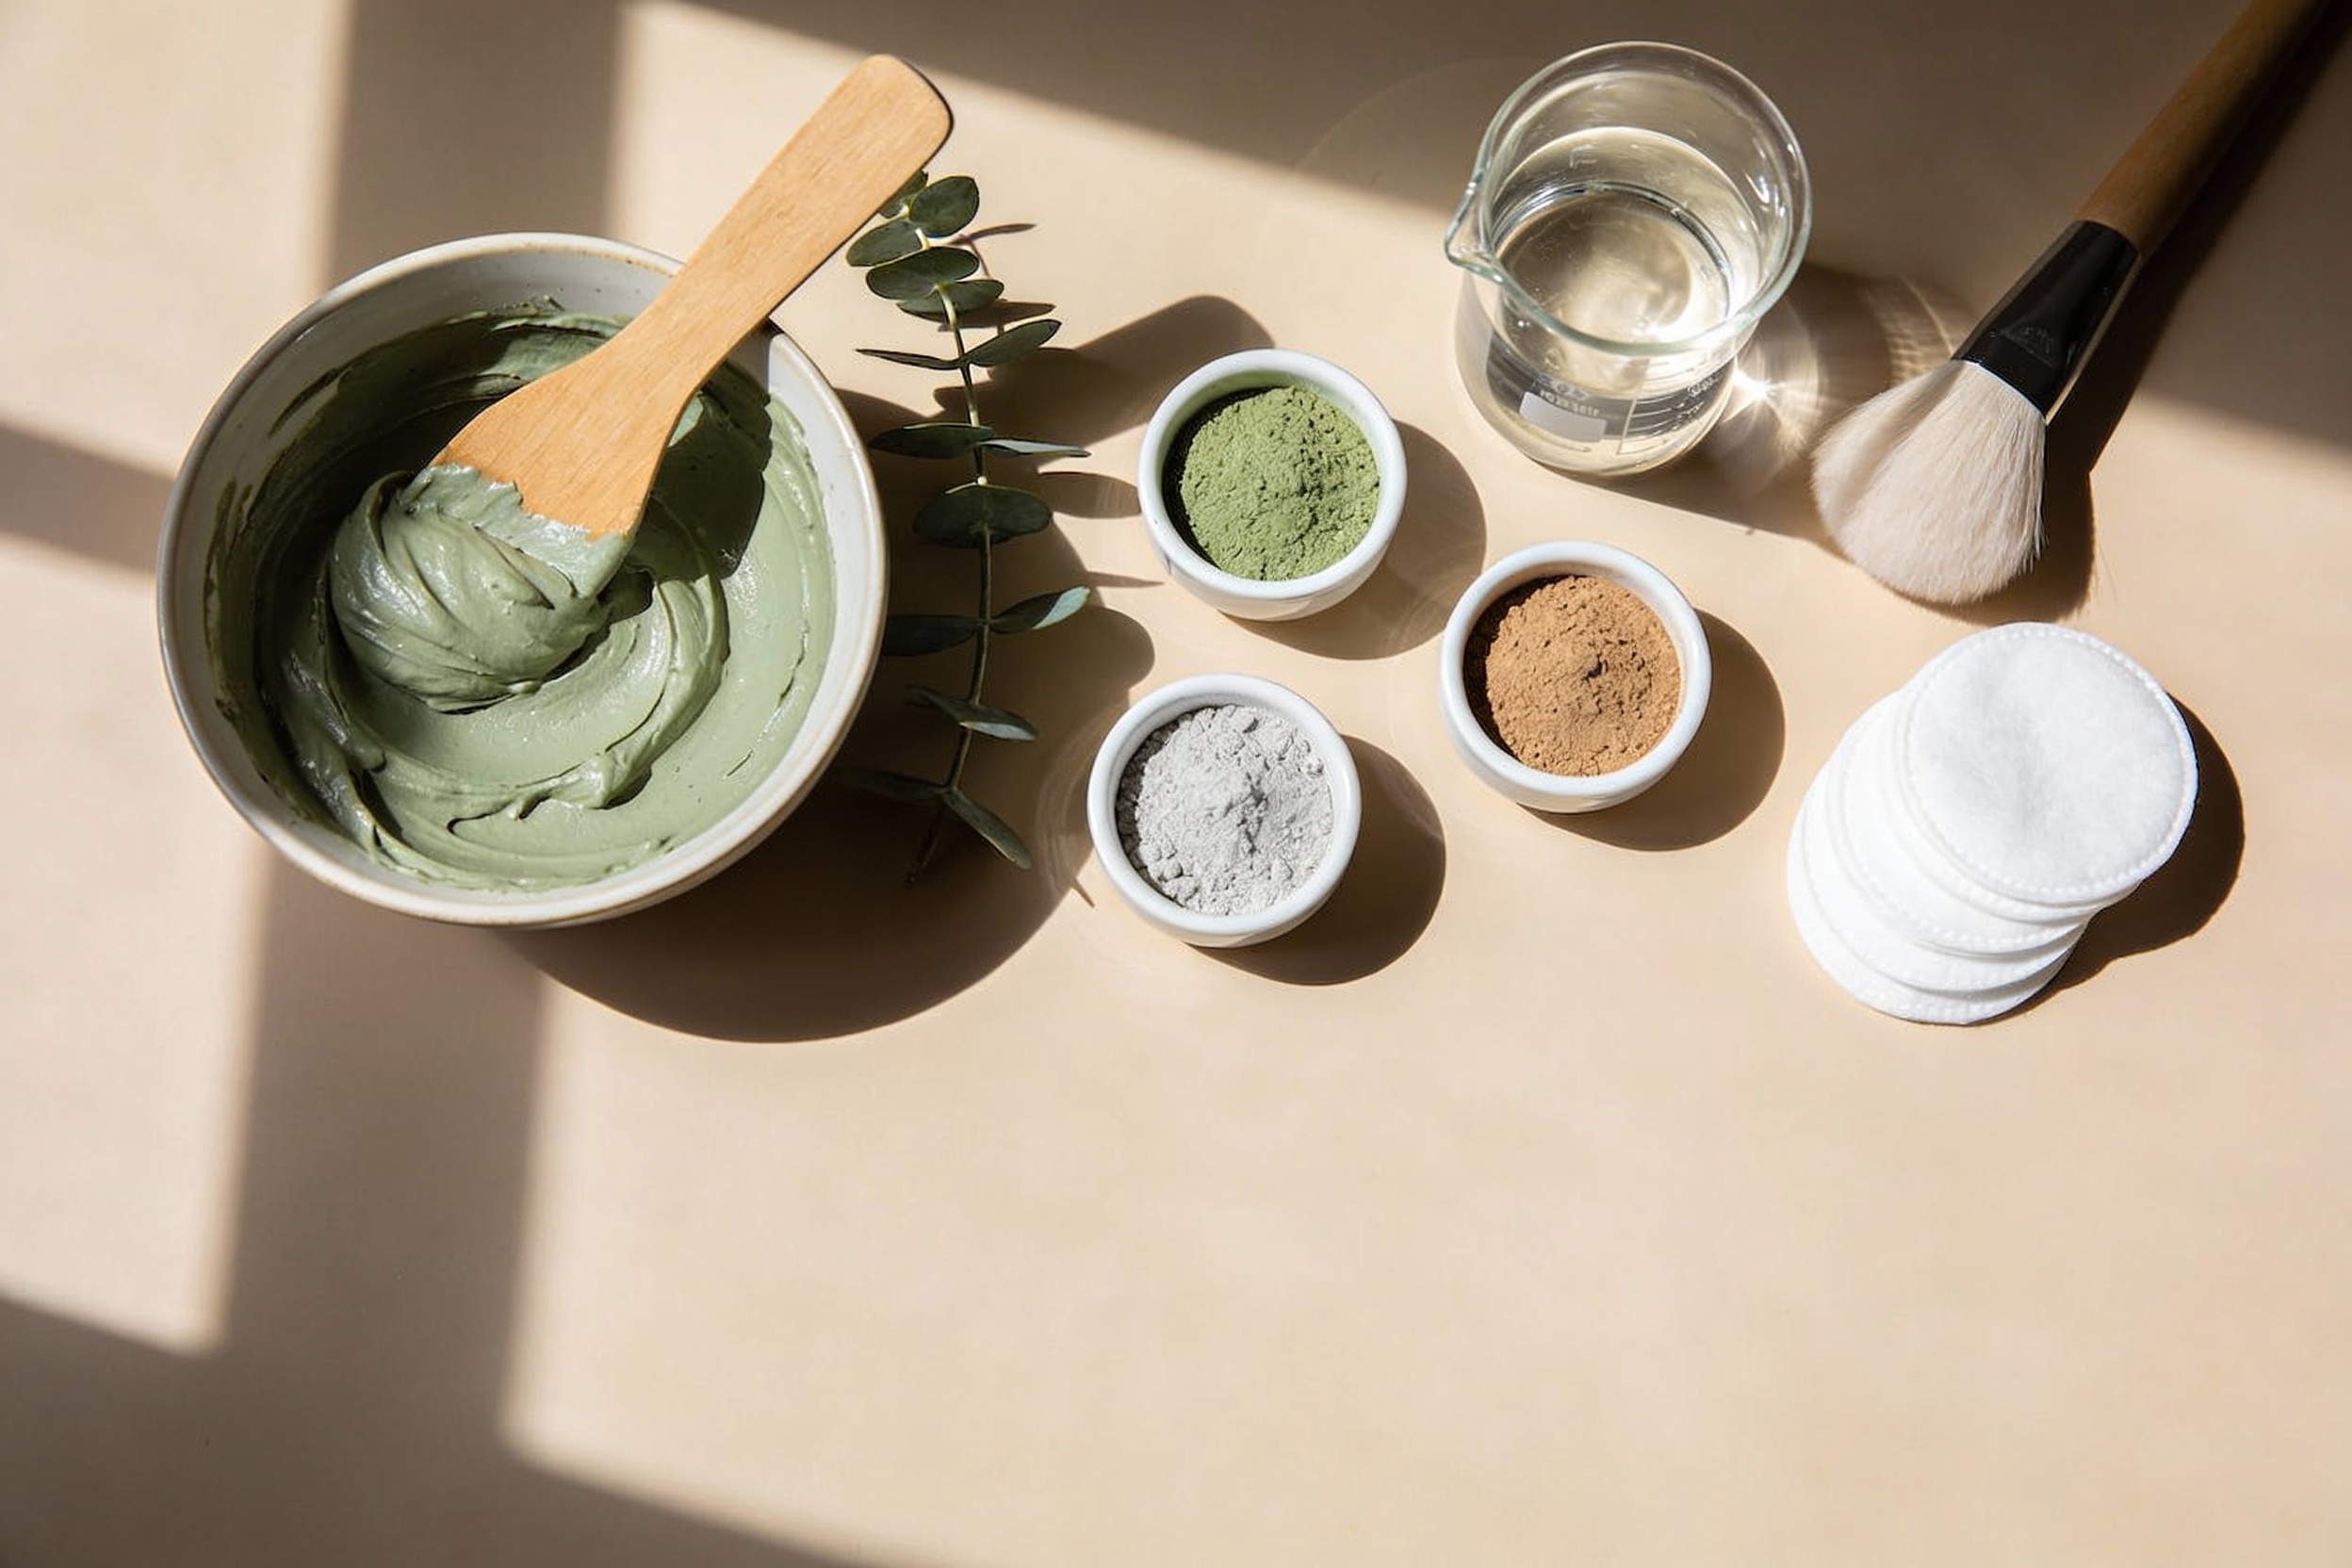
Basic DIY Clay Mask Recipe (The No-Fuss Version)
This base recipe keeps it simple and effective. You can tweak it later, but start here:
- 1 tablespoon clay of your choice
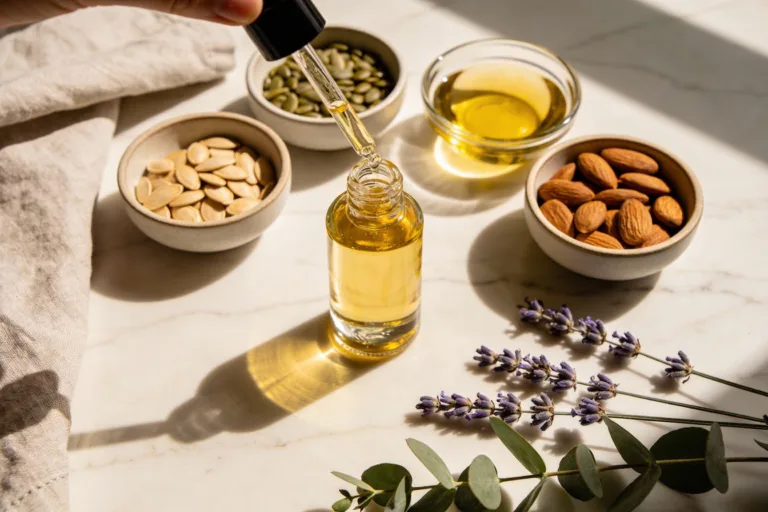
- 1–2 teaspoons liquid (water, aloe juice, or hydrosol)
- Optional: 1 teaspoon honey or yogurt for extra moisture
Directions:
- Add clay to a small bowl.
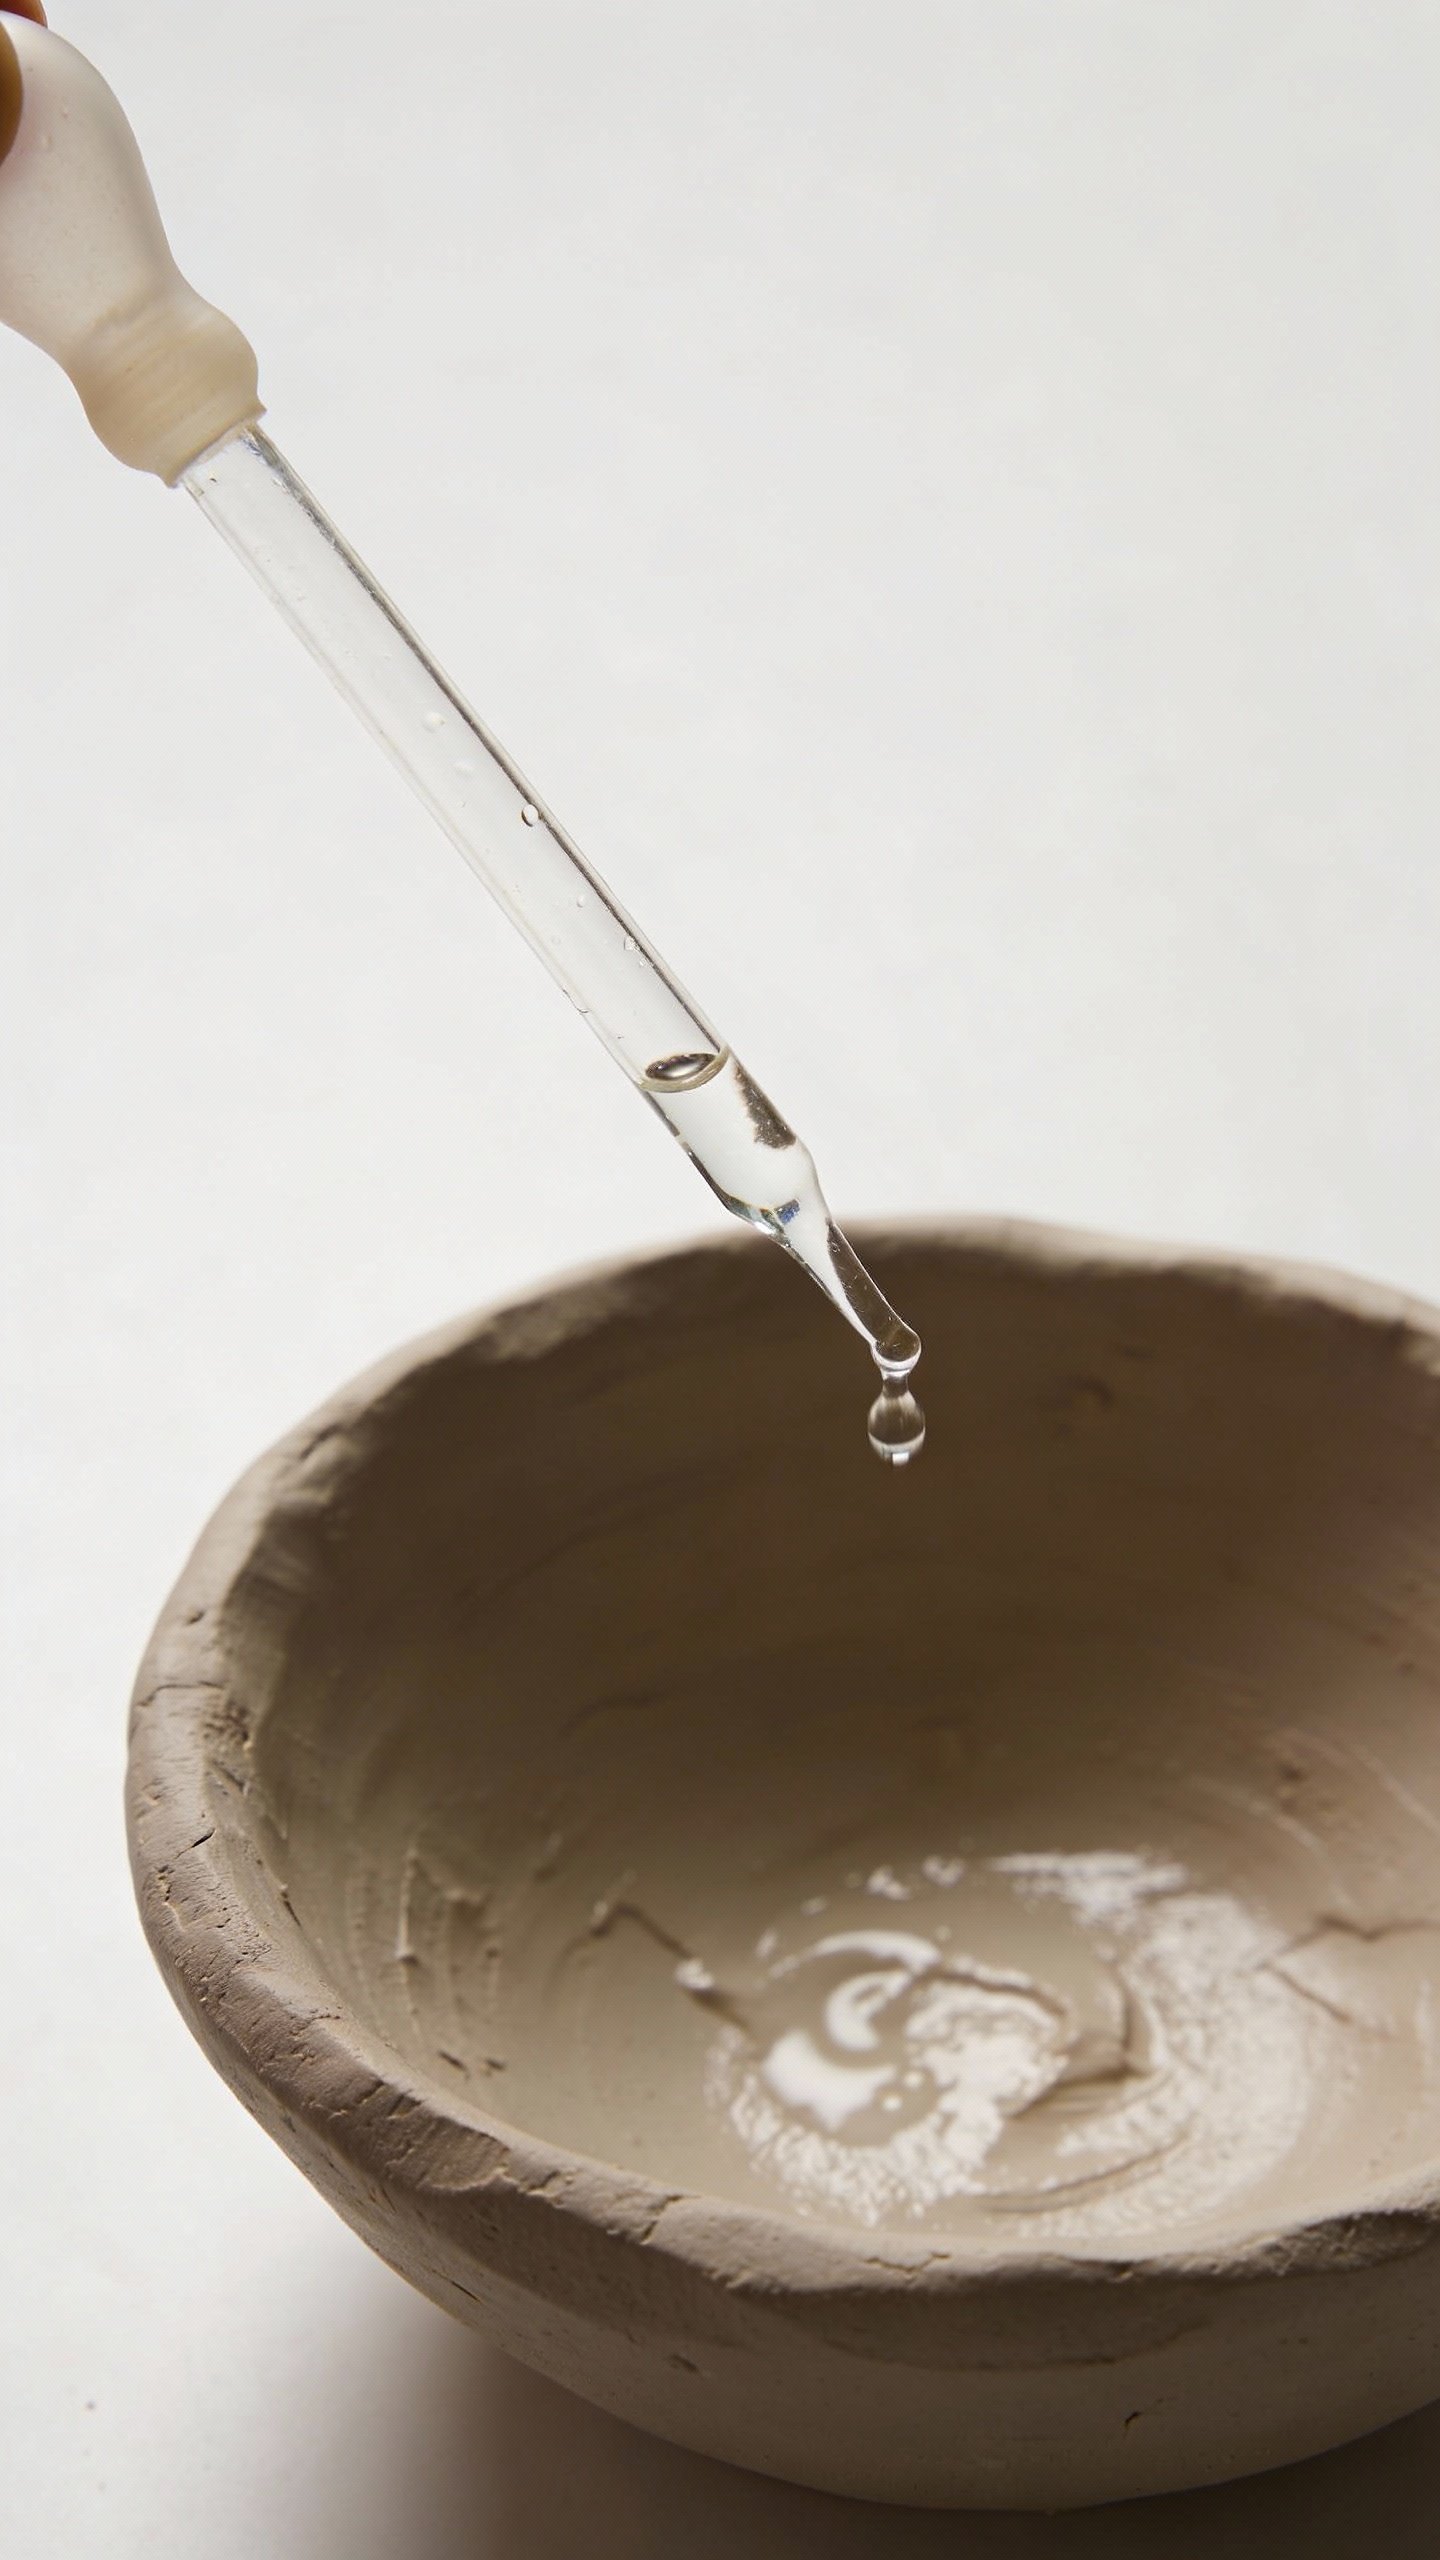
- Slowly stir in your liquid until you get a smooth, yogurt-like paste.
- Mix in honey or yogurt if you want a little hydration boost.
- Apply to clean, damp skin. Let it sit until it’s almost dry—think 8–12 minutes, not Sahara Desert.
- Rinse with lukewarm water, pat dry, and follow with toner and moisturizer.
Pro Tips for Texture
If it’s too runny, add more clay a pinch at a time. If it’s too thick, add water drop by drop. You want spreadable, not spackle.
Customize for Your Skin Goals
Let’s make your mask do exactly what you need. IMO, the add-ins make it fun.
For Oily or Acne-Prone Skin
- Clay: Bentonite or French Green
- Liquid: Witch hazel (alcohol-free) or green tea
- Add-ins: 1/2 teaspoon apple cider vinegar (dilute 1:1 with water), or 1/2 teaspoon raw honey
Why it works: ACV balances pH, witch hazel calms, and honey fights bacteria without wrecking your barrier.
For Dry or Sensitive Skin
- Clay: Kaolin or Rhassoul
- Liquid: Aloe juice or chamomile hydrosol
- Add-ins: 1 teaspoon yogurt or 1/2 teaspoon squalane or jojoba oil
Why it works: Gentle clays clean without stripping. Yogurt adds lactic acid and hydration. Your skin won’t scream.
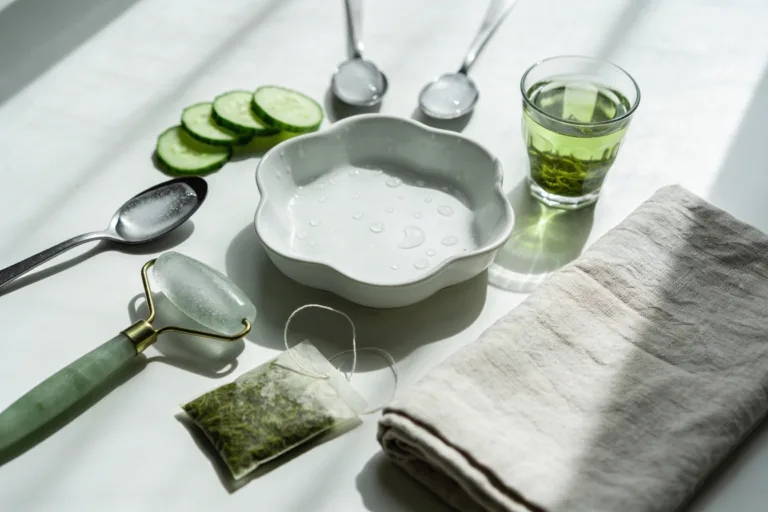
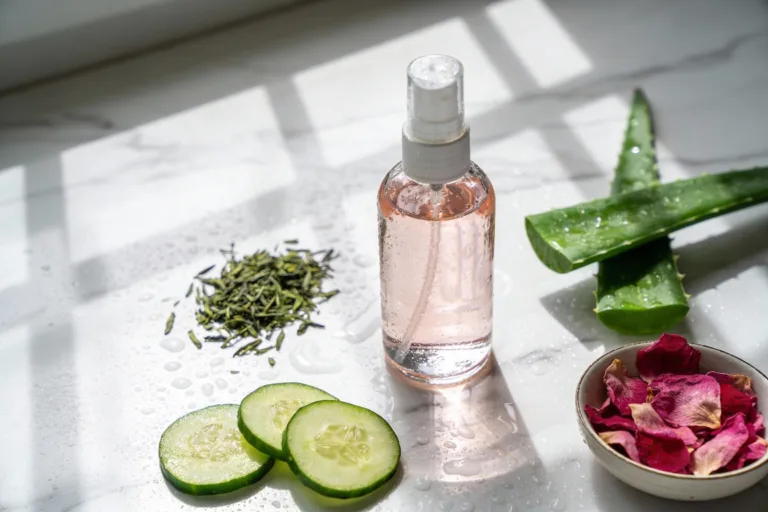
For Dull or Uneven Texture
- Clay: Rhassoul or French Green
- Liquid: Green tea or rose water
- Add-ins: 1/2 teaspoon finely ground oats or rice flour
Why it works: Soft physical exfoliation plus clay = smoother, brighter skin without the drama.
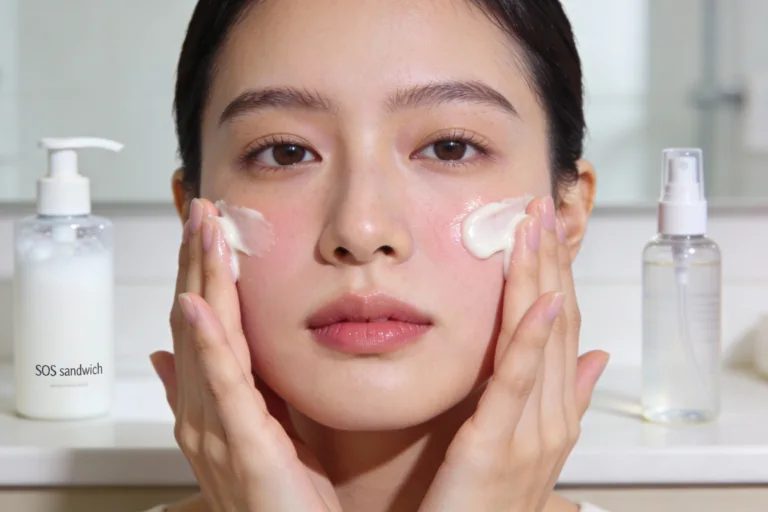
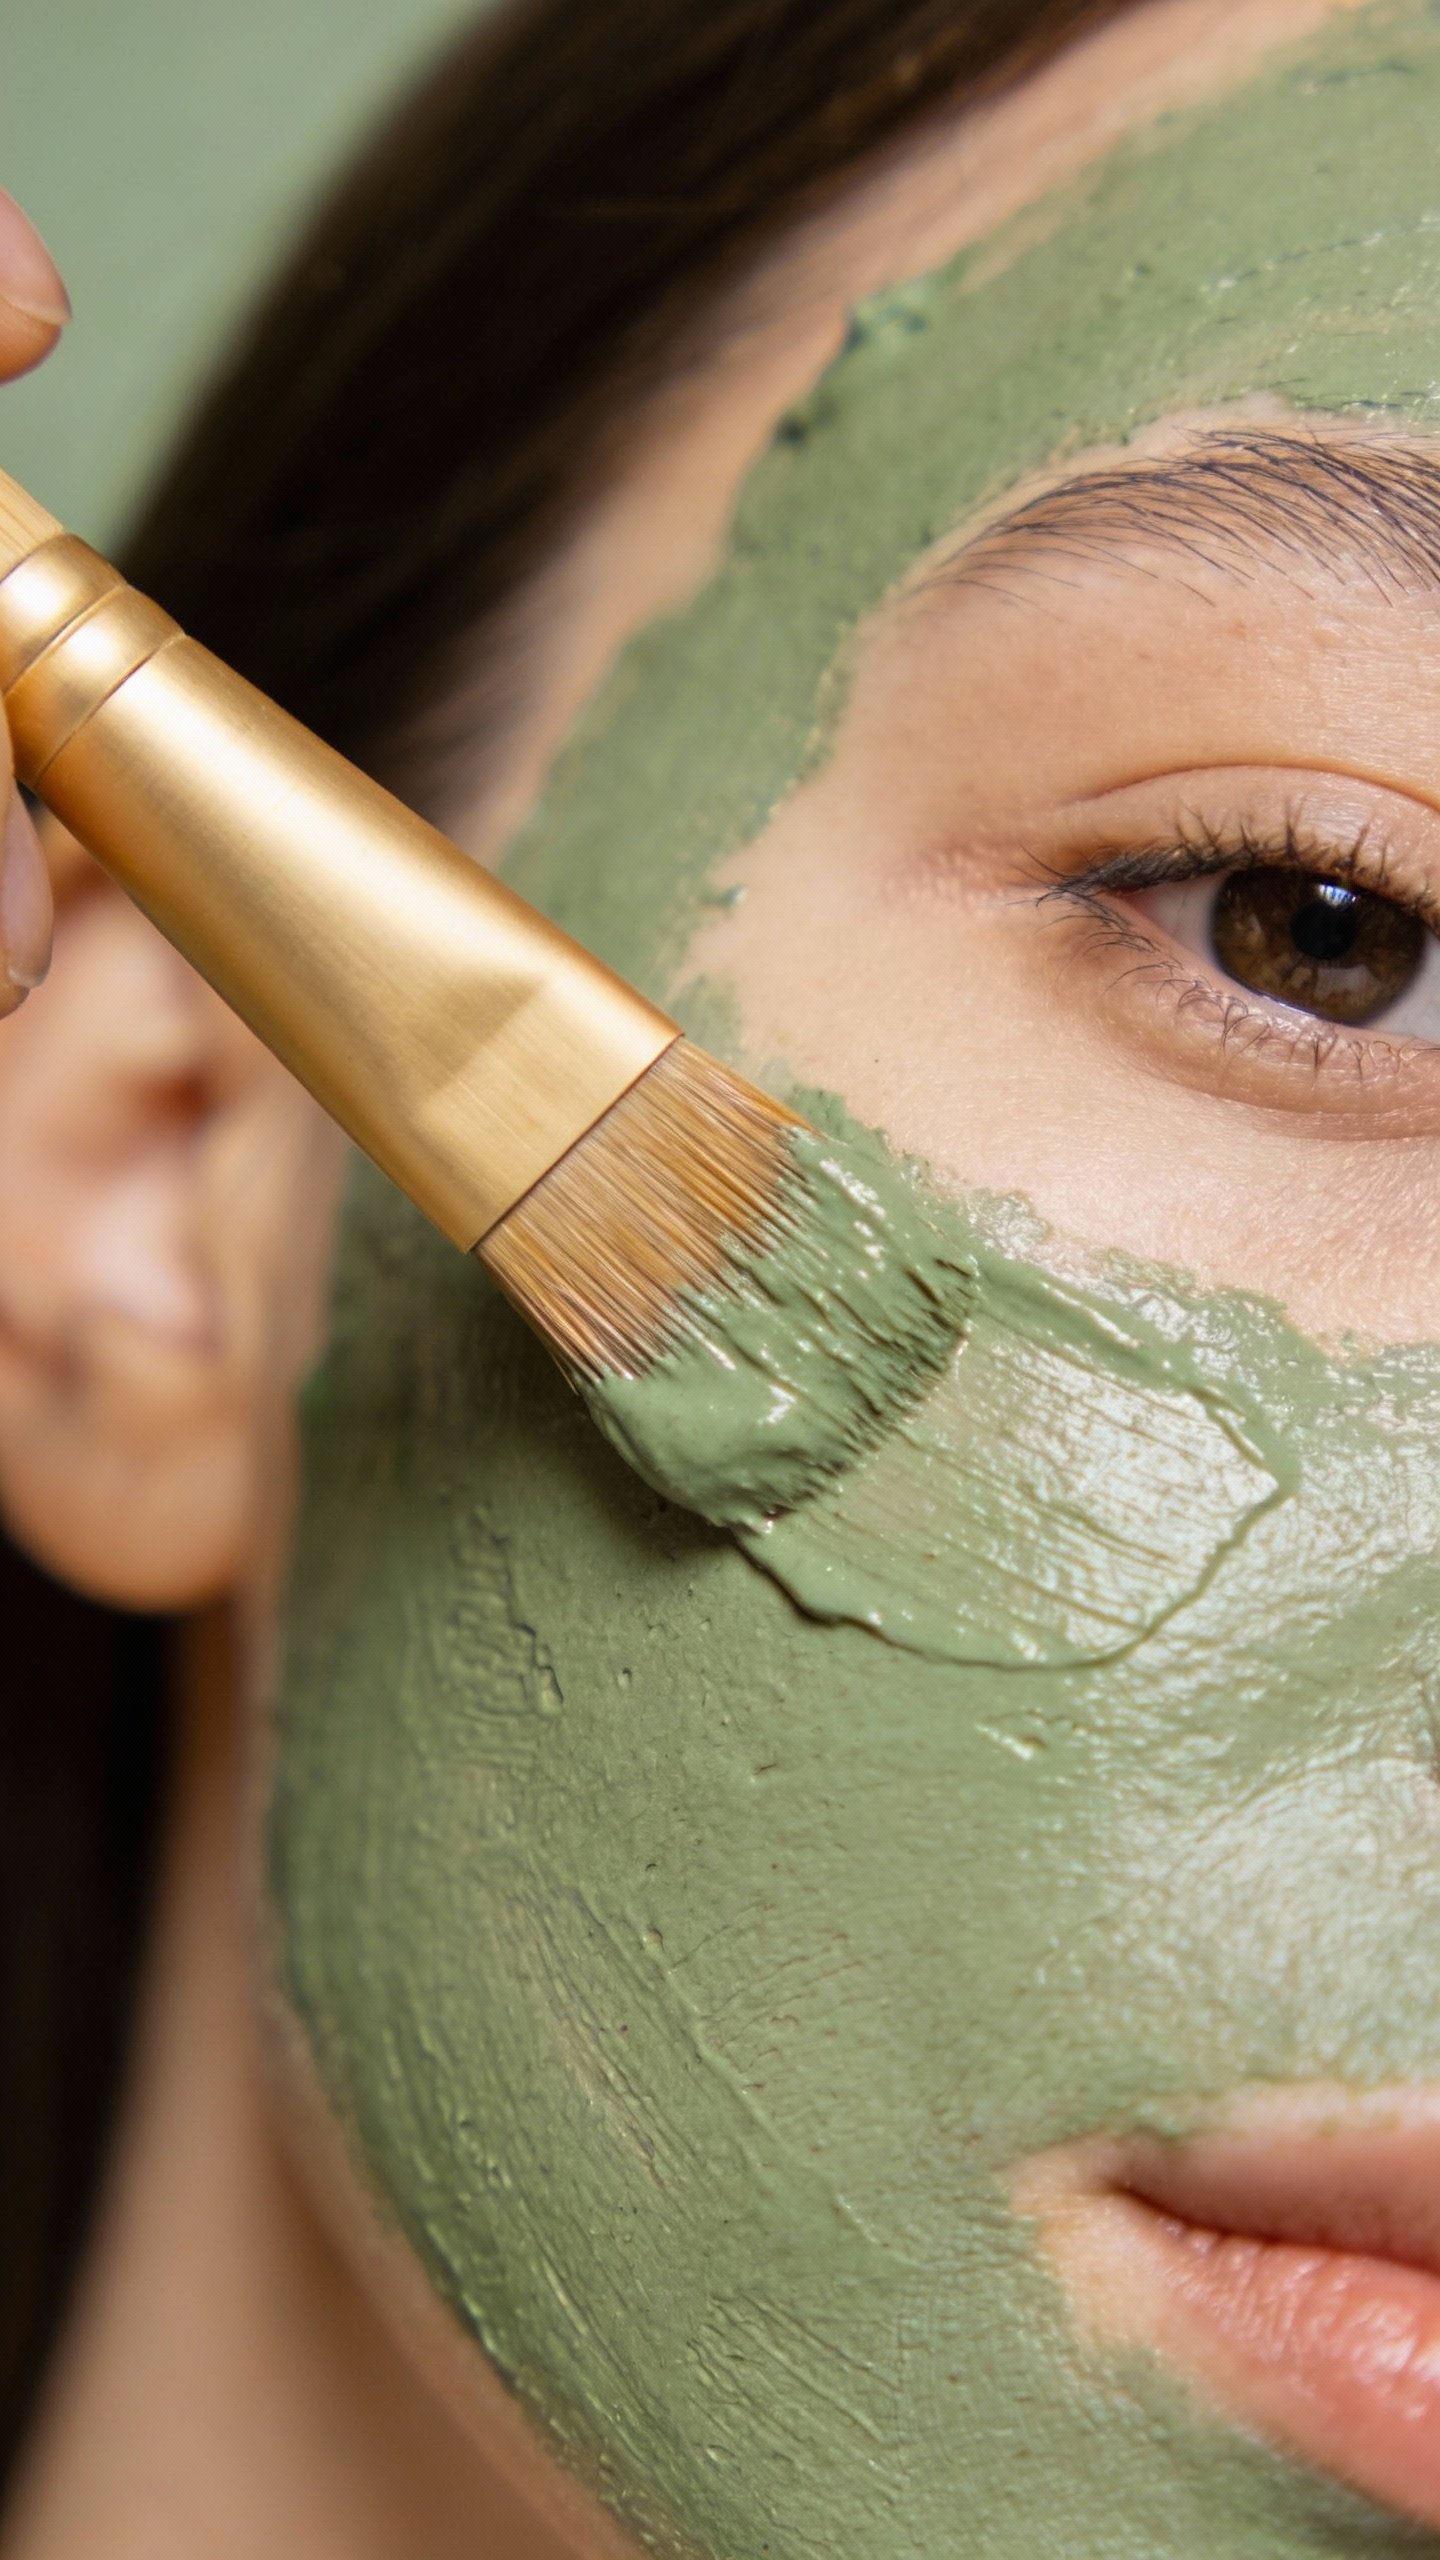
Application: Don’t Sabotage Your Glow
Clay gets weird if you use it wrong. Here’s the game plan:
- Start with clean, damp skin. Damp skin helps the mask spread and keeps it from drying too fast.
- Apply in a thin, even layer. Thick masks waste product and dry unevenly.
- Spot treat cleverly. Oily T-zone? Use bentonite there and kaolin on cheeks.
- Watch the drying phases: Wet → tacky → fully dry. Rinse at the tacky stage to avoid over-drying.
- Moisturize afterward. Clay lifts oil; your barrier wants a hug (light moisturizer or facial oil).
How Often Should You Mask?
- Oily/acne-prone: 2–3 times a week
- Combination: 1–2 times a week
- Dry/sensitive: Once a week, max
If your face feels tight or looks flaky after, pull back. Your skin is not a chalkboard—no need to scrub it daily.

Upgrade Your Mask: Smart Add-Ins That Actually Do Something
Want to level up without turning your bathroom into a lab? These add-ins play nicely with clay:
- Niacinamide powder (2–5%): Calms redness and helps pores look smaller. Mix carefully per product instructions.
- Aloe gel (pure): Soothes and hydrates. Great buffer for sensitive skin.
- Turmeric (a pinch): Brightening vibes—but go easy unless you want a yellow tint. Patch test first.
- Activated charcoal (1/4 tsp): Extra detox for congested skin. Don’t overdo it—drying alert.
- Hyaluronic acid serum (a pump): Adds slip and hydration. Yes, you can mix skincare and clay; it’s not a felony.
Things I Don’t Recommend (IMO)
- Lemon juice: Too acidic and irritating.
- Essential oils undiluted: High risk, low reward.
- Baking soda: Messes with pH; your barrier will complain.
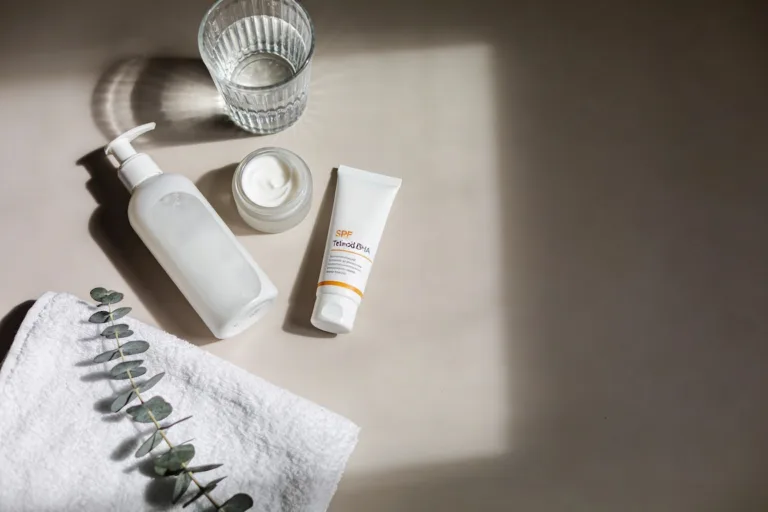
Post-Mask Routine: Lock In the Good Stuff
You pulled out oil and dead skin—now feed your face.
- Toner or essence: Look for glycerin, panthenol, or centella.
- Treatment: Niacinamide or a gentle serum. Avoid strong acids right after; clay already exfoliated a bit.
- Moisturizer: Gel cream for oily skin, richer cream for dry skin.
- Sunscreen (AM only): Always. Freshly clarified skin burns easier.
Troubleshooting: If Your Skin Freaks Out
Stuff happens. Here’s how to fix it fast:
- Redness or stinging: Rinse immediately. Apply cool compress, then a soothing moisturizer with ceramides or aloe.
- Dry, tight feeling: Use a hydrating mask or layer hyaluronic acid under moisturizer. Mask less often.
- Breakouts after masking: Could be purging, or you went too hard. Simplify your formula, reduce time, and avoid comedogenic add-ins.
- No results? Try a different clay, mix with green tea, and stick with it 2–3 weeks. Consistency beats chaos.
FAQ
Can I store leftover clay mask?
You can store dry mixes in a jar for months. Once you add liquid, use it immediately or within 24 hours if refrigerated. No preservatives = no long-term storage. Make small batches to keep it fresh.
Is apple cider vinegar safe in clay masks?
Yes—diluted. Mix ACV 1:1 with water for bentonite masks if your skin tolerates it. If you feel burning (not mild tingling), rinse and switch to water or aloe. Sensitive skin folks, skip ACV entirely.
Can I use a clay mask with retinol?
Yes, but not the same night if your skin runs sensitive. Clay can make skin more receptive. To avoid irritation, do clay one night and retinol the next. If your skin is tough and happy, proceed—with caution.
Will clay masks shrink pores?
They won’t permanently change pore size (biology says no). But they do clear out oil and debris, which makes pores look smaller and smoother. It’s an optical win, and we’ll take it.
What’s the best clay for sensitive skin?
Kaolin wins. It cleans without sucking the life out of your barrier. Pair it with aloe or yogurt, keep it slightly damp, and you’re golden.
Can teens use clay masks?
Absolutely. Start with kaolin or a light bentonite blend once or twice a week. Keep it gentle, keep it short, and follow with moisturizer. Acne does not need more punishment—just consistency.
Wrap-Up: Your Face, Your Formula
DIY clay masks give you control, results, and a tiny moment of self-care that doesn’t blow your budget. Start with a simple base, tweak for your skin’s needs, and don’t let it dry to a crust. Be consistent, be kind to your barrier, and enjoy that clean, calm glow—because your skin should feel as good as it looks, FYI.