How to Curl Your Hair with a Flat Iron Like a Pro
You’ve got a flat iron and a dream. Good news: you don’t need a curling wand to get bouncy, beachy, or glam curls. With the right technique (and a little wrist finesse), your straightener can do it all. Ready to turn one tool into your entire hair arsenal? Let’s curl like we mean it.
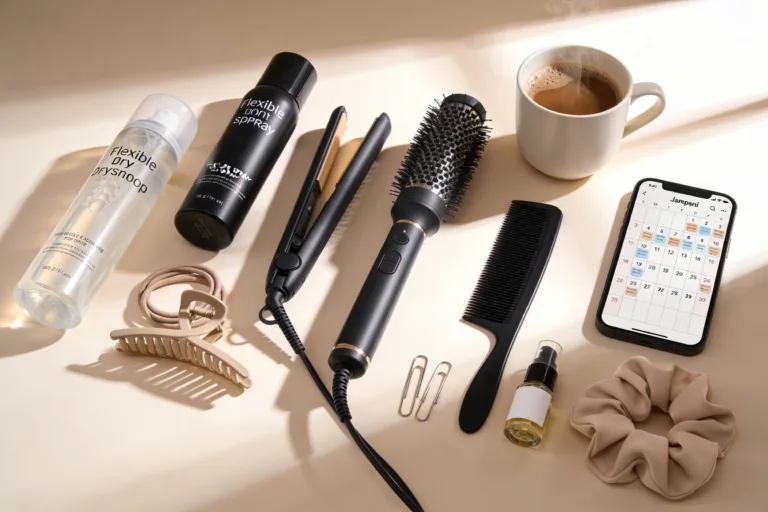
What You’ll Need (No Fancy Gadgets Required)
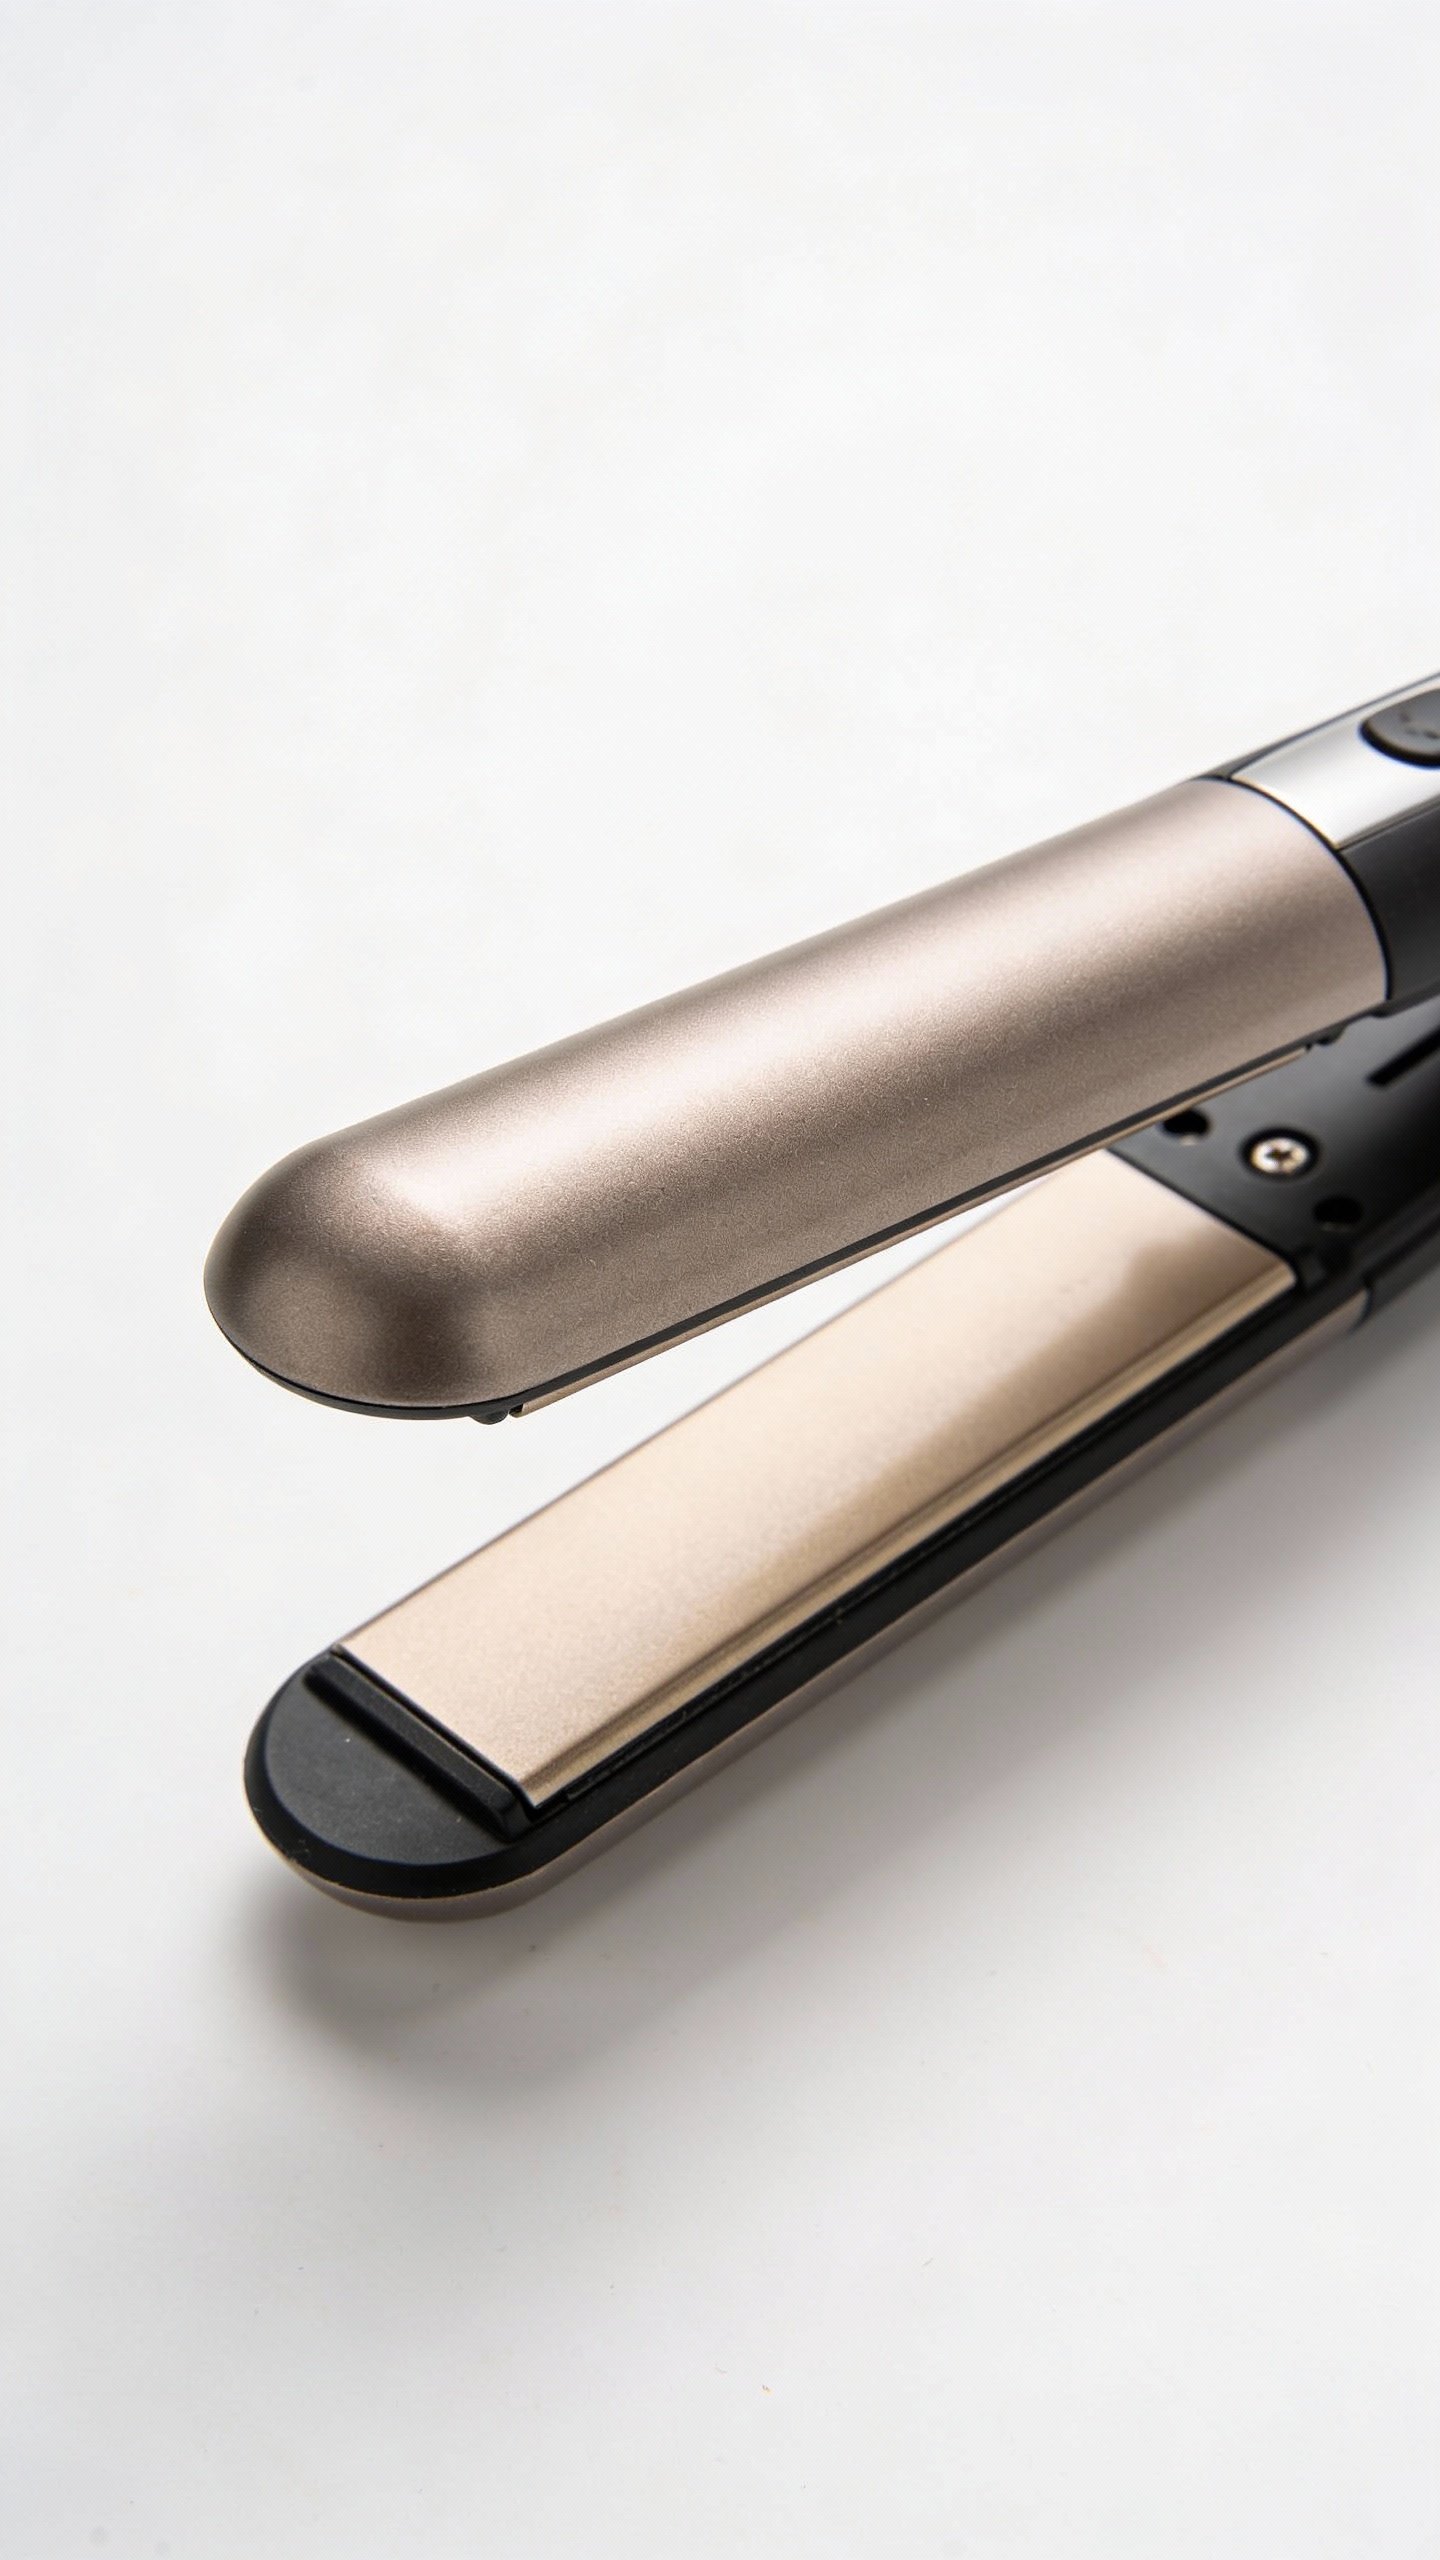
- Flat iron with rounded plates – 1″ is ideal for most hair lengths.
- Heat protectant – non-negotiable unless you like crispy ends.
- Clips – sectioning makes everything easier.
- Comb or brush – detangle before heat, always.
- Styling products – lightweight mousse or curl cream (optional), texture spray, and a flexible hold hairspray.
FYI: If your flat iron has snaggy plates or a weird gap, curls won’t glide. Make sure it closes evenly.
Overeating doesn’t mean something is wrong with you. It means your system needs a reset.
If cravings keep pulling you off track, this helps you regain control without restriction. You’ll learn simple, realistic steps to stop overeating and feel satisfied again.
Prep: The Secret Sauce for Lasting Curls
Great curls start before the heat. You want hair that’s fully dry and smooth, not damp or frizzy. Damp hair plus a flat iron equals steam-fried sadness.
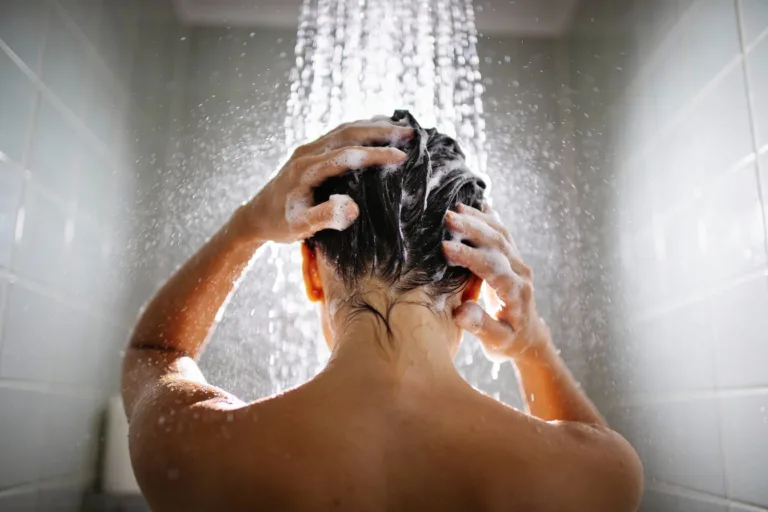
- Wash smart: Use a lightweight shampoo and conditioner. Heavy conditioners = flat curls.
- Add grip: Apply a small amount of mousse or a volumizing spray at the roots if your hair hates holding curl.
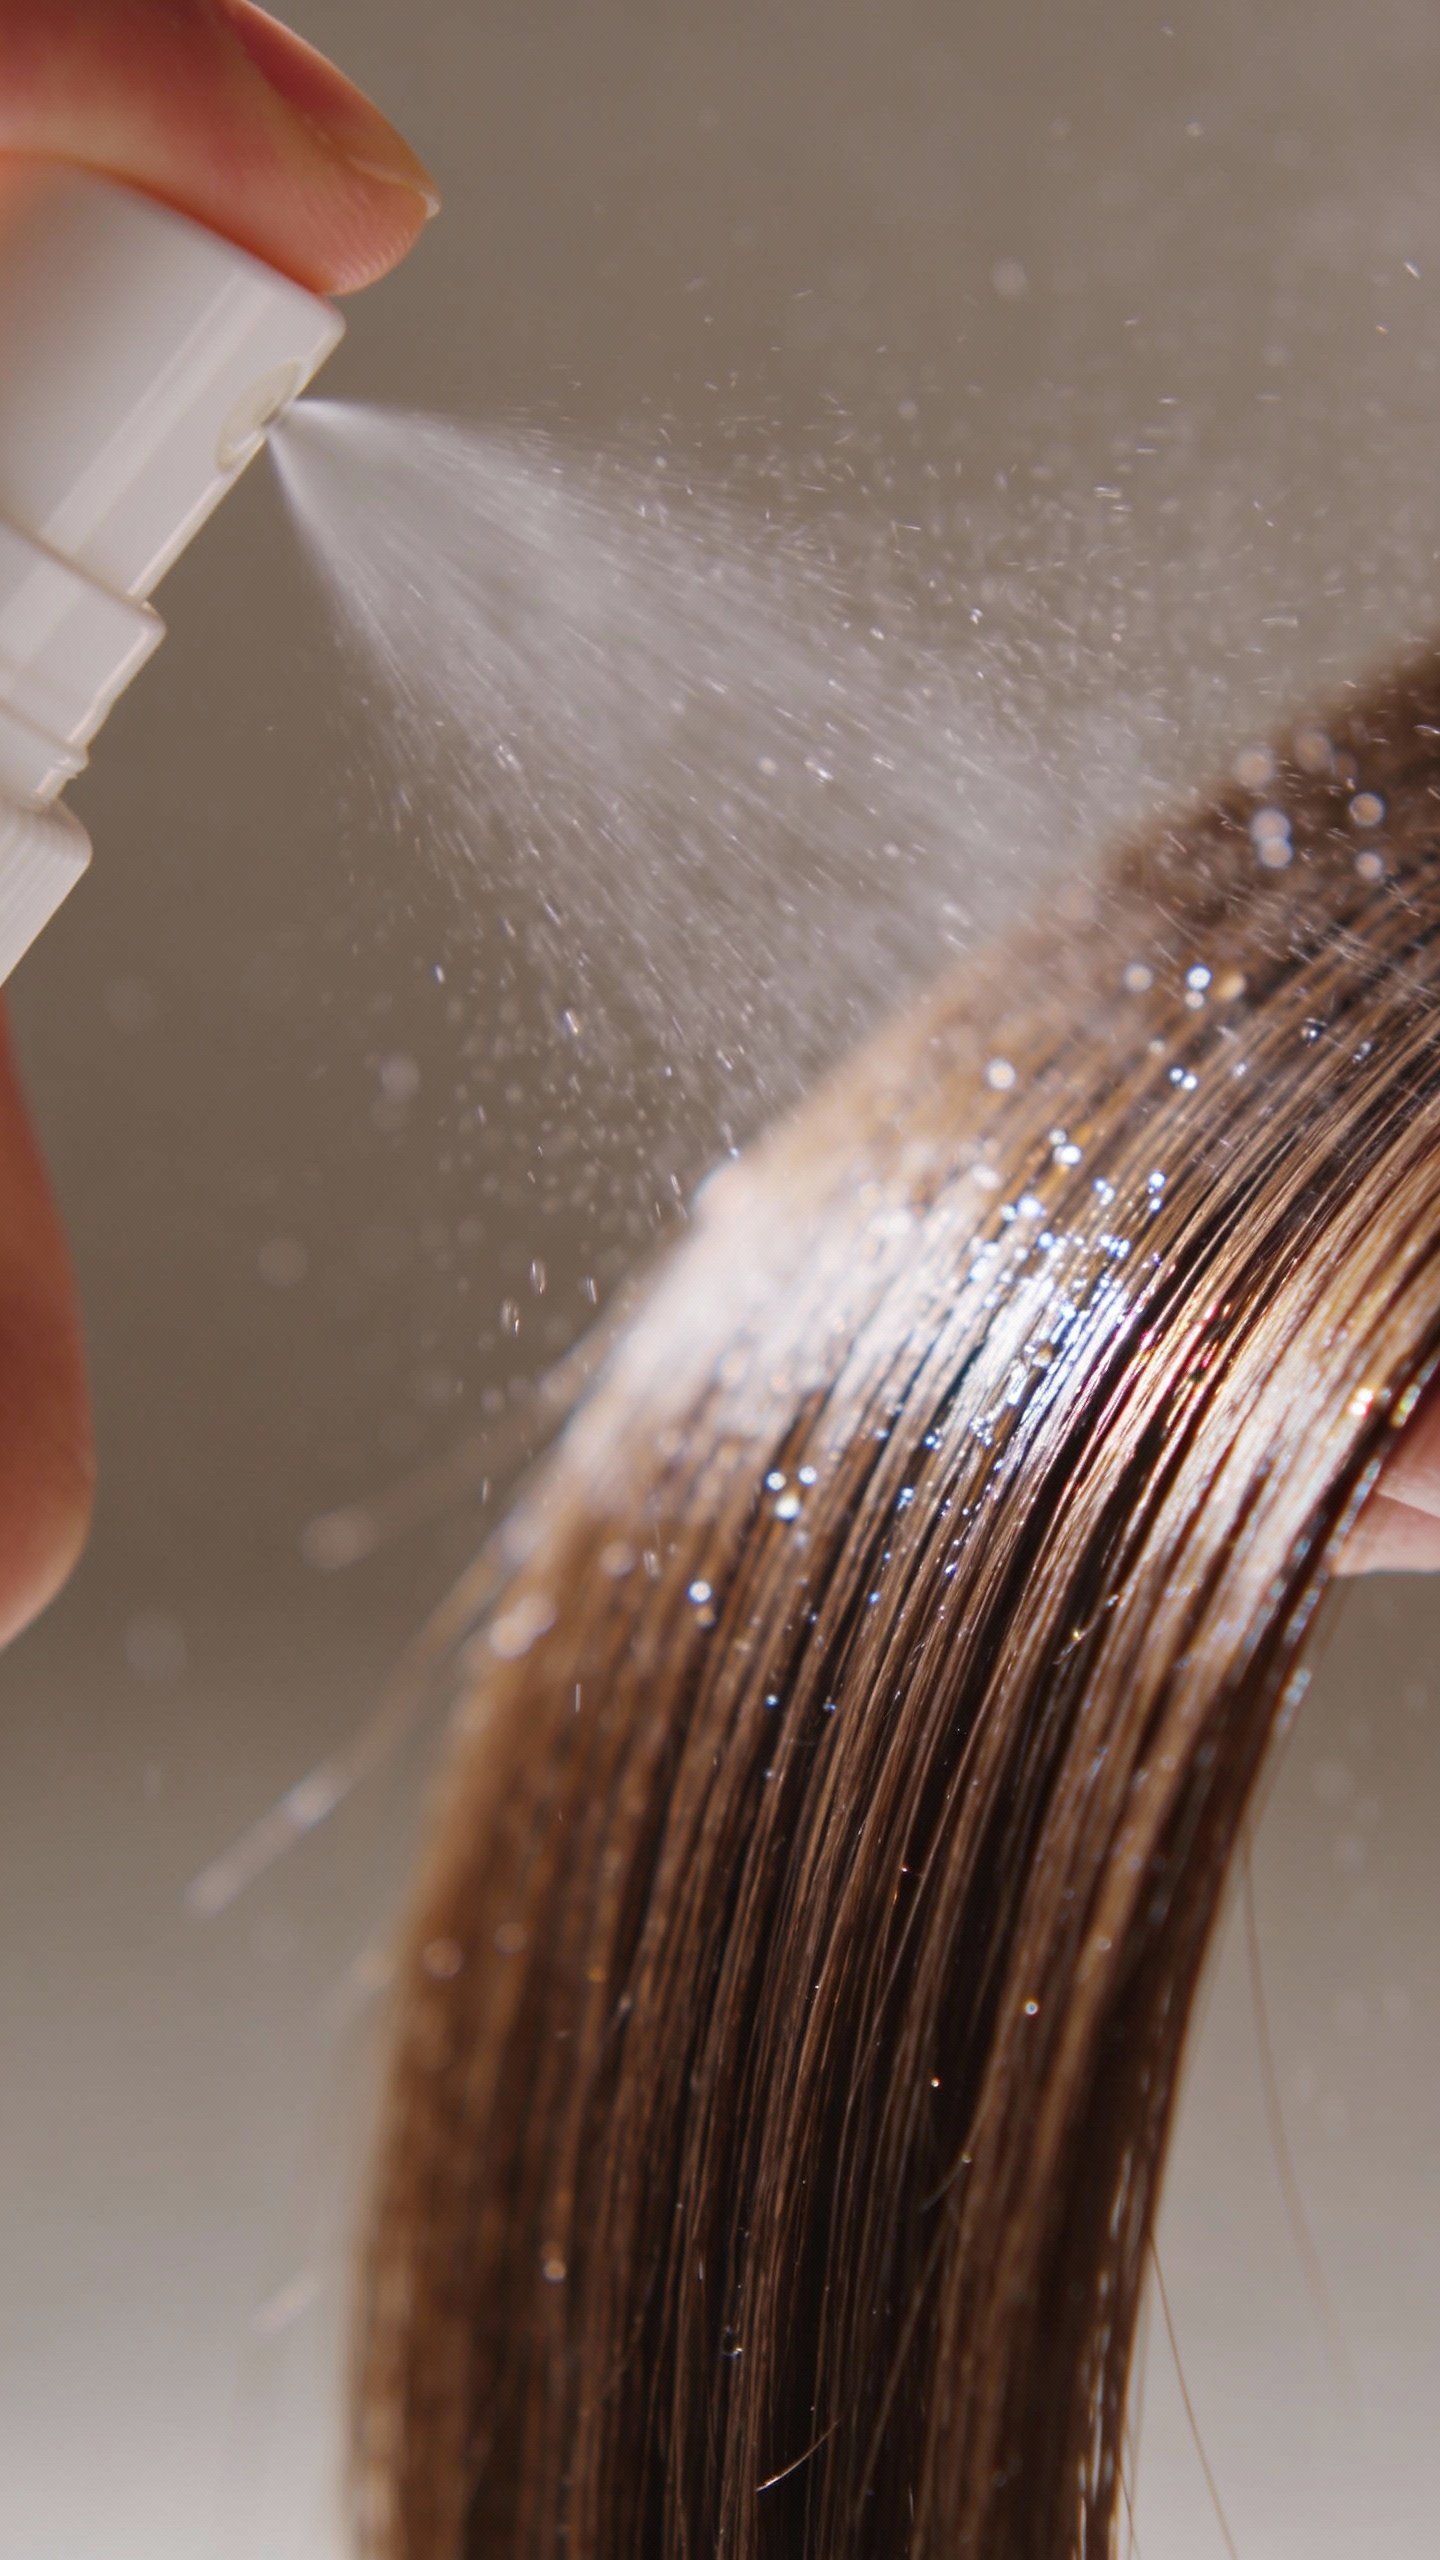
- Protect: Spray heat protectant from mid-lengths to ends. Comb through for even coverage.
- Dry smooth: Blow-dry with a brush or rough-dry then brush through. No damp spots allowed.
Heat Settings (Don’t Toast Your Hair)
- Fine or damaged hair: 275–320°F (135–160°C)
- Normal hair: 320–375°F (160–190°C)
- Thick/coarse hair: 375–410°F (190–210°C)
Start lower and bump up only if the curl doesn’t hold. More heat doesn’t equal better results—just faster regrets.
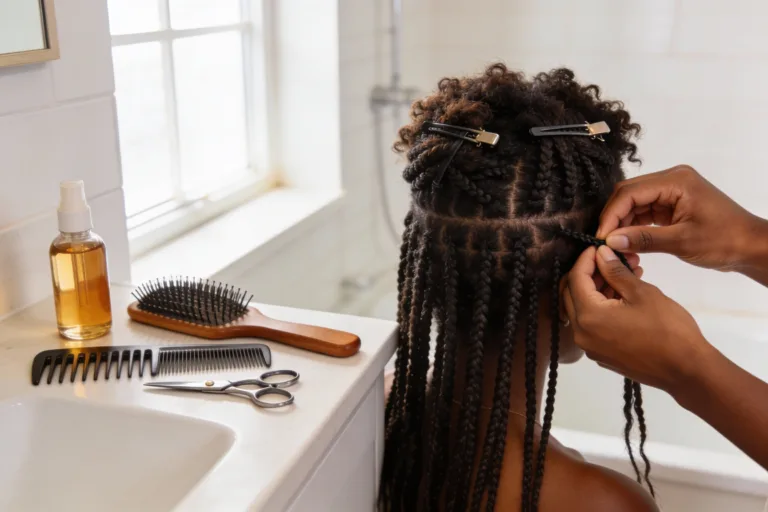
Section Like a Pro (So You Don’t Miss Spots)
Sectioning keeps things neat and prevents that one random straight piece peeking through later. You know the one.
- Split your hair horizontally: Bottom, middle, and top layers. Clip the top two layers up.
- Work in small sections: About 1-inch wide. Too thick and heat won’t reach the center.
- Comb before you curl: Smooth hair curls smoother. That’s science (kinda).
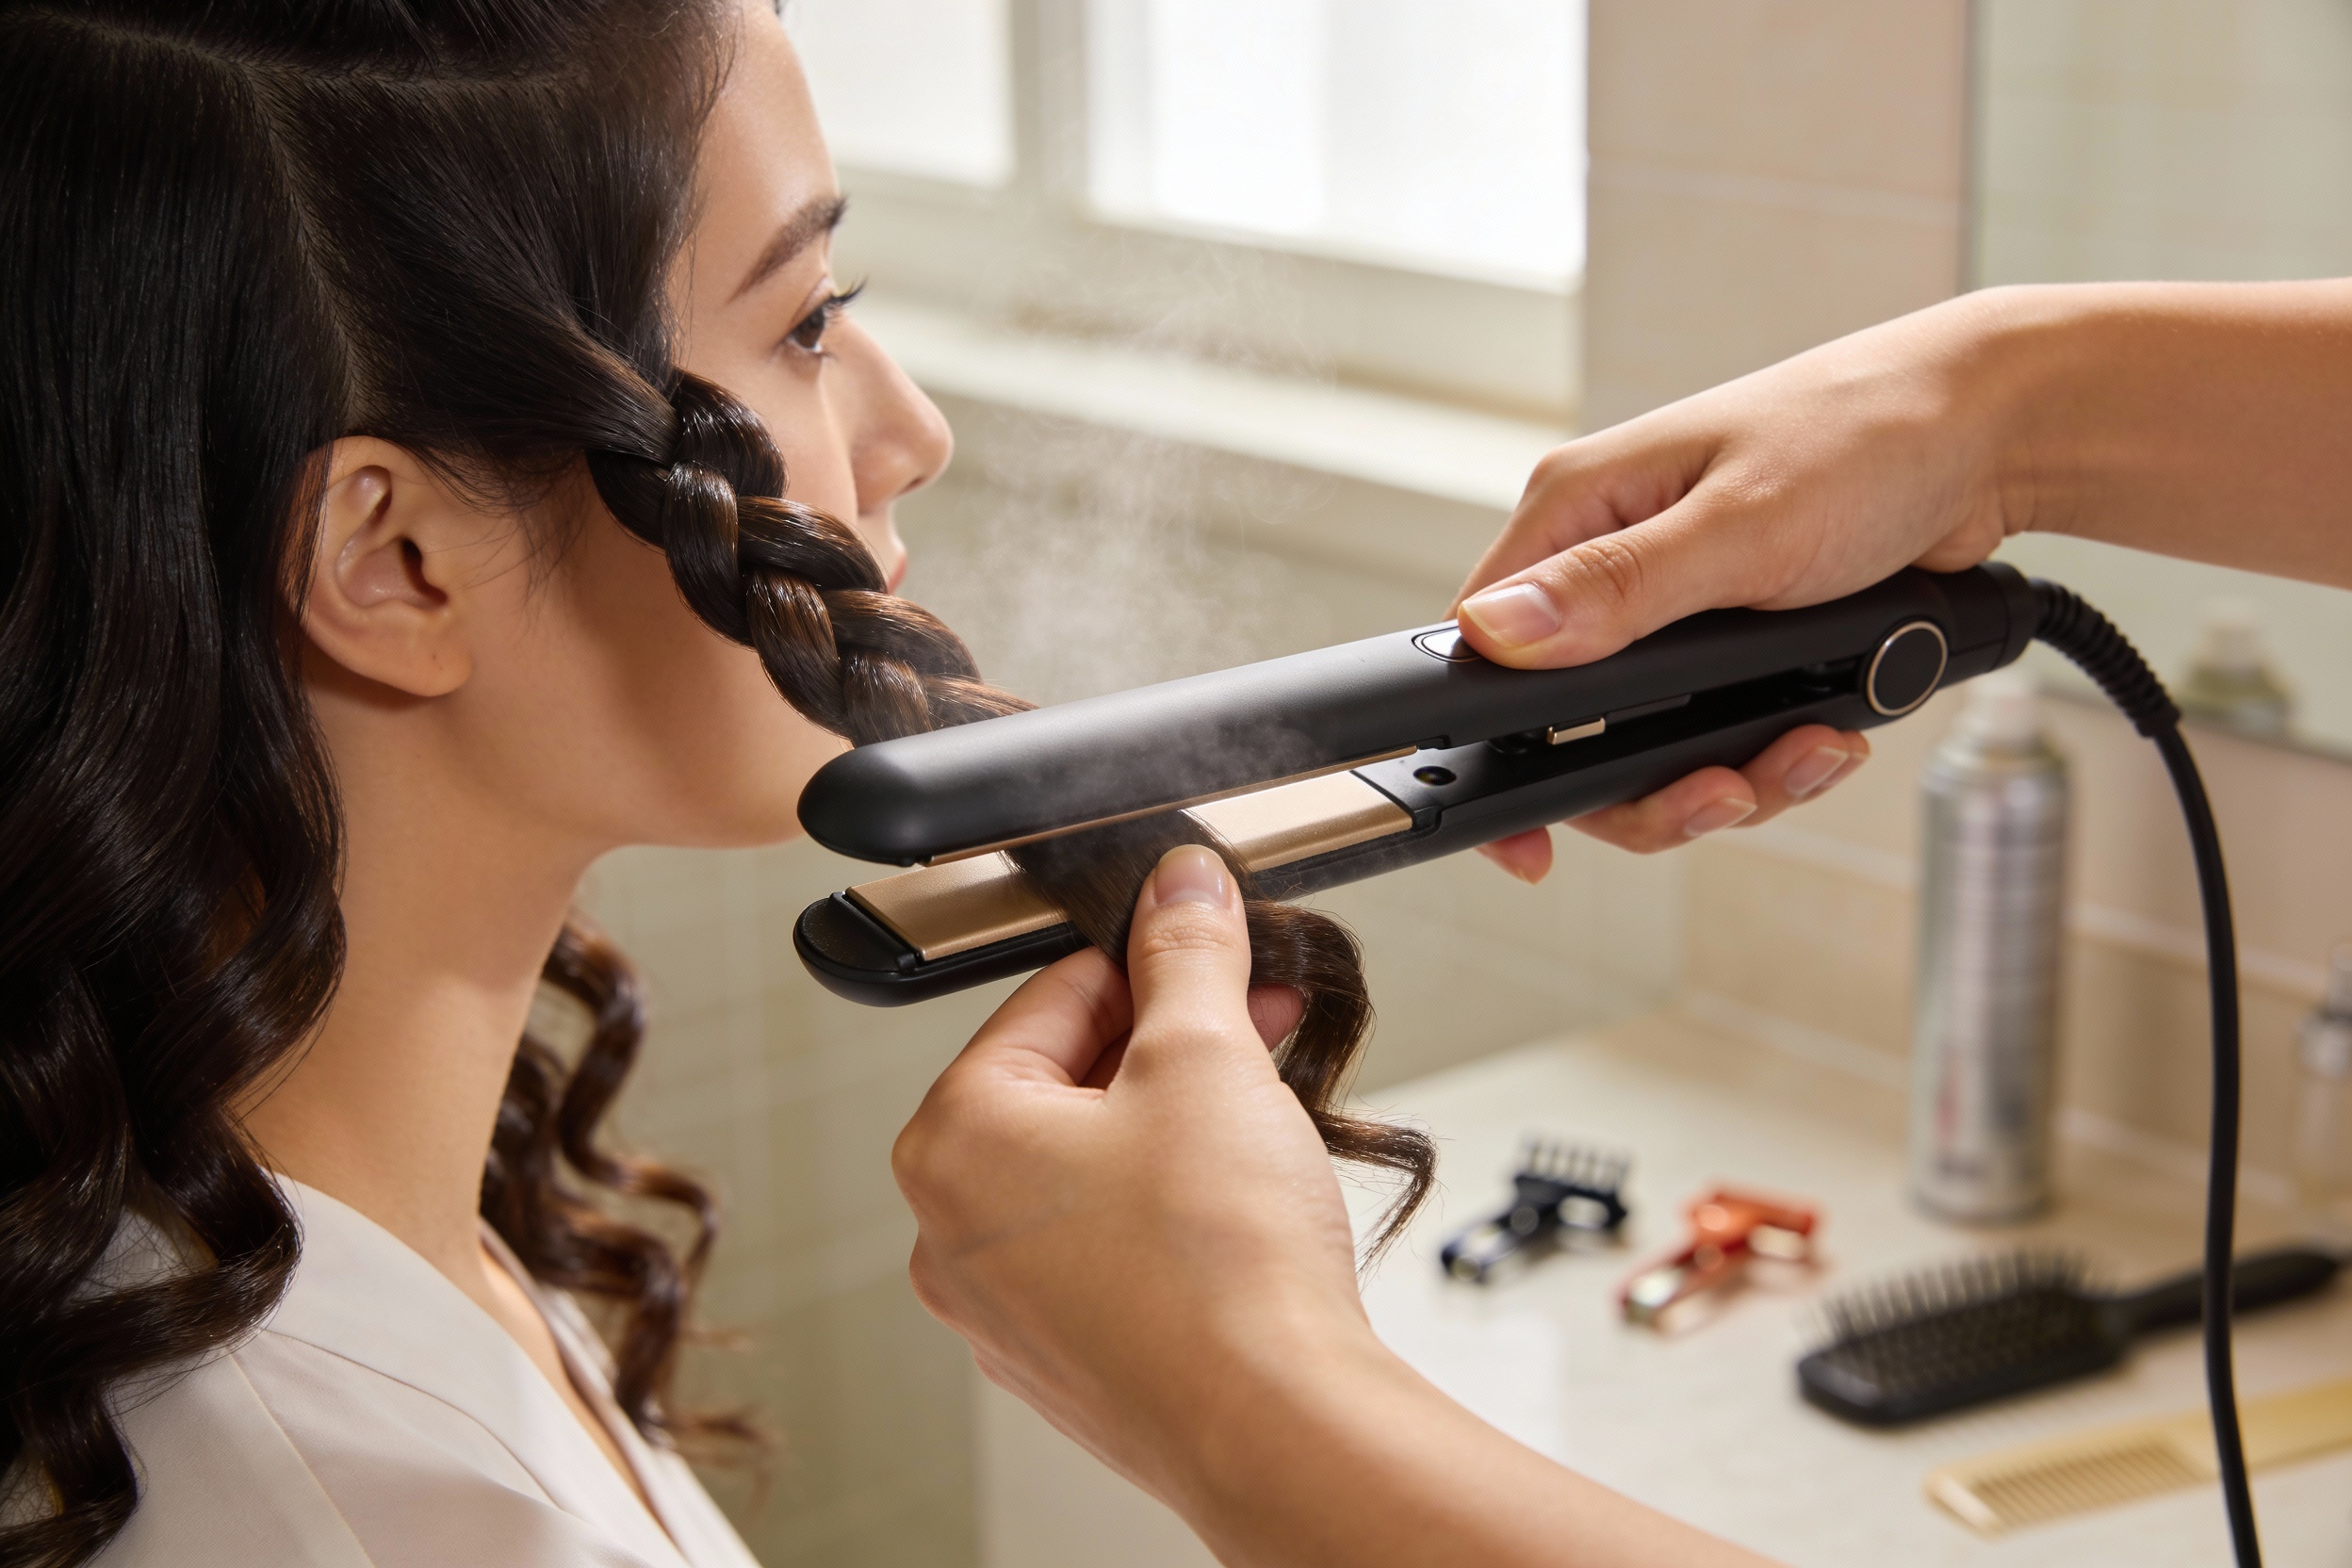
The Flat Iron Curl Technique (Step-by-Step)
This is the classic flat iron curl: smooth, flattering, and easy to repeat. Once you nail the wrist motion, you’ll fly through your whole head.
- Clamp and slide: Clamp the flat iron at the root of your section. Slide down an inch to reduce crease marks.
- Twist 180–360 degrees: Rotate the iron away from your face for your front pieces. Keep the hair wrapped around the plate as you twist.
- Glide, don’t pause: Pull the iron smoothly through to the ends at a gentle, steady speed. No stop-and-hold—pausing creates dents or crispy ends.
- Catch and cool: Let the curl fall into your hand and hold it for a few seconds so it sets. Gravity is not your enemy if you cool it right.
Direction Matters (But Don’t Overthink It)
- Front pieces: Curl away from your face for that effortless, not-in-your-mouth vibe.
- Mix it up: Alternate directions on the rest for natural texture.
- Uniform glam: Curl all sections the same direction for a polished, red-carpet wave.
Different Curl Styles With One Tool
You don’t need five tools to get different looks. Just tweak your technique and speed.
Beachy Waves
- Smaller sections: 0.5–1 inch for tighter texture.
- Soft twist: Rotate the iron only 180 degrees, not a full turn.
- Faster glide: Move a bit quicker so the curl stays looser.
- Break it up: Rake through with fingers and finish with texture spray.
Classic Curls
- Full twist: 360-degree rotation for a traditional curl.
- Steady, slower pull: More contact time = more bounce.
- Pin to cool: Clip curls to your head while cooling for extra hold.
Old Hollywood Waves
- Uniform direction: Curl every piece the same way.
- Brush out: Once cool, use a boar bristle brush to blend into waves.
- Set the S-shape: Press with clips along the wave ridges, then spray and remove.
Textured Ends (The Cool-Girl Look)
- Leave the ends out: Stop curling an inch before the ends for that undone finish.
- Use dry shampoo: Add grit at the roots for volume without stiffness.

Common Mistakes (And How to Fix Them)
- Creases near the roots: Start the curl a bit lower or slide down before twisting. Keep your wrist moving.
- Curls that fall flat: Use smaller sections, hold the curl to cool, add a light mousse beforehand, and finish with a flexible hold spray.
- Snagging and frizz: Detangle thoroughly, use a heat protectant with slip, and clean your plates. Product build-up causes drag.
- Over-spiraled ends: Loosen your grip at the last inch or pull straight through the ends.
- Too much product: Heavy oils weigh curls down. Use airy products and apply oils only to the ends after styling.
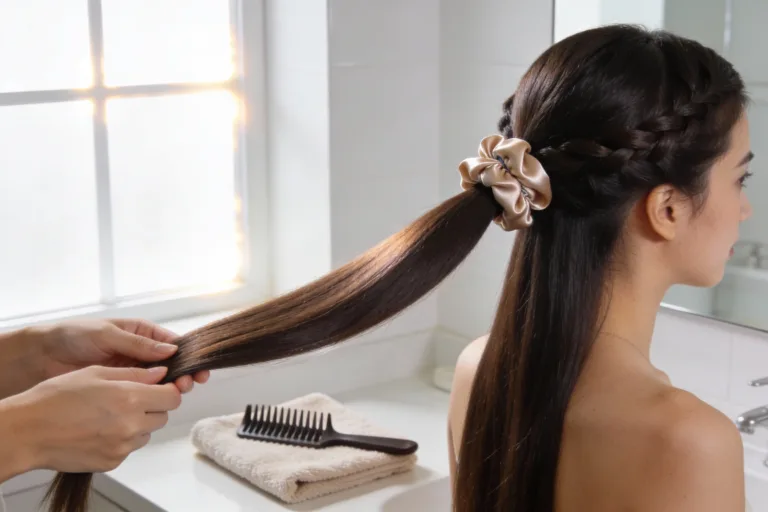
Finishing Touches That Make It Last
You nailed the curl. Now lock it in and make it look intentional, not 2006 prom.
- Hands off until it’s cool: Don’t brush hot curls. Let them set for a few minutes.
- Break them up: Use fingers to separate. For softer vibes, use a wide-tooth comb.
- Add texture: Mist a sea salt or texture spray mid-length to ends for lived-in body.
- Spray smart: Use a flexible hold hairspray from 10–12 inches away. You want movement.
- Top-up volume: Flip your head, spritz dry shampoo at the roots, massage. Hello, lift.
IMO, a little frizz makes it look modern. Perfect ringlets can read costume-y. Your call though!
Care and Maintenance (So Your Hair Forgives You)
- Limit heat days: Try not to heat style daily. Refresh with dry shampoo and re-curl a few pieces instead.
- Weekly deep condition: Hydrates and prevents breakage so your ends don’t look chewed.
- Clean your flat iron: Wipe plates with a damp cloth (cool and unplugged) to remove product residue.
- Use silk or satin at night: Pillowcase or bonnet to reduce friction and preserve curls.
FYI: If your ends keep splitting, book a trim. Tools can’t fix what scissors should.
FAQ
Can I curl short hair with a flat iron?
Yes. Use a smaller flat iron (0.5–1″) and work in tiny sections. Keep the iron vertical and rotate quickly so you don’t scorch one spot. Focus on the top layer and face-framing pieces for shape.
Why won’t my curls hold at all?
Usually: too much conditioner, no prep, or sections too big. Try a lightweight mousse before drying, smaller sections, a slightly higher heat setting, and pin curls to cool. Finish with flexible spray, not heavy oil.
Do I curl towards or away from my face?
Away from your face in the front looks most flattering and opens up your features. After that, alternate directions for texture or keep them uniform for glam waves. Both work—pick a vibe and commit.
How do I avoid dents at the roots?
Slide the iron an inch down before you twist. Keep a light, even grip and constant motion. If your iron clamps too hard, loosen your squeeze—white-knuckling causes creases.
Should I use hairspray before or after curling?
After curling for most styles. If your hair refuses to hold, you can lightly mist each section before curling, but keep it flexible and don’t drench it. Sticky hair equals snagging and frizz.
Will this damage my hair?
Heat always causes some stress, but you can minimize it. Use a heat protectant, the lowest effective temperature, and avoid multiple passes. Deep condition weekly, and give your hair no-heat days. Balance is key, IMO.
Wrap-Up: Curl It Your Way
You don’t need a drawer full of tools to get gorgeous curls—just a flat iron and a little technique. Prep right, section smart, twist and glide, then set it with the right products. Experiment with direction and speed until you find your signature wave. And remember: imperfect curls look cool on purpose. Go forth and swish.