How to Create a Diy Skincare Routine That’S Actually Safe Now

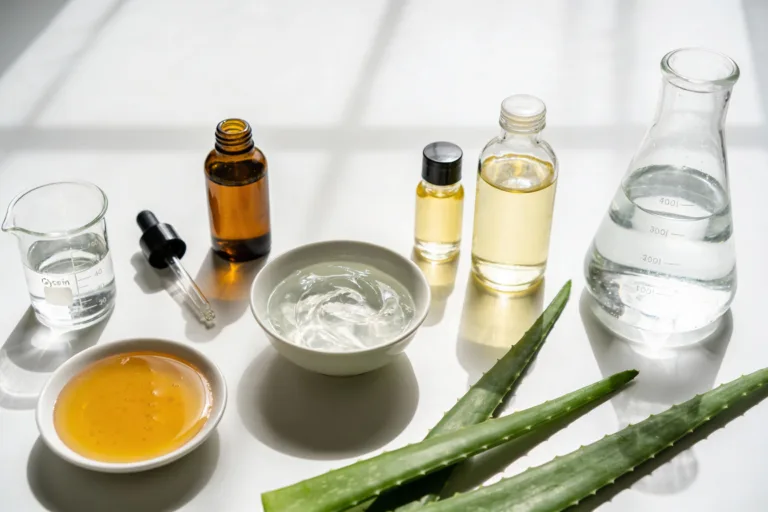
Your bathroom shelf doesn’t need a chemistry lab’s budget to deliver glow. You can build a DIY routine that respects your skin barrier, saves cash, and still feels luxe. The trick? Smart ingredients, gentle methods, and zero risky experiments. Let’s make skin happy without playing amateur scientist, shall we?
1. Start With Your Skin Type (And What It Actually Needs)
Overeating doesn’t mean something is wrong with you. It means your system needs a reset.
If cravings keep pulling you off track, this helps you regain control without restriction. You’ll learn simple, realistic steps to stop overeating and feel satisfied again.
You can’t build a routine if you don’t know what you’re building it for. Pin down your skin type and top priorities so you choose ingredients that help, not hurt. This step keeps you from throwing random kitchen stuff on your face “just to try.”
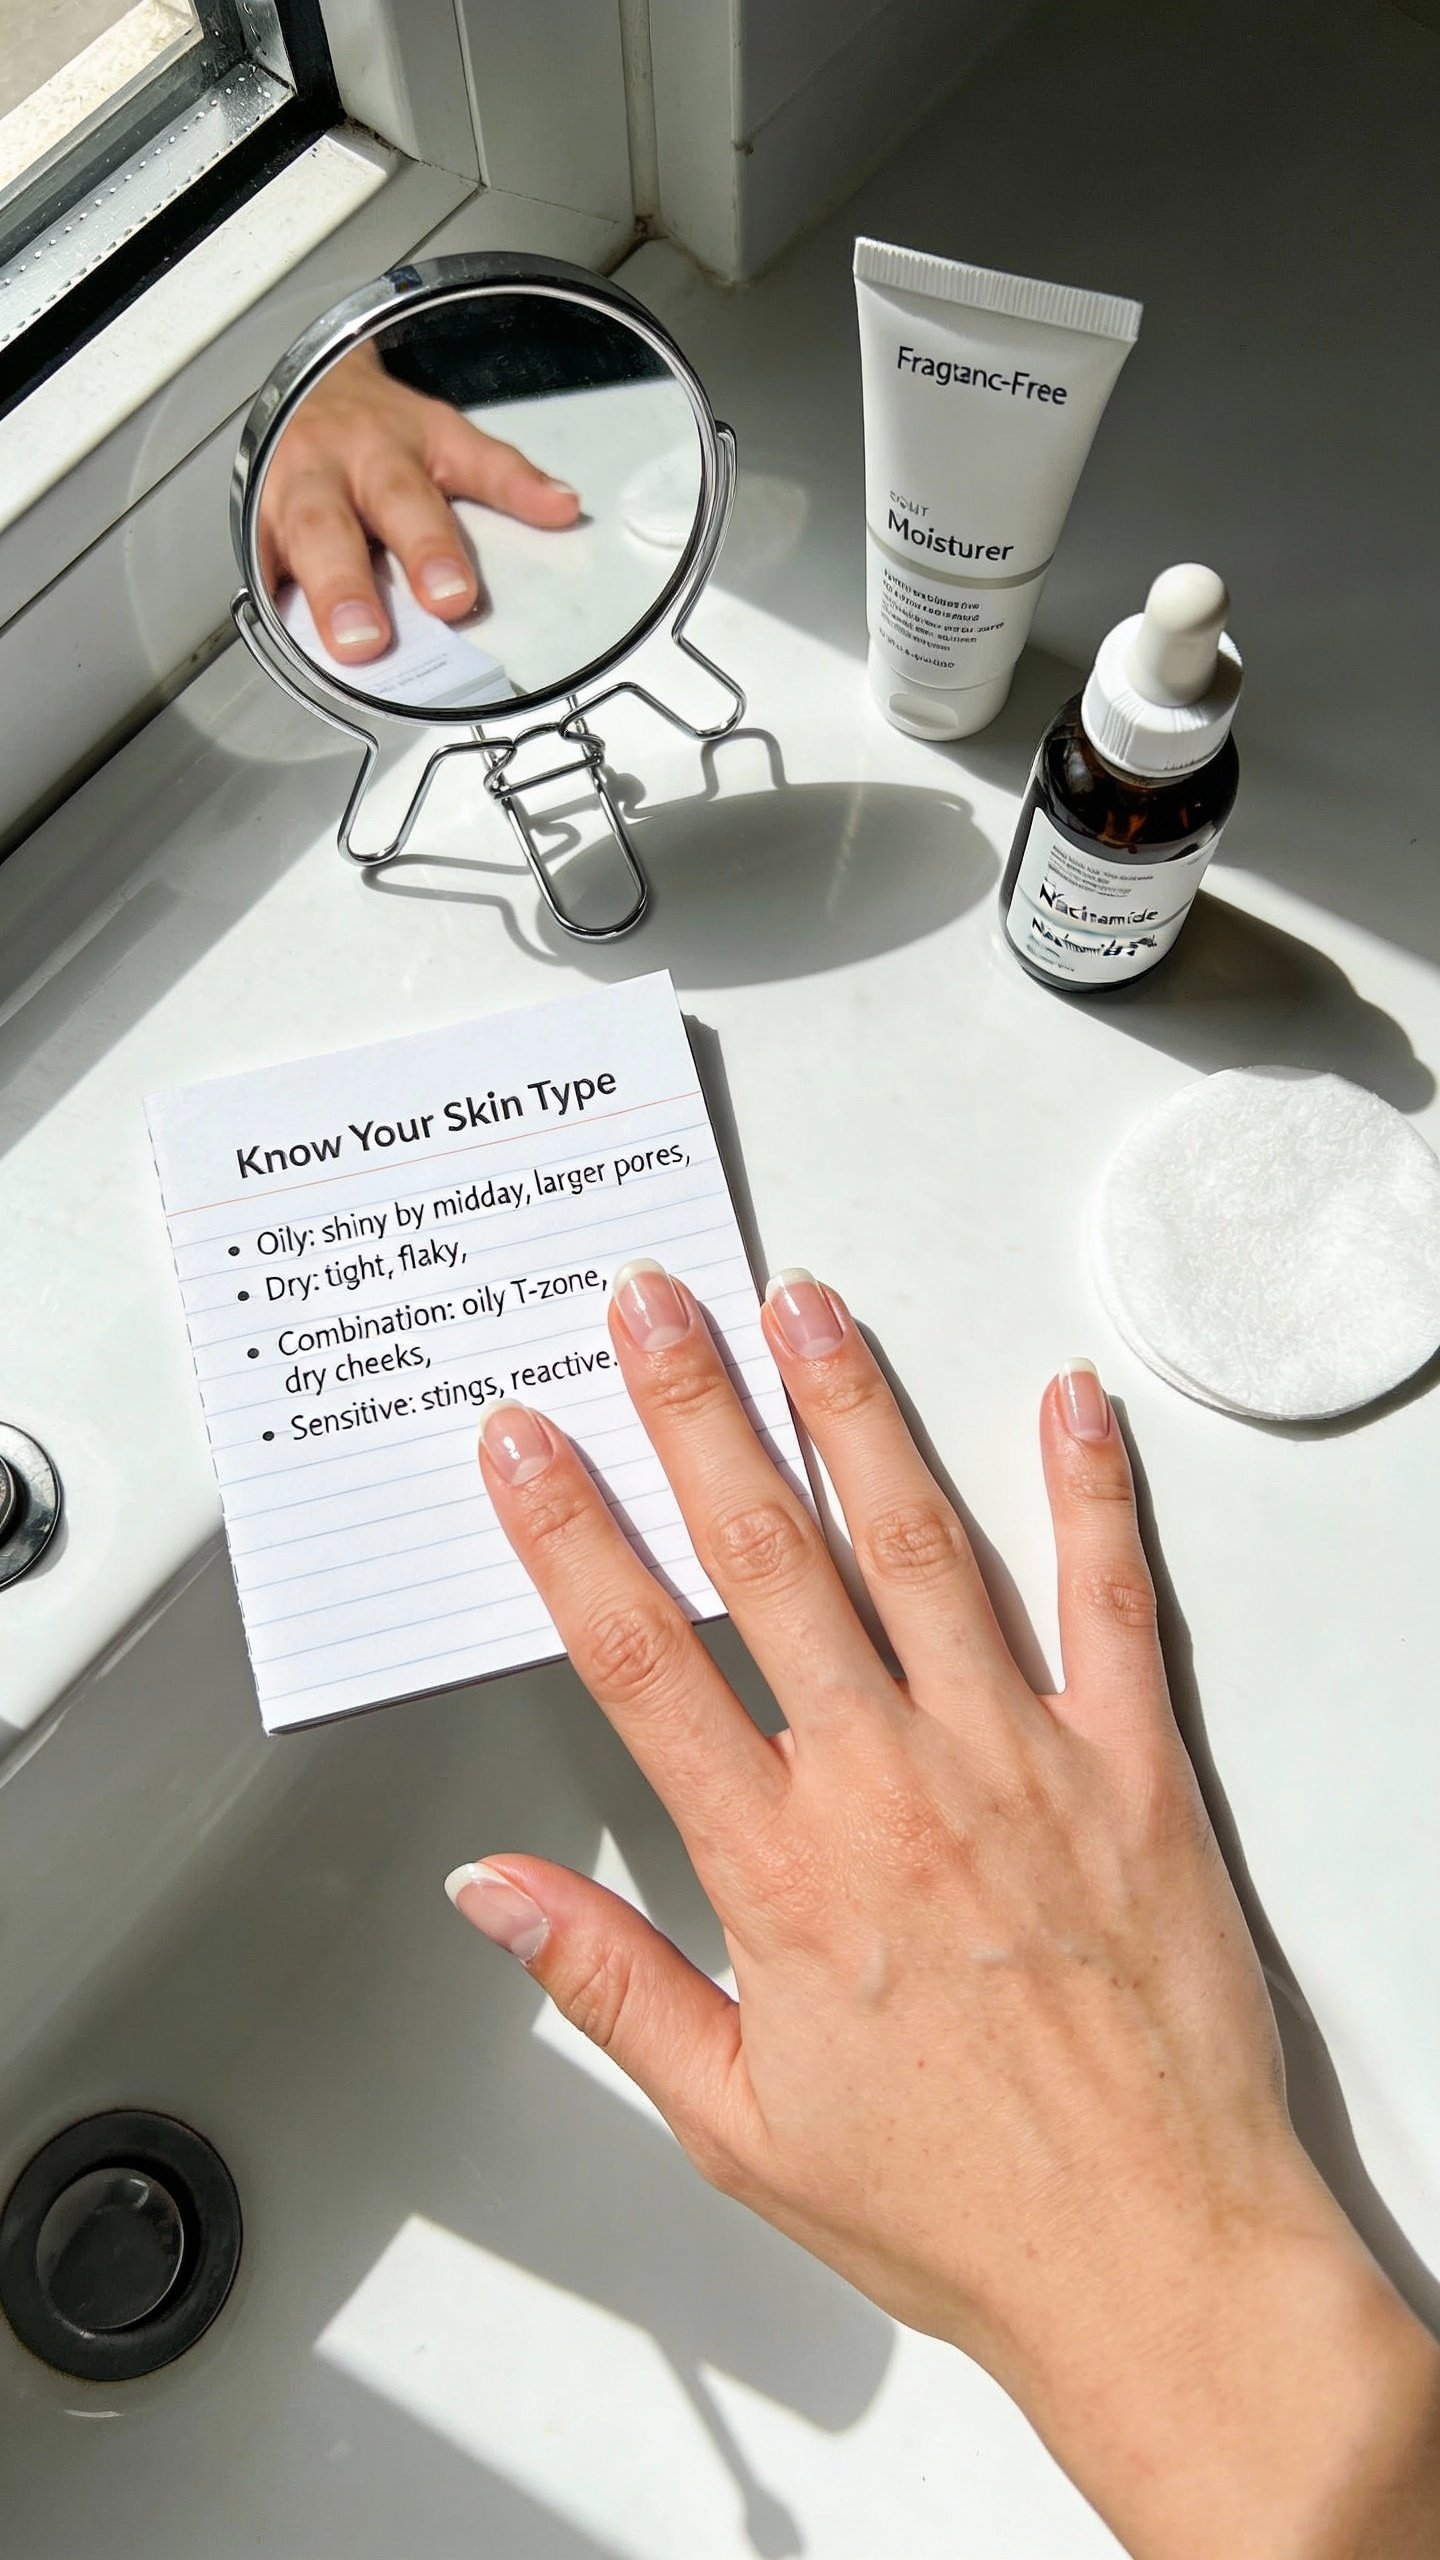
Quick Self-Assessment:
- Oily: Shiny by midday, larger-looking pores, fewer dry patches.
- Dry: Tightness, flaking, makeup clings, dullness.
- Combination: Oily T-zone, drier cheeks or jawline.
- Sensitive: Stings easily, reactive to fragrance or actives, frequent redness.
- Acne-prone: Frequent clogged pores and breakouts, sometimes with oiliness.
Pick 1–2 goals: calm redness, support barrier, reduce breakouts, brighten dark spots. You’ll choose safer DIY options when you target fewer things at a time. FYI, “glow” comes from consistency, not one spicy exfoliation session.
Red Flags To Avoid:
- Lemon juice or undiluted essential oils on skin. They can burn or irritate.
- Baking soda face scrubs. Way too alkaline for your skin.
- Hydrogen peroxide spot-treating. It can damage healthy tissue.
Knowing your skin type focuses your choices, trims the guesswork, and prevents oops-moments. You’ll spend less, react less, and glow more—win.
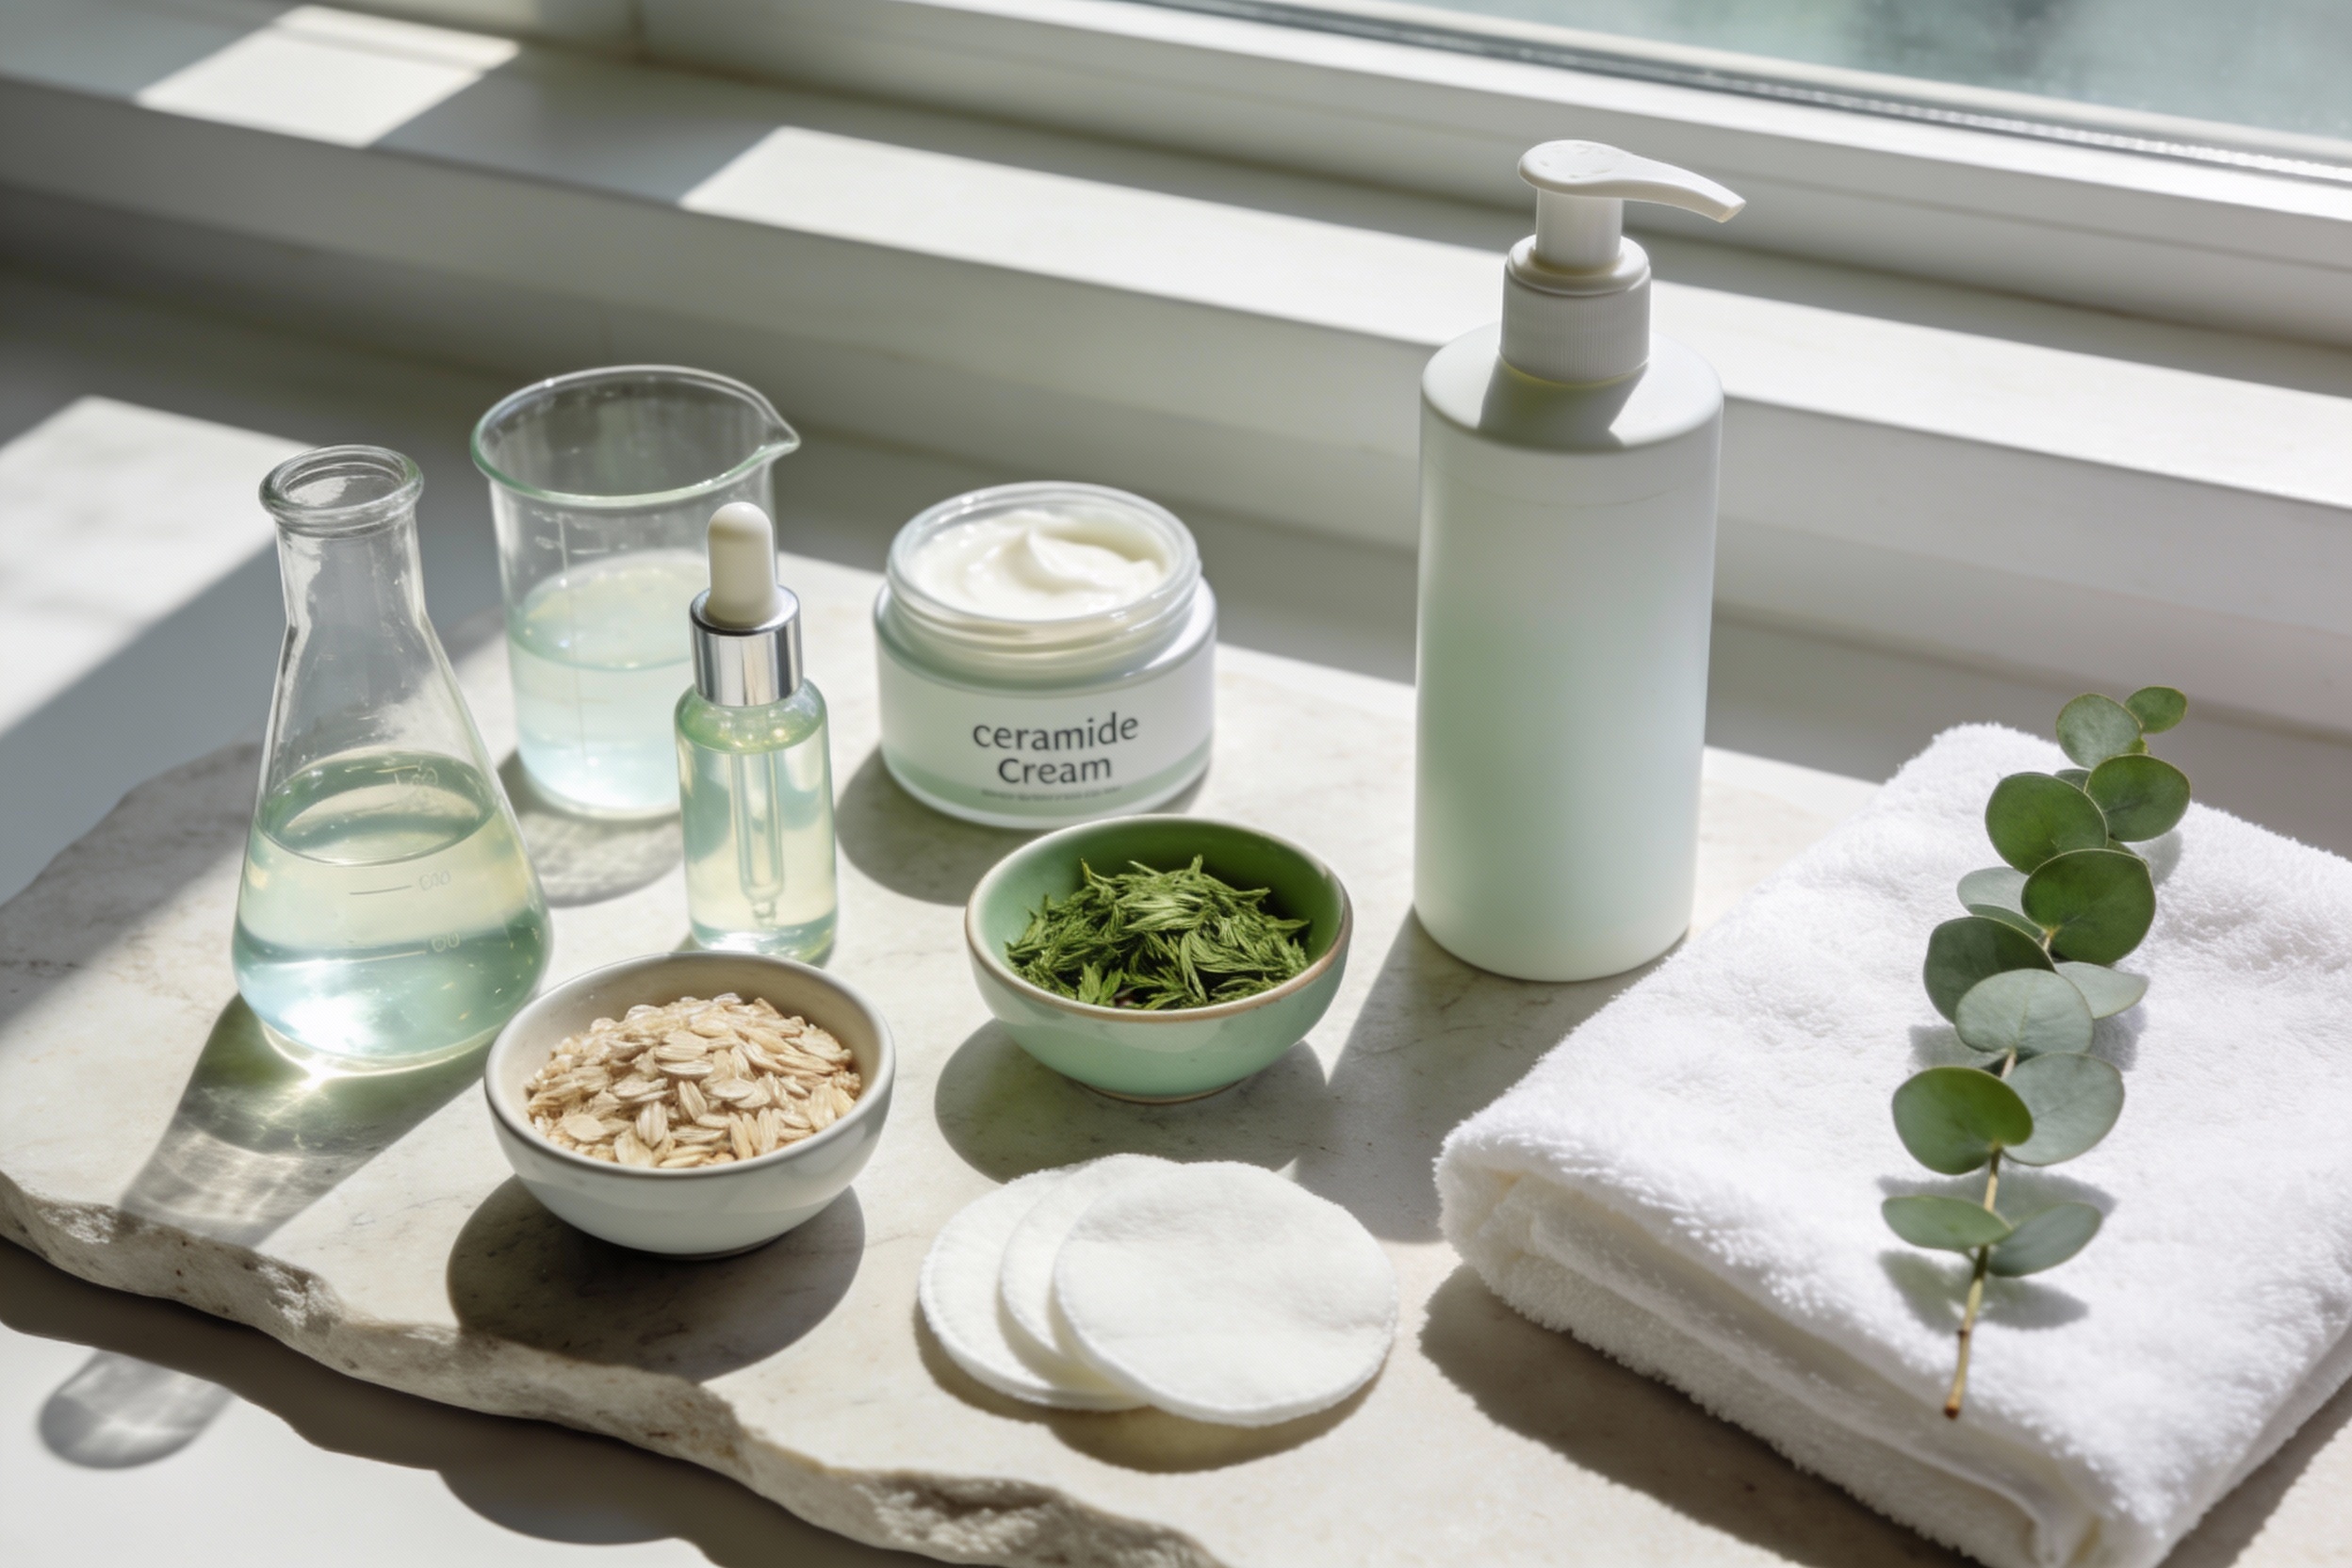
2. Build The Core: Cleanse, Hydrate, Moisturize, Protect
A safe DIY routine lives on simple pillars. Nail these four steps and everything else becomes optional. Keep it gentle and repeatable, like your favorite coffee order.
Step 1: Cleanse (PM; AM if needed)
- Oily/Acne-Prone: Use a mild, fragrance-free gel cleanser. If DIY-ing, dilute a gentle, unscented castile soap: 1 part soap to 4–5 parts distilled water. Patch test first.
- Dry/Sensitive: Cream cleansers or a simple oat “milk” rinse (strained colloidal oats in lukewarm water). Avoid hot water.
Skip harsh scrubbing. Your skin isn’t a casserole dish.
Step 2: Hydrate (After cleansing)
- DIY green tea toner: Steep green tea 5 minutes, cool, and store in the fridge up to 3 days. Swipe on with clean hands or a reusable pad.
- Or mix glycerin (1–2 drops) into palm with water and pat on damp skin for a quick humectant boost.
Hydration plumps skin and sets the stage for moisture. It’s the sip of water before the meal.
Step 3: Moisturize (Seal it in)
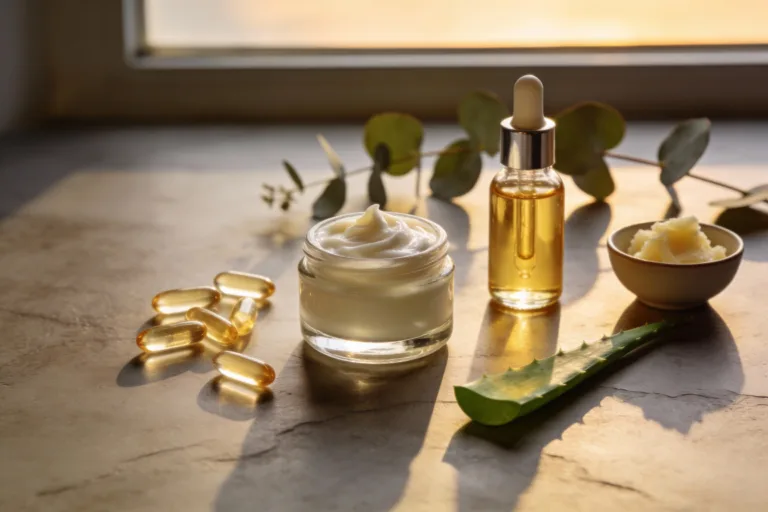
- Oily: Light gel or lotion. DIY-friendly blend: 2–3 drops squalane over damp skin.
- Dry: Creamier textures. DIY balm: 1 part shea butter to 2 parts squalane or jojoba, melted gently and cooled. Use pea-size over damp skin.
- Sensitive: Keep it minimal: glycerin + squalane over damp skin often suffices.
Moisturizer keeps the hydration you just added from ghosting you. Smooth, comfy, and calm.
Step 4: Protect (AM only)
- Use a broad-spectrum SPF 30+. Don’t DIY sunscreen—ever. Formulating SPF safely requires lab testing.
Sunscreen prevents dark spots, premature aging, and irritation flare-ups from actives. It’s non-negotiable, IMO.
With these four pillars, you already have a routine 90% of people need. Consistent basics beat chaotic hacks every time.
3. Gentle DIY Actives That Don’t Nuke Your Barrier
Actives can help, but you need low-risk, skin-friendly options. Start slow, patch test, and treat your face like the limited edition it is. No stinging competitions, please.
Barrier-Friendly Exfoliation
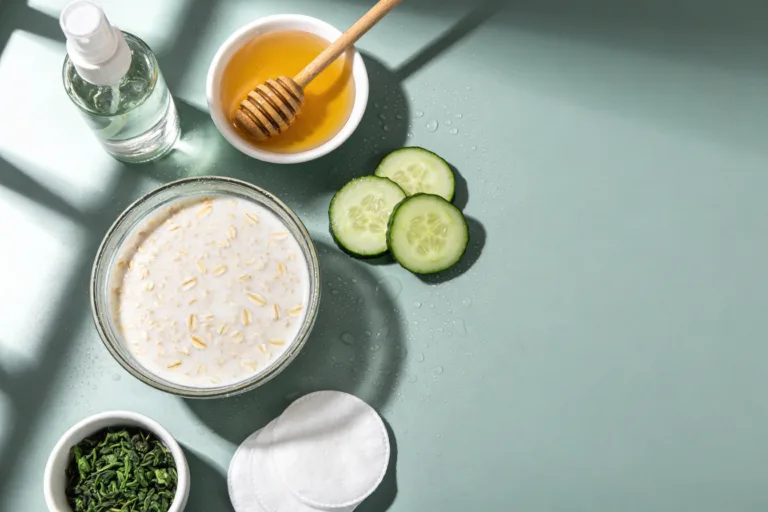
- Lactic acid yogurt mask: Use plain, unsweetened yogurt. Apply a thin layer for 5–7 minutes, then rinse. Once weekly. Great for dry or dull skin.
- Oat polish: Finely grind oats to a soft powder. Mix with water or yogurt into a paste. Gently massage for 20–30 seconds, then rinse. Works for sensitive types when done lightly.
Avoid sugar or salt scrubs on your face. They’re for elbows and heels, not your cheeks.
Brightening And Calm
- Green tea compress: Antioxidant and soothing. Press a cooled tea-soaked pad on redness for 2–3 minutes.
- Licorice root extract (store-bought, diluted as directed): Helps dark spots and redness without harshness.
- Honey mini-mask: Thin layer of raw honey for 10 minutes, then rinse. Hydrating and soothing. Patch test first if you have pollen allergies.
These options add glow and even tone without wrecking your barrier. Use 1–2 times weekly, max.
Breakout Support
- Salicylic acid cleanser (store-bought): Not DIY, but pairs well with DIY steps. Use a few nights weekly.
- Clay spot mask: Mix bentonite or kaolin with water to a thin paste. Dab on spots for 5–10 minutes, then rinse. Not for whole-face dryness.
Keep it targeted. Calm breakouts without drying your entire face into parchment.
Patch Testing Protocol
- Apply a pea-size amount behind the ear or along the jawline.
- Wait 24–48 hours to check for redness, itching, or bumps.
- Introduce only one new thing per week. Seriously.
Slow and steady protects your barrier and gives clearer feedback on what actually works.
4. DIY Recipes That Are Safe, Simple, And Actually Useful
You want recipes that are low-risk, easy to store, and friendly to your skin’s pH. These hit the sweet spot between “spa day” and “why does my face tingle like soda?”
Soft Oat Cleanser/Rinse
- Ingredients: 1 tablespoon finely ground oats, 1/2 cup warm distilled water.
- Method: Steep 5 minutes, strain through clean cloth. Use the milky liquid to cleanse or rinse, then pat dry.
- Tip: Keep leftovers refrigerated up to 2 days.
Great for sensitive or irritated skin that needs a time-out from surfactants.
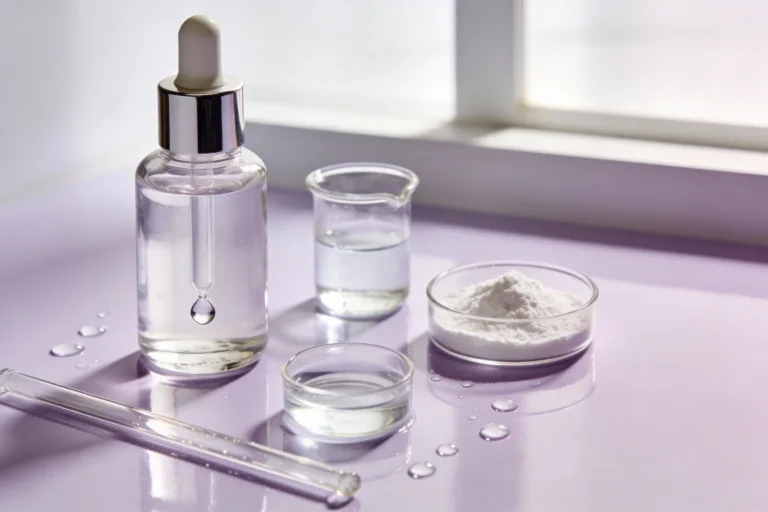
Balanced Hydrating Mist
- Ingredients: 95 ml distilled water, 3 ml glycerin, 2 ml panthenol (pro-vitamin B5) solution if available.
- Method: Mix in a sterile spray bottle. Shake before use. Spritz onto cleansed skin and follow with moisturizer.
- Safety: Don’t add essential oils. Remake every 7 days, store in the fridge.
This gives a lightweight hydration boost without stickiness. Perfect pre-makeup or mid-day.
Barrier Balm (Night Saver)
- Ingredients: 20 g shea butter, 40 g squalane or jojoba oil, 2 g vitamin E (tocopherol).
- Method: Gently melt shea in a double boiler, stir in oils off heat, pour into a clean tin, cool. Use a rice-grain amount on damp skin.
- Note: If acne-prone, patch test; shea can feel heavy for some.
Use this when your skin feels tight, over-exfoliated, or wind-chapped. It locks in hydration and supports a calmer barrier.
Soothing Green Mask
- Ingredients: 1 teaspoon matcha or green tea powder, 1–2 teaspoons aloe gel (no alcohol), a few drops squalane.
- Method: Mix to a spreadable paste. Apply for 10 minutes, rinse with lukewarm water.
- Tip: Great after sun exposure or when redness hits.
This mask delivers antioxidants and hydration without the drama. Use weekly or as needed.
Clay T-Zone Reset
- Ingredients: 1 teaspoon kaolin or bentonite clay, 1–2 teaspoons green tea.
- Method: Mix to a thin paste and apply only to oily areas for 5–8 minutes. Do not let it crack.
- Aftercare: Rinse and follow with hydrating mist and light moisturizer.
Use before events when shine likes to photobomb your selfies. Keeps pores happy without drying your cheeks.
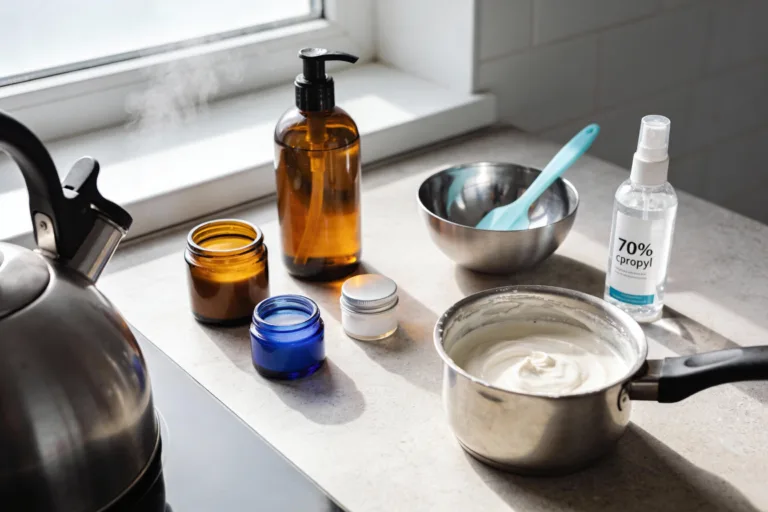
5. Keep It Clean: Hygiene, Storage, And When To See A Pro
DIY can go sideways if you ignore hygiene. Microbes love water-based products, and dirty tools can sabotage even the best routine. Let’s keep your skin and your stash safe.
Hygiene Rules You’ll Actually Follow
- Wash hands before touching your face or products.
- Use clean spatulas or pumps instead of finger-dipping.
- Sanitize tools (spoons, bottles) with 70% isopropyl alcohol and let air-dry.
- Label everything with the date you made it.
Small rituals prevent big breakouts and infections. Boring? Maybe. Effective? Absolutely.
Storage And Shelf Life
- Water-based DIY products (mists, toners): Refrigerate and remake weekly unless you know proper preservation.
- Oil-only products (balms, oils): Store cool and dark; last 3–6 months. Add vitamin E to slow oxidation.
- Signs to toss: Color change, weird smell, separation, or irritation after use.
When in doubt, throw it out. Your skin deserves fresh, safe stuff.
Smart Routine Planning
- AM: Cleanse (if needed) → Hydrate → Moisturize → SPF.
- PM: Cleanse → Hydrate → Moisturize → Optional: barrier balm on dry zones.
- Weekly: One gentle mask or exfoliation session. Not both on the same day.
Consistency beats complication. Your skin likes predictability as much as your sleep schedule does.
When To Call In A Pro
- Persistent acne, painful cysts, sudden rashes, or reactions that last over 3 days.
- Melasma or stubborn hyperpigmentation that doesn’t budge with gentle care.
- If you’re pregnant or breastfeeding and unsure about ingredients.
Dermatologists and licensed estheticians can guide you around landmines and tailor treatments. Think of them as your skincare GPS when you’ve gone off-route.
Ready to glow without the gamble? Build your routine with gentle steps, patch test like a pro, and keep your formulas clean and simple. Start small tonight, and in a few weeks, your mirror will back you up—trust me.