Glow Up Fast How to Create a Gentle Exfoliating Mask at Home
Your skin looks dull, your moisturizer feels blah, and your makeup won’t sit right. Translation: you probably need a gentle exfoliation. Skip the harsh scrubs and mystery acids for a sec—let’s make a soothing, effective mask in your kitchen that treats your skin like a VIP. It’s easy, affordable, and your face won’t feel like it got sandblasted. Deal?
Why a Gentle Exfoliating Mask Beats a Harsh Scrub
Exfoliation removes dead skin cells that cling to the surface and make everything look tired. But rough scrubs can cause microtears and irritation—especially if you have sensitive or acne-prone skin. A gentle mask softens and lifts dead skin without the drama.
Think of it like loosening a sticker with warm water instead of ripping it off. You still get the glow, minus the redness. Consistency beats intensity here—small, regular boosts instead of one aggressive cleanse.
Overeating doesn’t mean something is wrong with you. It means your system needs a reset.
If cravings keep pulling you off track, this helps you regain control without restriction. You’ll learn simple, realistic steps to stop overeating and feel satisfied again.
Choose Your Exfoliation Style: Enzyme, Acid, or Micro-Fine Physical
You’ve got options, and they all work in different ways. The best part? You can mix and match based on your skin’s mood.
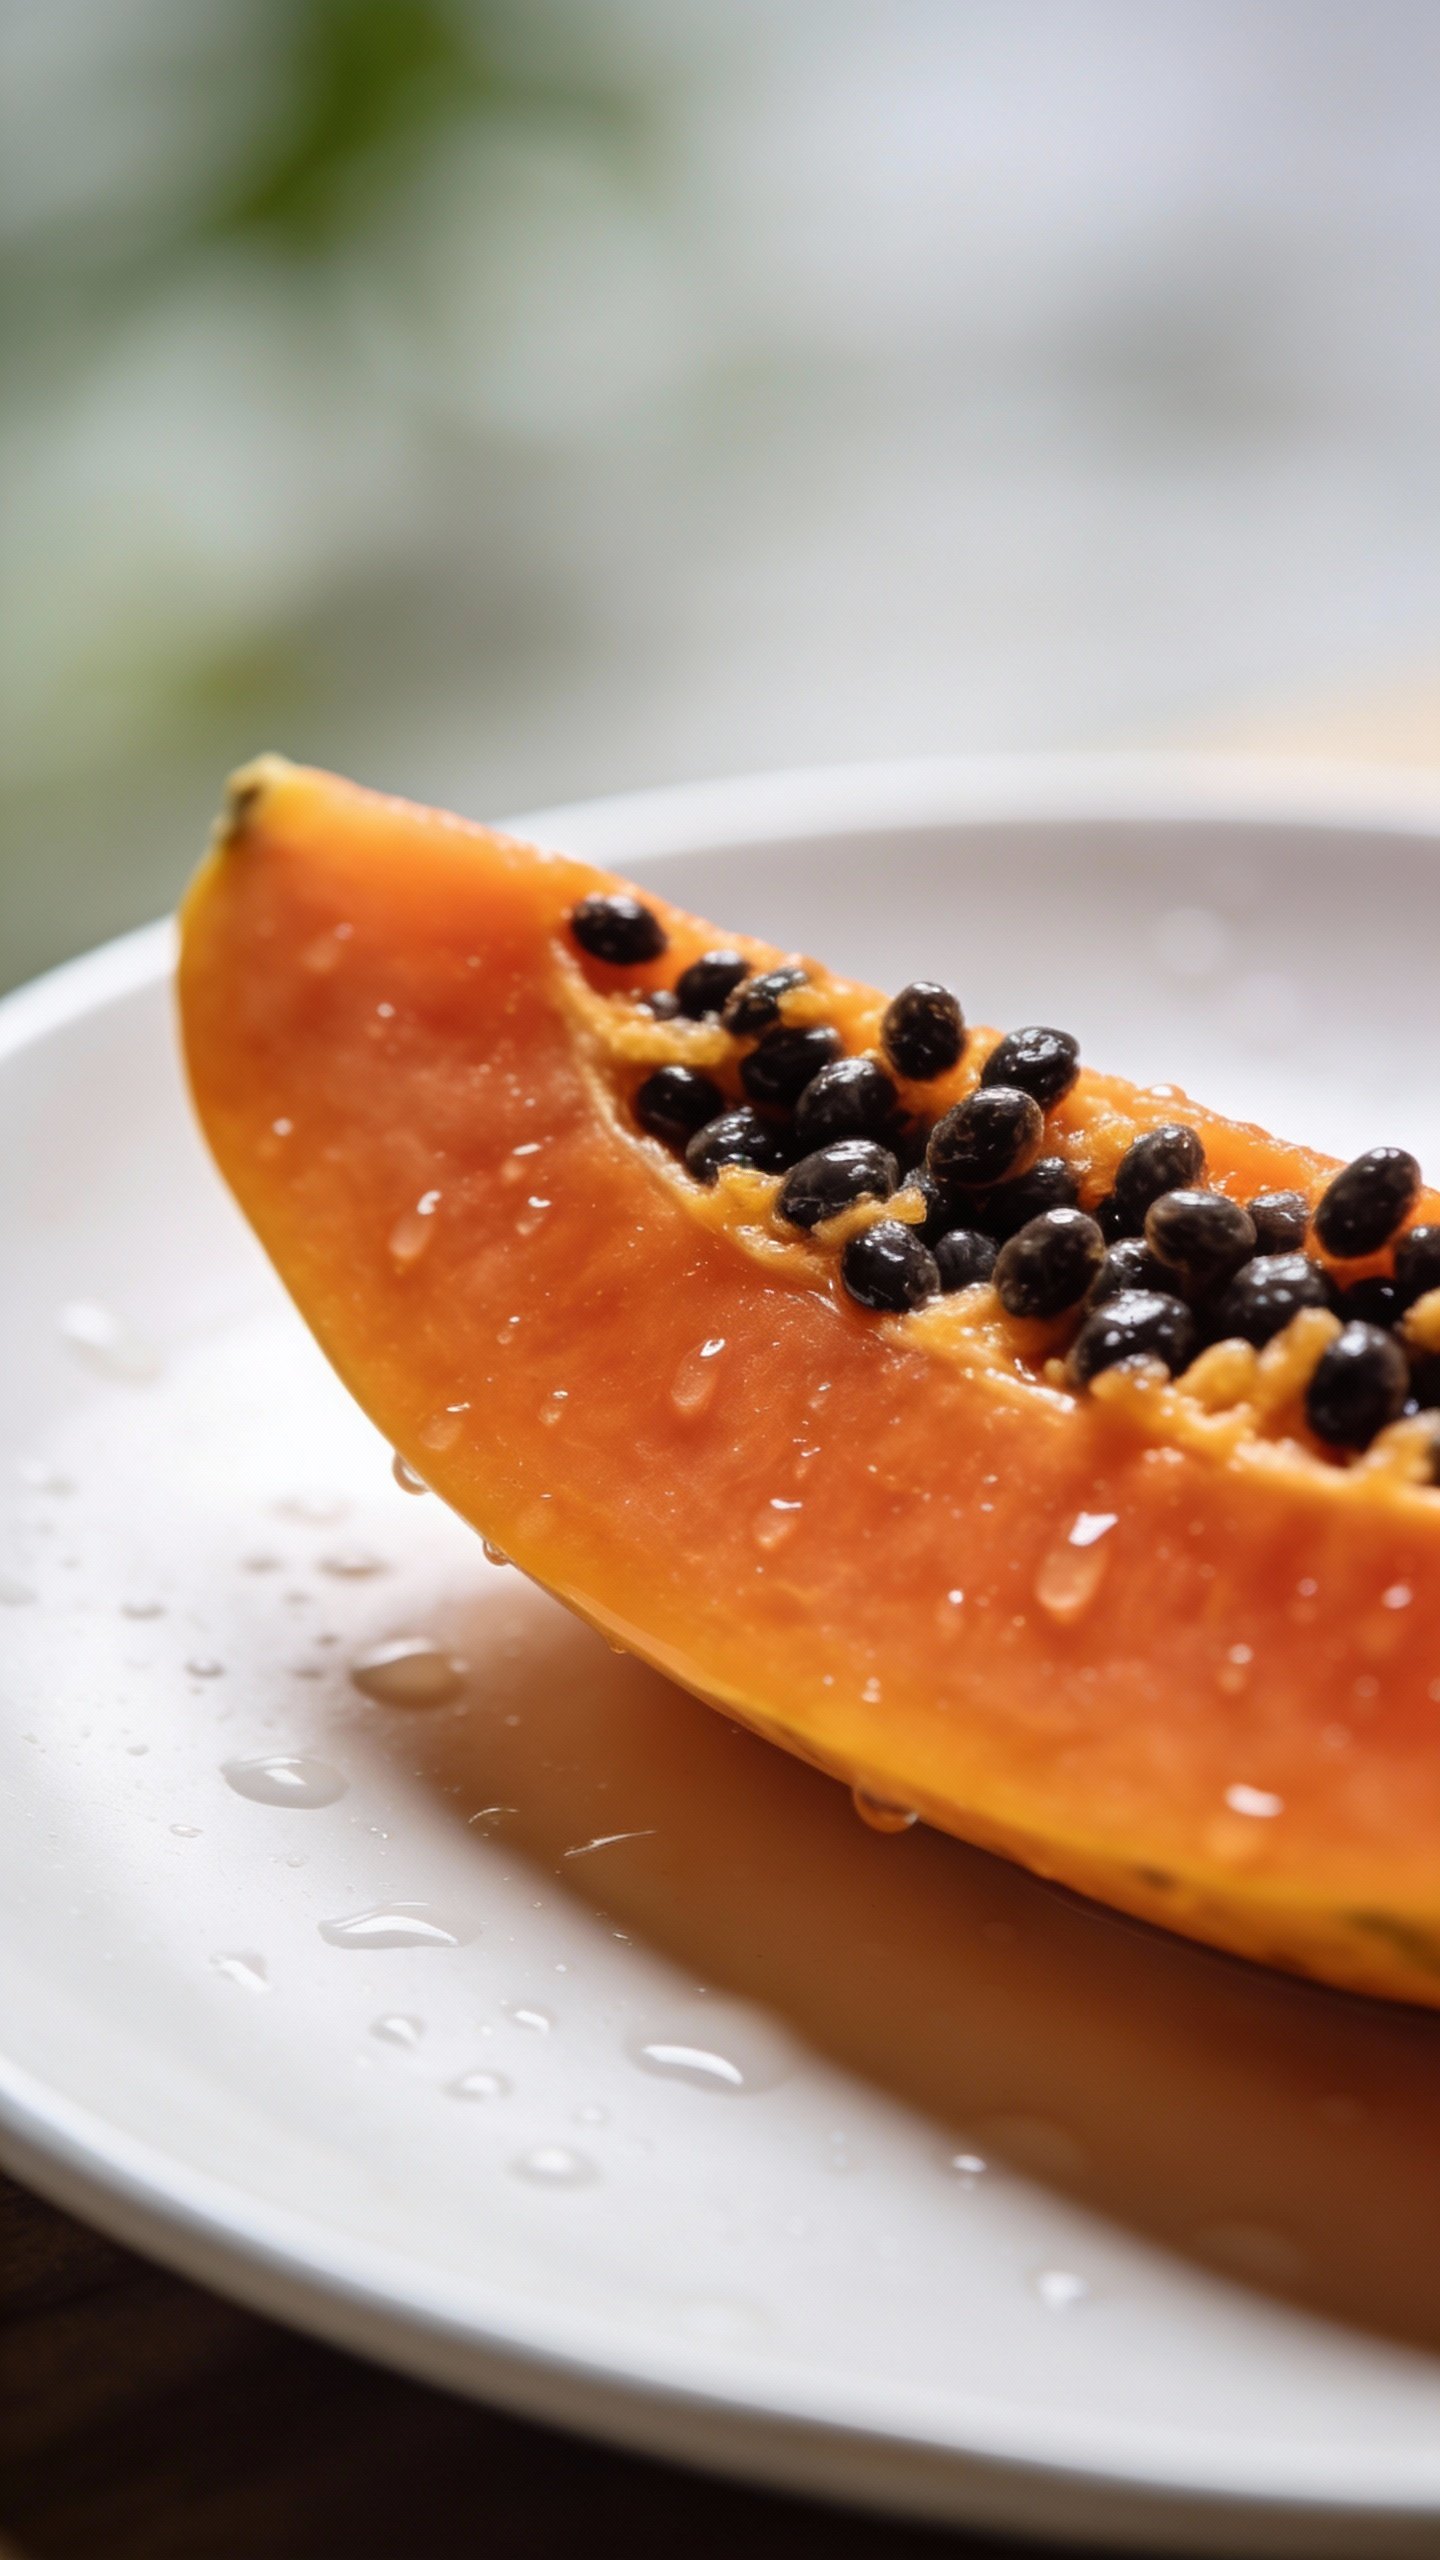
- Enzyme-based (papaya, pineapple, pumpkin): Dissolve dead skin gently. Great for sensitive or reactive skin.
- Acid-based (lactic acid from yogurt, buttermilk): Loosens cell bonds and hydrates. Dry or dull skin loves this.
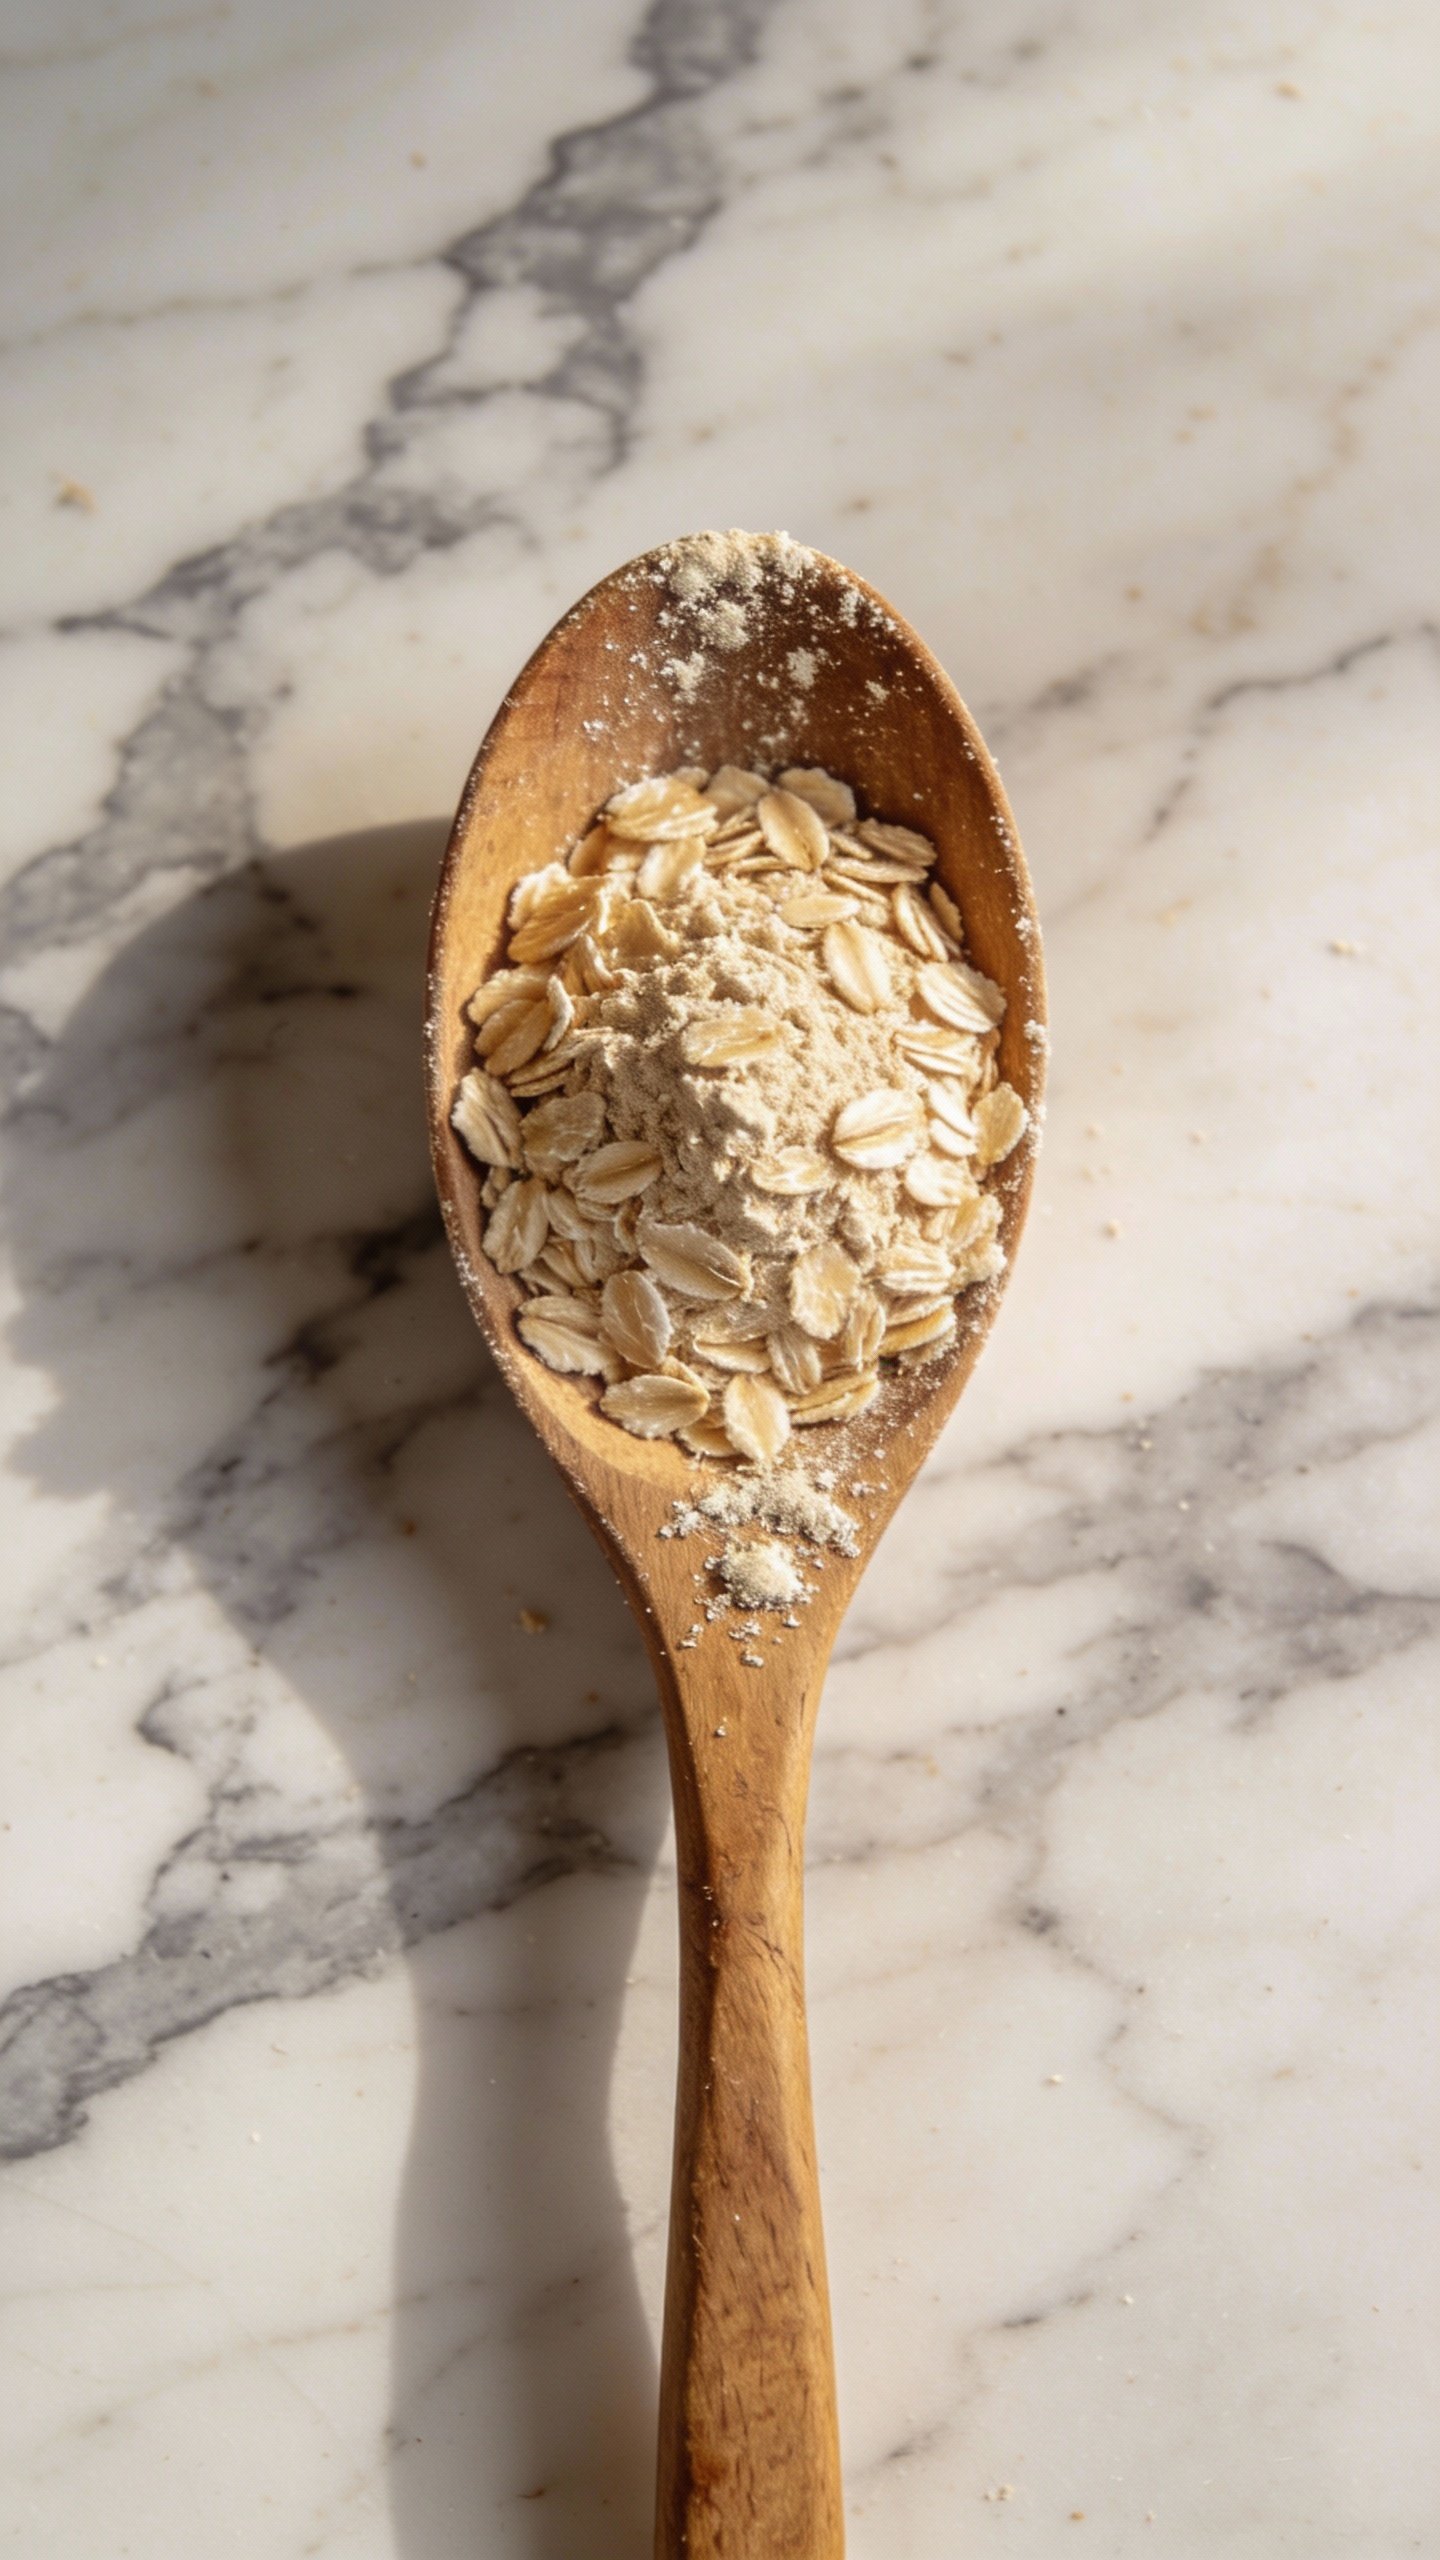
- Micro-fine physical (oat flour, rice flour): Very fine particles buff without scratching. Perfect if you want immediate smoothness.
Quick Safety FYI
Patch test first. Slather a little mix behind your ear or on your jawline for 15 minutes. If it tingles mildly, cool. If it burns, it’s a no. Also, avoid citrus juice in masks unless you want sun sensitivity and potential irritation. We’re going for glow, not chaos.
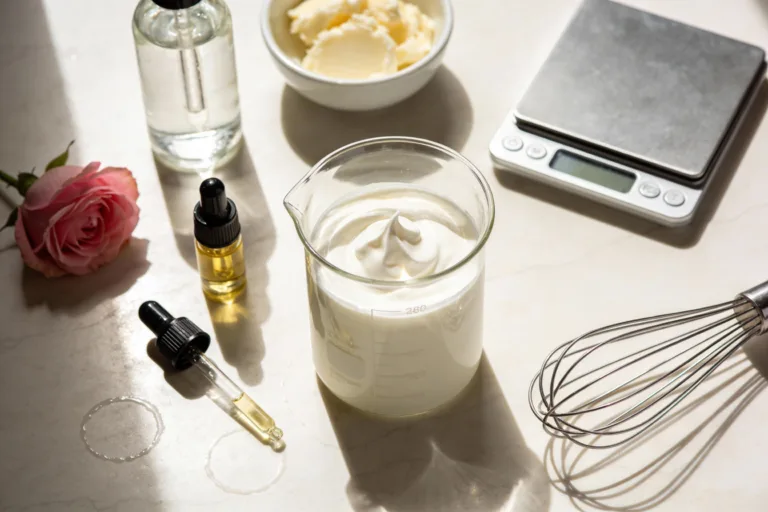
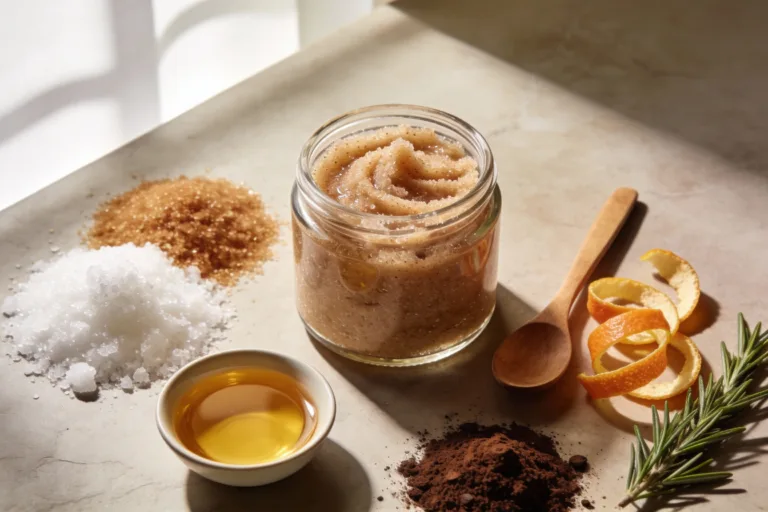
What You’ll Need (Pantry Edition)
No shopping spree required. Grab a bowl, a spoon, and try one of these combos.
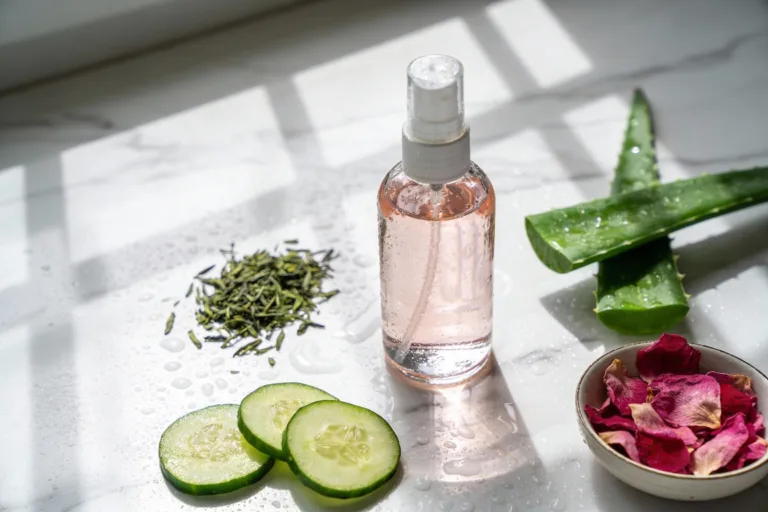
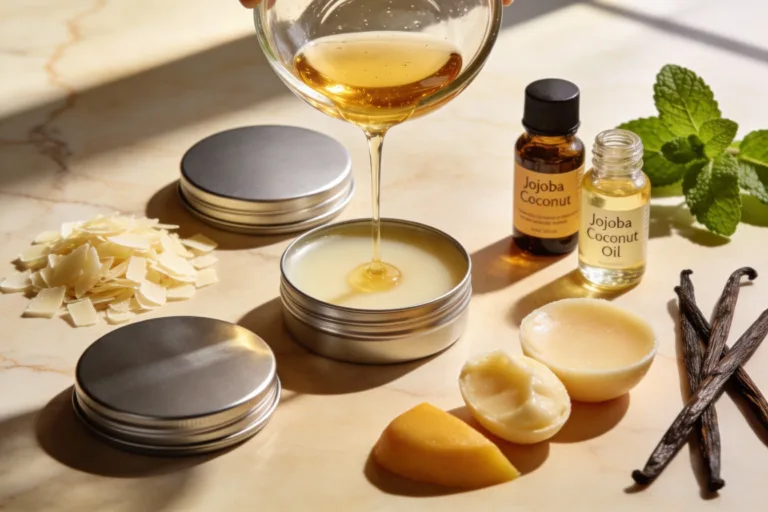
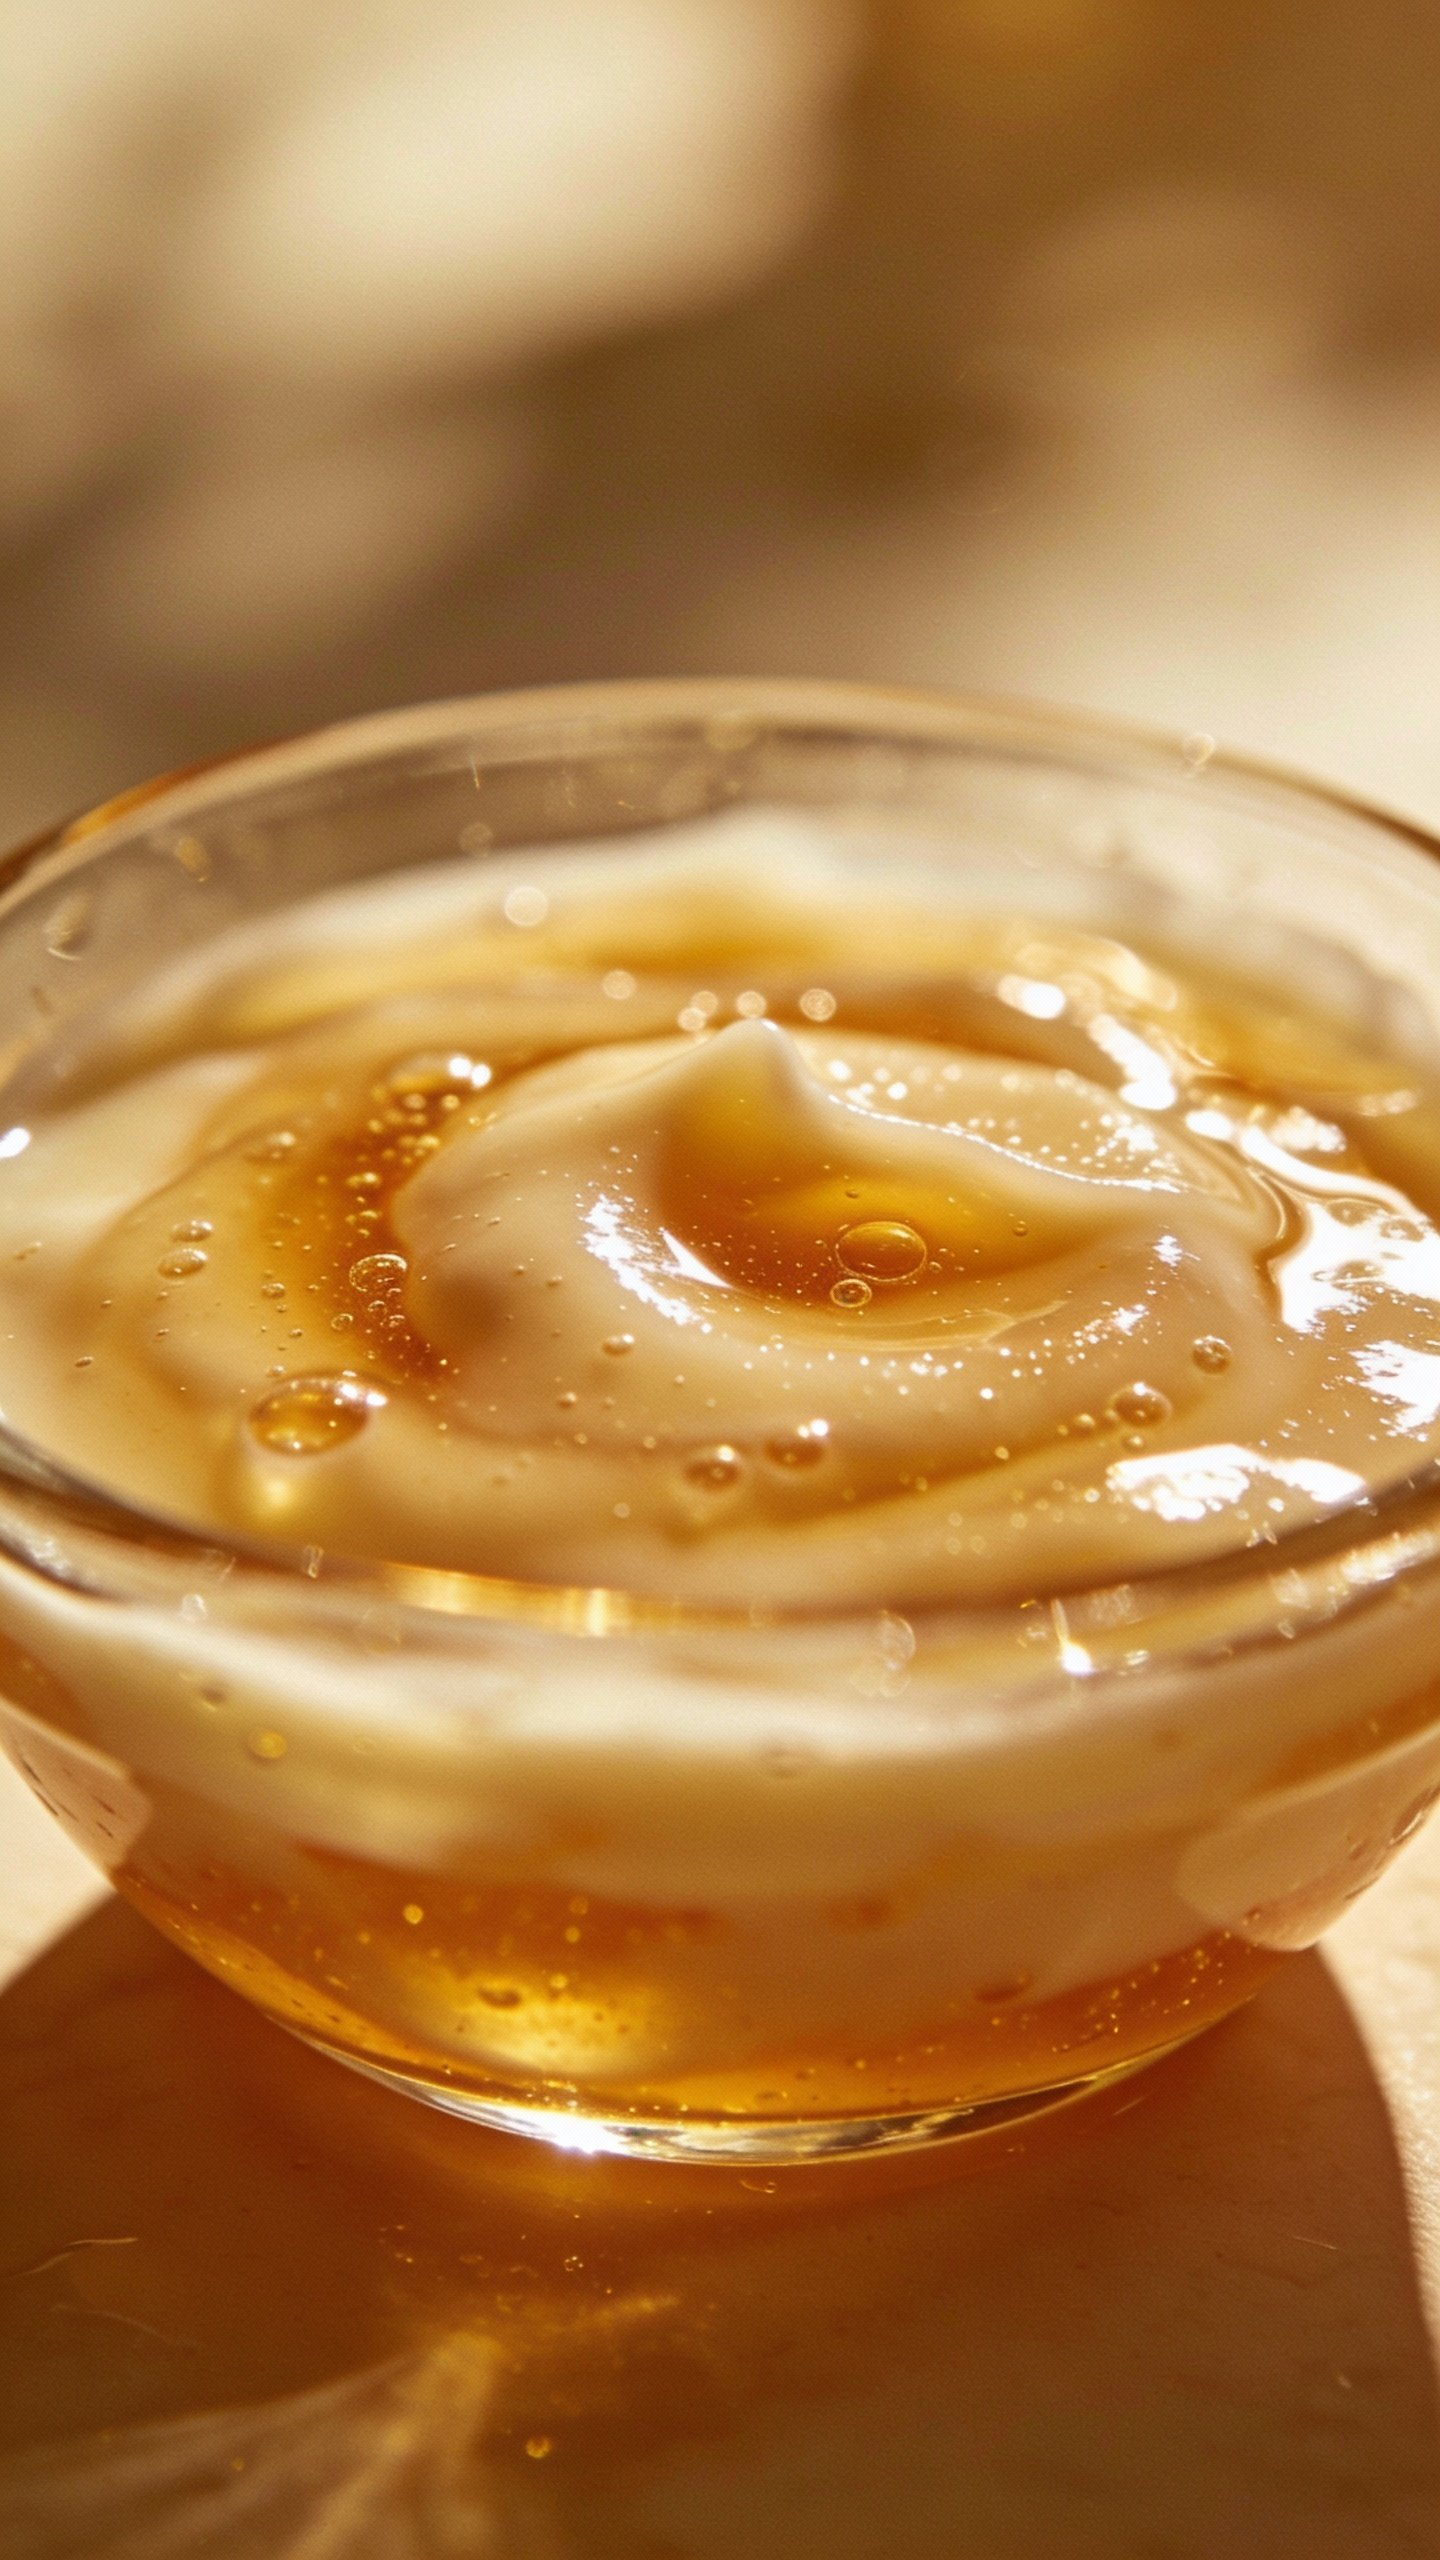
- Base options: plain yogurt, aloe vera gel, or honey
- Gentle exfoliants:
- Enzymes: mashed ripe papaya or pineapple, or canned pumpkin (unsweetened)
- Acids: plain yogurt (lactic acid), a splash of buttermilk
- Micro-fine: oat flour (blend oats), rice flour, or very fine sugar (only if not sensitive)
- Soothers: colloidal oatmeal, cucumber juice, chamomile tea
- Boosters (optional): a drop of rosehip oil, a pinch of turmeric, or a few drops of glycerin
Keep it simple: 3–5 ingredients max. Your skin likes clarity, not soup.
Three Tried-and-True Gentle Mask Recipes
Use clean utensils and apply to clean, damp skin. Always avoid eye area. Leave on 8–12 minutes unless noted.
1) Yogurt + Oat Glow Mask (Dry or Sensitive Skin)
- 2 tbsp plain yogurt
- 1 tbsp oat flour or finely ground oats
- 1 tsp honey
Mix until creamy. Apply a thin layer. You’ll feel a soft coolness, not a sting. Massage with wet fingers for 20 seconds before rinsing. Result: bouncy, calm skin with subtle radiance. IMO, this is the safest crowd-pleaser.
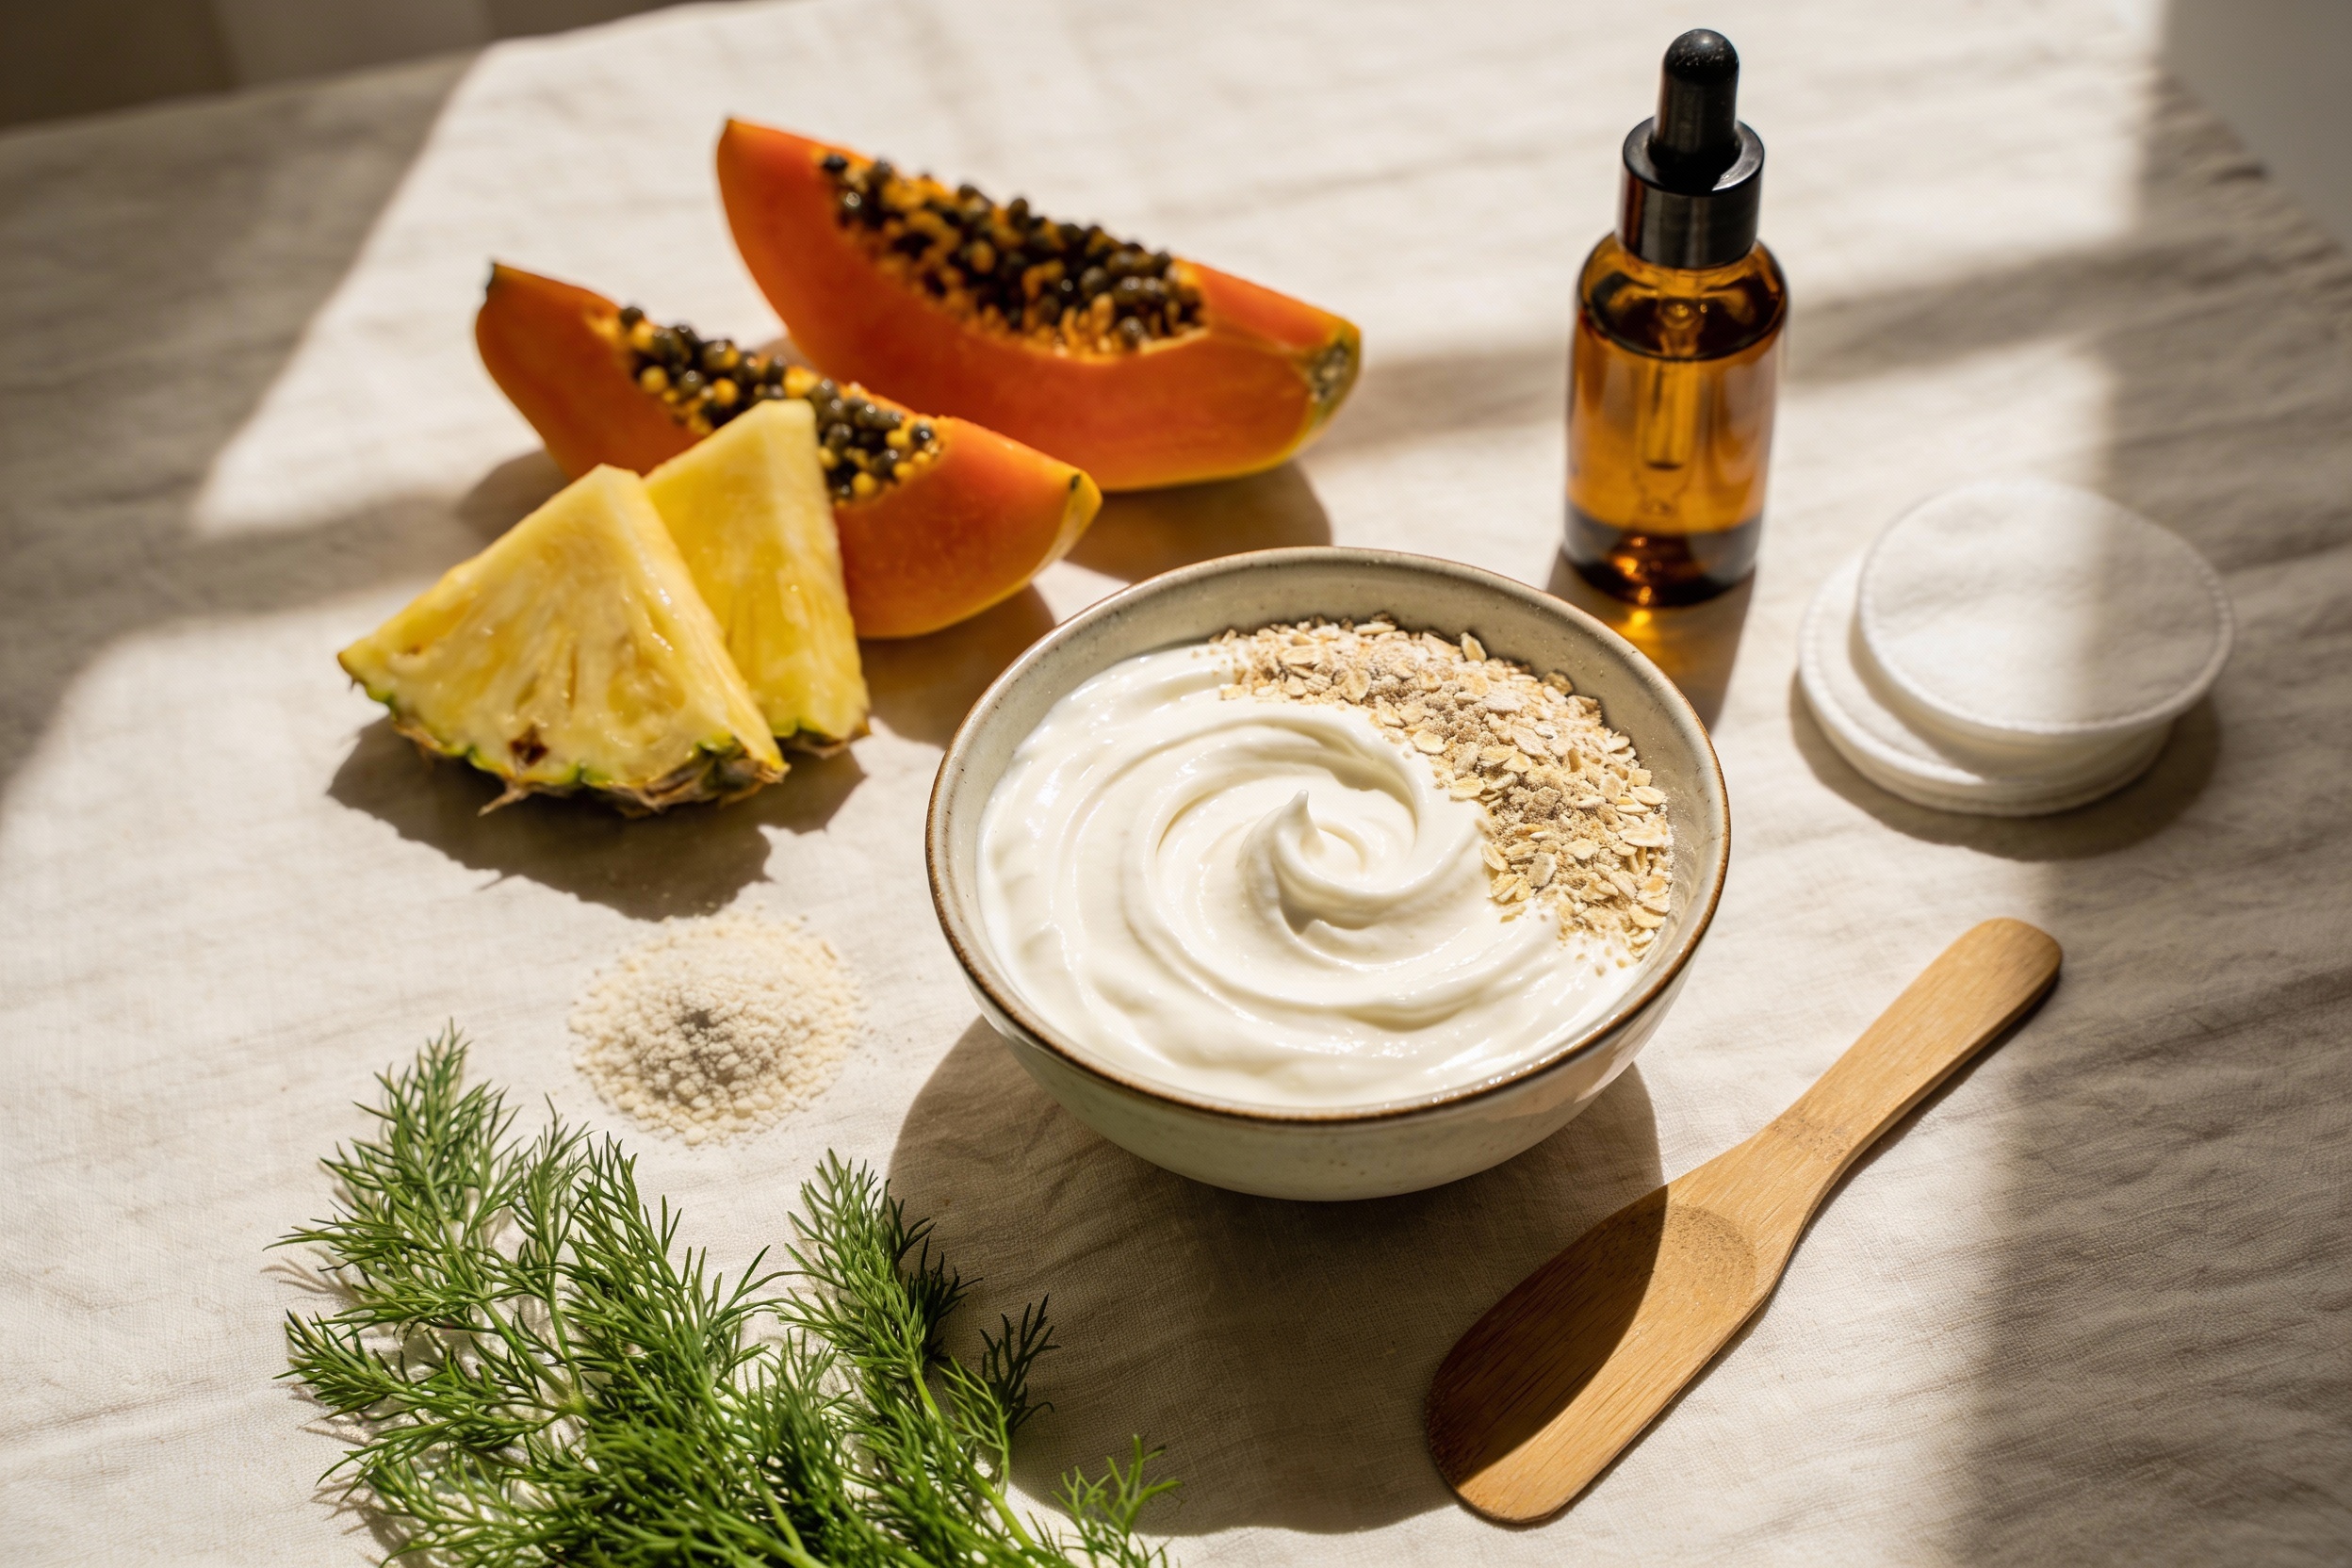
2) Papaya Enzyme Smoothie (Dull, Congested, or Uneven Texture)
- 2 tbsp mashed ripe papaya (no seeds)
- 1 tsp honey
- 1 tsp aloe gel
Papaya enzymes gently dissolve dead skin. Keep it on for 8–10 minutes only, especially if you’re new to enzymes. Result: softer texture and brighter tone without sanding your face.
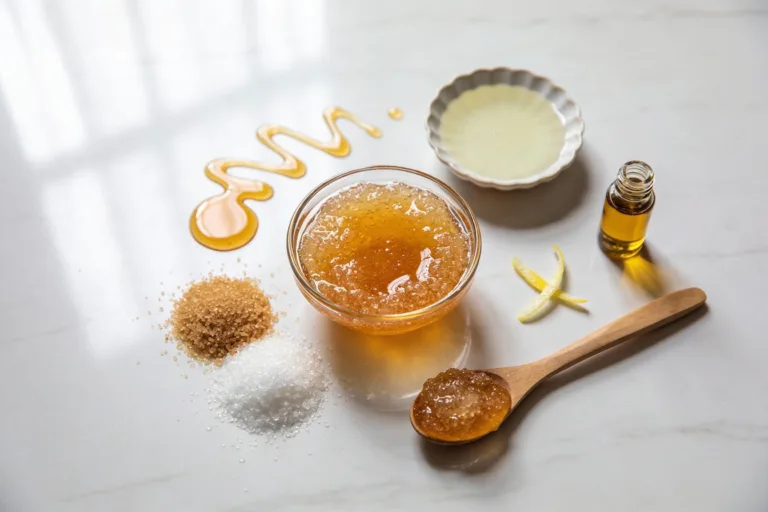
3) Rice Flour Brightening Polish (Normal/Combo Skin)
- 1 tbsp rice flour
- 1 tbsp yogurt or aloe gel (choose based on skin type)
- 1 tsp cucumber juice or cooled green tea
Mix to a pudding. Apply and let it set for 7–8 minutes. Rehydrate with a splash of water, then very lightly massage for 10–15 seconds before rinsing. Result: instantly smoother skin and a clean, refined look.
How to Apply for Maximum Glow (Minimal Irritation)
You can make the best mask ever and still mess it up with bad timing or technique. Here’s your game plan:
- Cleanse with a gentle, non-stripping cleanser.
- Apply a thin, even layer on damp skin for better slip and less tugging.
- Wait 8–12 minutes. If you feel heat or stinging, rinse early. Tingle = okay. Burn = nope.
- Rinse with lukewarm water. Use soft, circular motions.
- Pat dry, don’t rub. Be nice to your face, please.
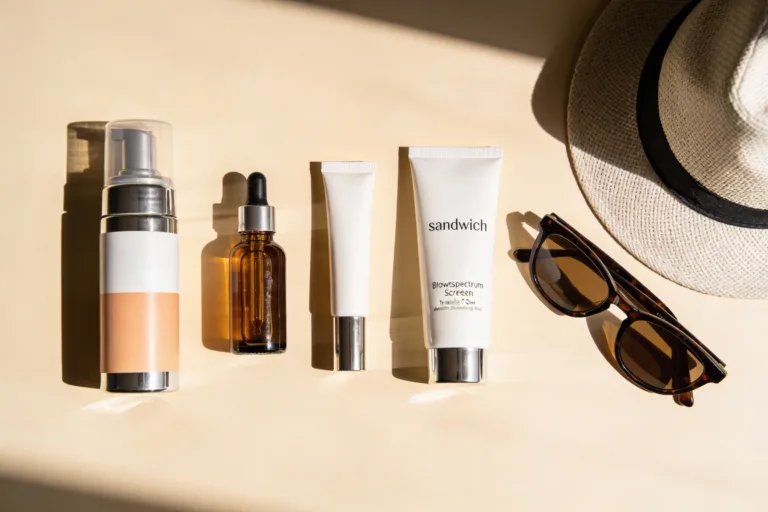
- Finish with hydrating toner or essence, then moisturizer. If daytime, use sunscreen.
Pro Tip: Buffer With Oil
If you feel reactive, apply a whisper-thin layer of squalane or a few drops of jojoba before your mask. It creates a buffer without killing results. FYI, it’s a game-changer for winter skin.

Customize by Skin Type (Without Overthinking It)
You do not need a PhD in skincare to tweak a recipe. Use this quick cheat sheet:
- Dry: choose yogurt + honey bases; add a drop of rosehip or squalane. Avoid clay.
- Oily: try papaya + aloe; add a pinch of rice flour for slip. Keep masks under 10 minutes.
- Sensitive: stick to yogurt + oat; avoid pineapple and turmeric. Short wear times.
- Acne-prone: yogurt + aloe + a pinch of rice flour; rinse gently and hydrate well. Patch test always.
- Hyperpigmentation: rice flour + yogurt + a tiny pinch of turmeric. Don’t overdo turmeric unless yellow is your vibe.
Avoid These Common Mistakes
We love enthusiasm. We do not love angry skin. Here’s what to skip:
- Over-exfoliating: 1–2 times a week is plenty. More does not equal better.
- Using raw citrus: lemon or lime can irritate and cause sun sensitivity. Hard pass.
- Scrubbing hard: if you’re turning beet red, you went too far.
- Layering strong actives after: skip retinoids, vitamin C, or AHAs right after masking.
- Not moisturizing: you removed dead skin; now seal in hydration so you actually glow.
What to Expect (And When)
After one use, you’ll notice smoother texture and a softer feel. Makeup applies better, and your moisturizer sinks in like it means it. After 2–3 weeks of consistent use, you’ll see more even tone and fewer flaky patches.
IMO, the best sign you nailed it: your skin feels calm and looks bright without tightness. If you feel dry or stingy afterward, shorten the time or switch to a gentler base.
FAQ
How often should I use a gentle exfoliating mask?
Start with once a week. If your skin tolerates it well—no lingering redness or tightness—you can bump to twice a week. If you’re using retinoids or other actives, keep it to once weekly to avoid overdoing it.
Can I store leftovers in the fridge?
Yes, for 2–3 days in a clean, sealed container. Stir before using. If it smells weird, splits, or darkens, toss it. Fresh is best, especially with fruit enzymes.
Will this help with acne?
Gentle exfoliation can help prevent clogged pores and smooth texture. Try the yogurt + aloe + a pinch of rice flour combo. Avoid heavy oils in the mix and follow with a lightweight moisturizer. Consistency matters more than strength here.
Is it safe for sensitive skin?
Yes, if you choose soothing ingredients and keep the time short. The yogurt + oat + honey mask is your friend. Patch test, keep it to 8–10 minutes, and moisturize afterward. When in doubt, cut frequency before you cut the mask entirely.
Can I use this before makeup?
Absolutely. Do it the night before or a few hours prior. Your foundation will glide on. Just avoid strong actives afterward and moisturize well. If you’re using enzymes, give your skin at least an hour before applying makeup.
What should I apply after the mask?
Think hydration and barrier support. Reach for a hydrating toner or essence, then a ceramide or glycerin-rich moisturizer. If it’s daytime, finish with SPF 30+. Your future self will thank you.
Conclusion
A gentle exfoliating mask doesn’t need to feel like a science experiment or a spa bill. With a few pantry staples and smart technique, you’ll lift dullness, smooth texture, and get that healthy, “I drink water” glow—no scrubbing required. Keep it simple, stay consistent, and listen to your skin. FYI, your face will tell you what it likes if you give it the mic.