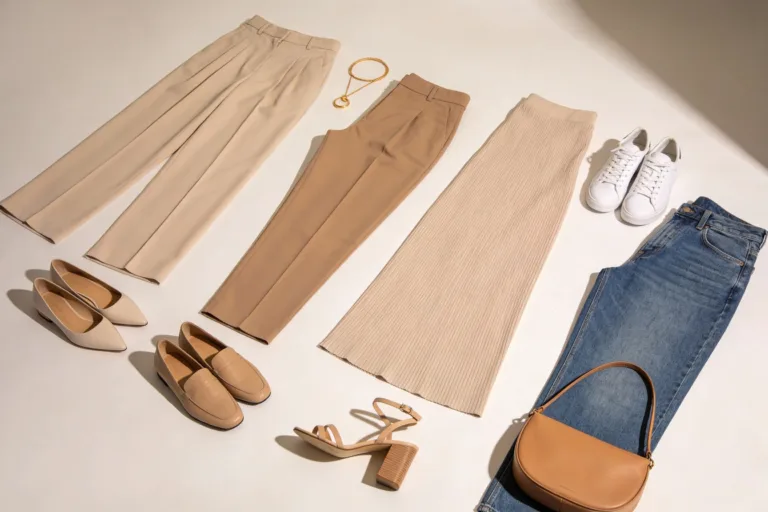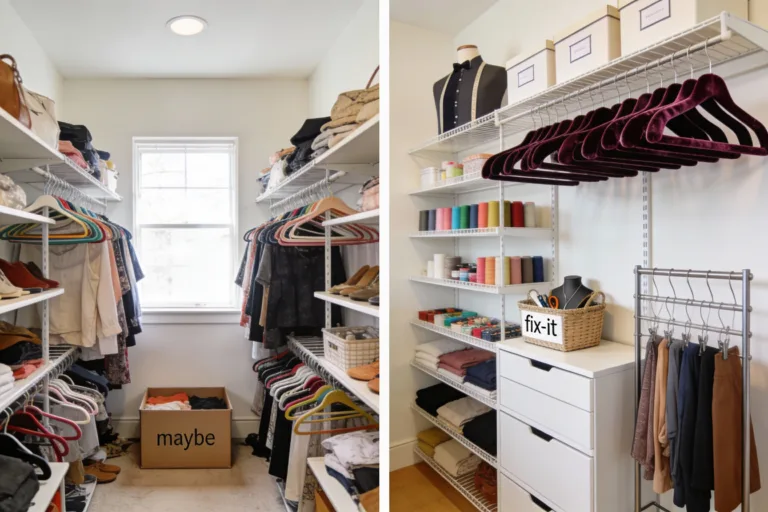
The Secret to How to Alter Clothes to Look Custom-Made
That jacket almost fits. Those jeans almost flatter. “Almost” stands between you and that custom-made look—and it doesn’t stand a chance. With a few smart tweaks and a little confidence, you can make off-the-rack clothes look like they were cut for you. Ready to turn “meh” into “made for me”?
Start With Fit: The Big Three Measurements
If you alter nothing else, nail these three: shoulders, waist, and length. You can’t fix everything, but these will change your entire vibe.
Overeating doesn’t mean something is wrong with you. It means your system needs a reset.
If cravings keep pulling you off track, this helps you regain control without restriction. You’ll learn simple, realistic steps to stop overeating and feel satisfied again.
- Shoulders: Clothes hang from the shoulders. If they’re too wide or droopy, the whole piece looks sloppy. Tailors can’t easily fix shoulder seams—buy jackets and shirts with shoulders that already fit.
- Waist: You can always take in the waist. Pinch the excess fabric at the side seams. If it’s more than an inch on each side, consider a size down.
- Length: Hemming pants and sleeves works like magic. Too long screams “borrowed.” Hit the right length, and you look sharp.
Pro tip: Know your “ease”
You need breathing room between your body and the fabric. For a fitted look, aim for:
- Tops: 2–3 inches of ease at the chest
- Pants: 1–1.5 inches at the waistband after eating lunch (be kind to future you)
- Skirts: Enough hip room to sit without praying
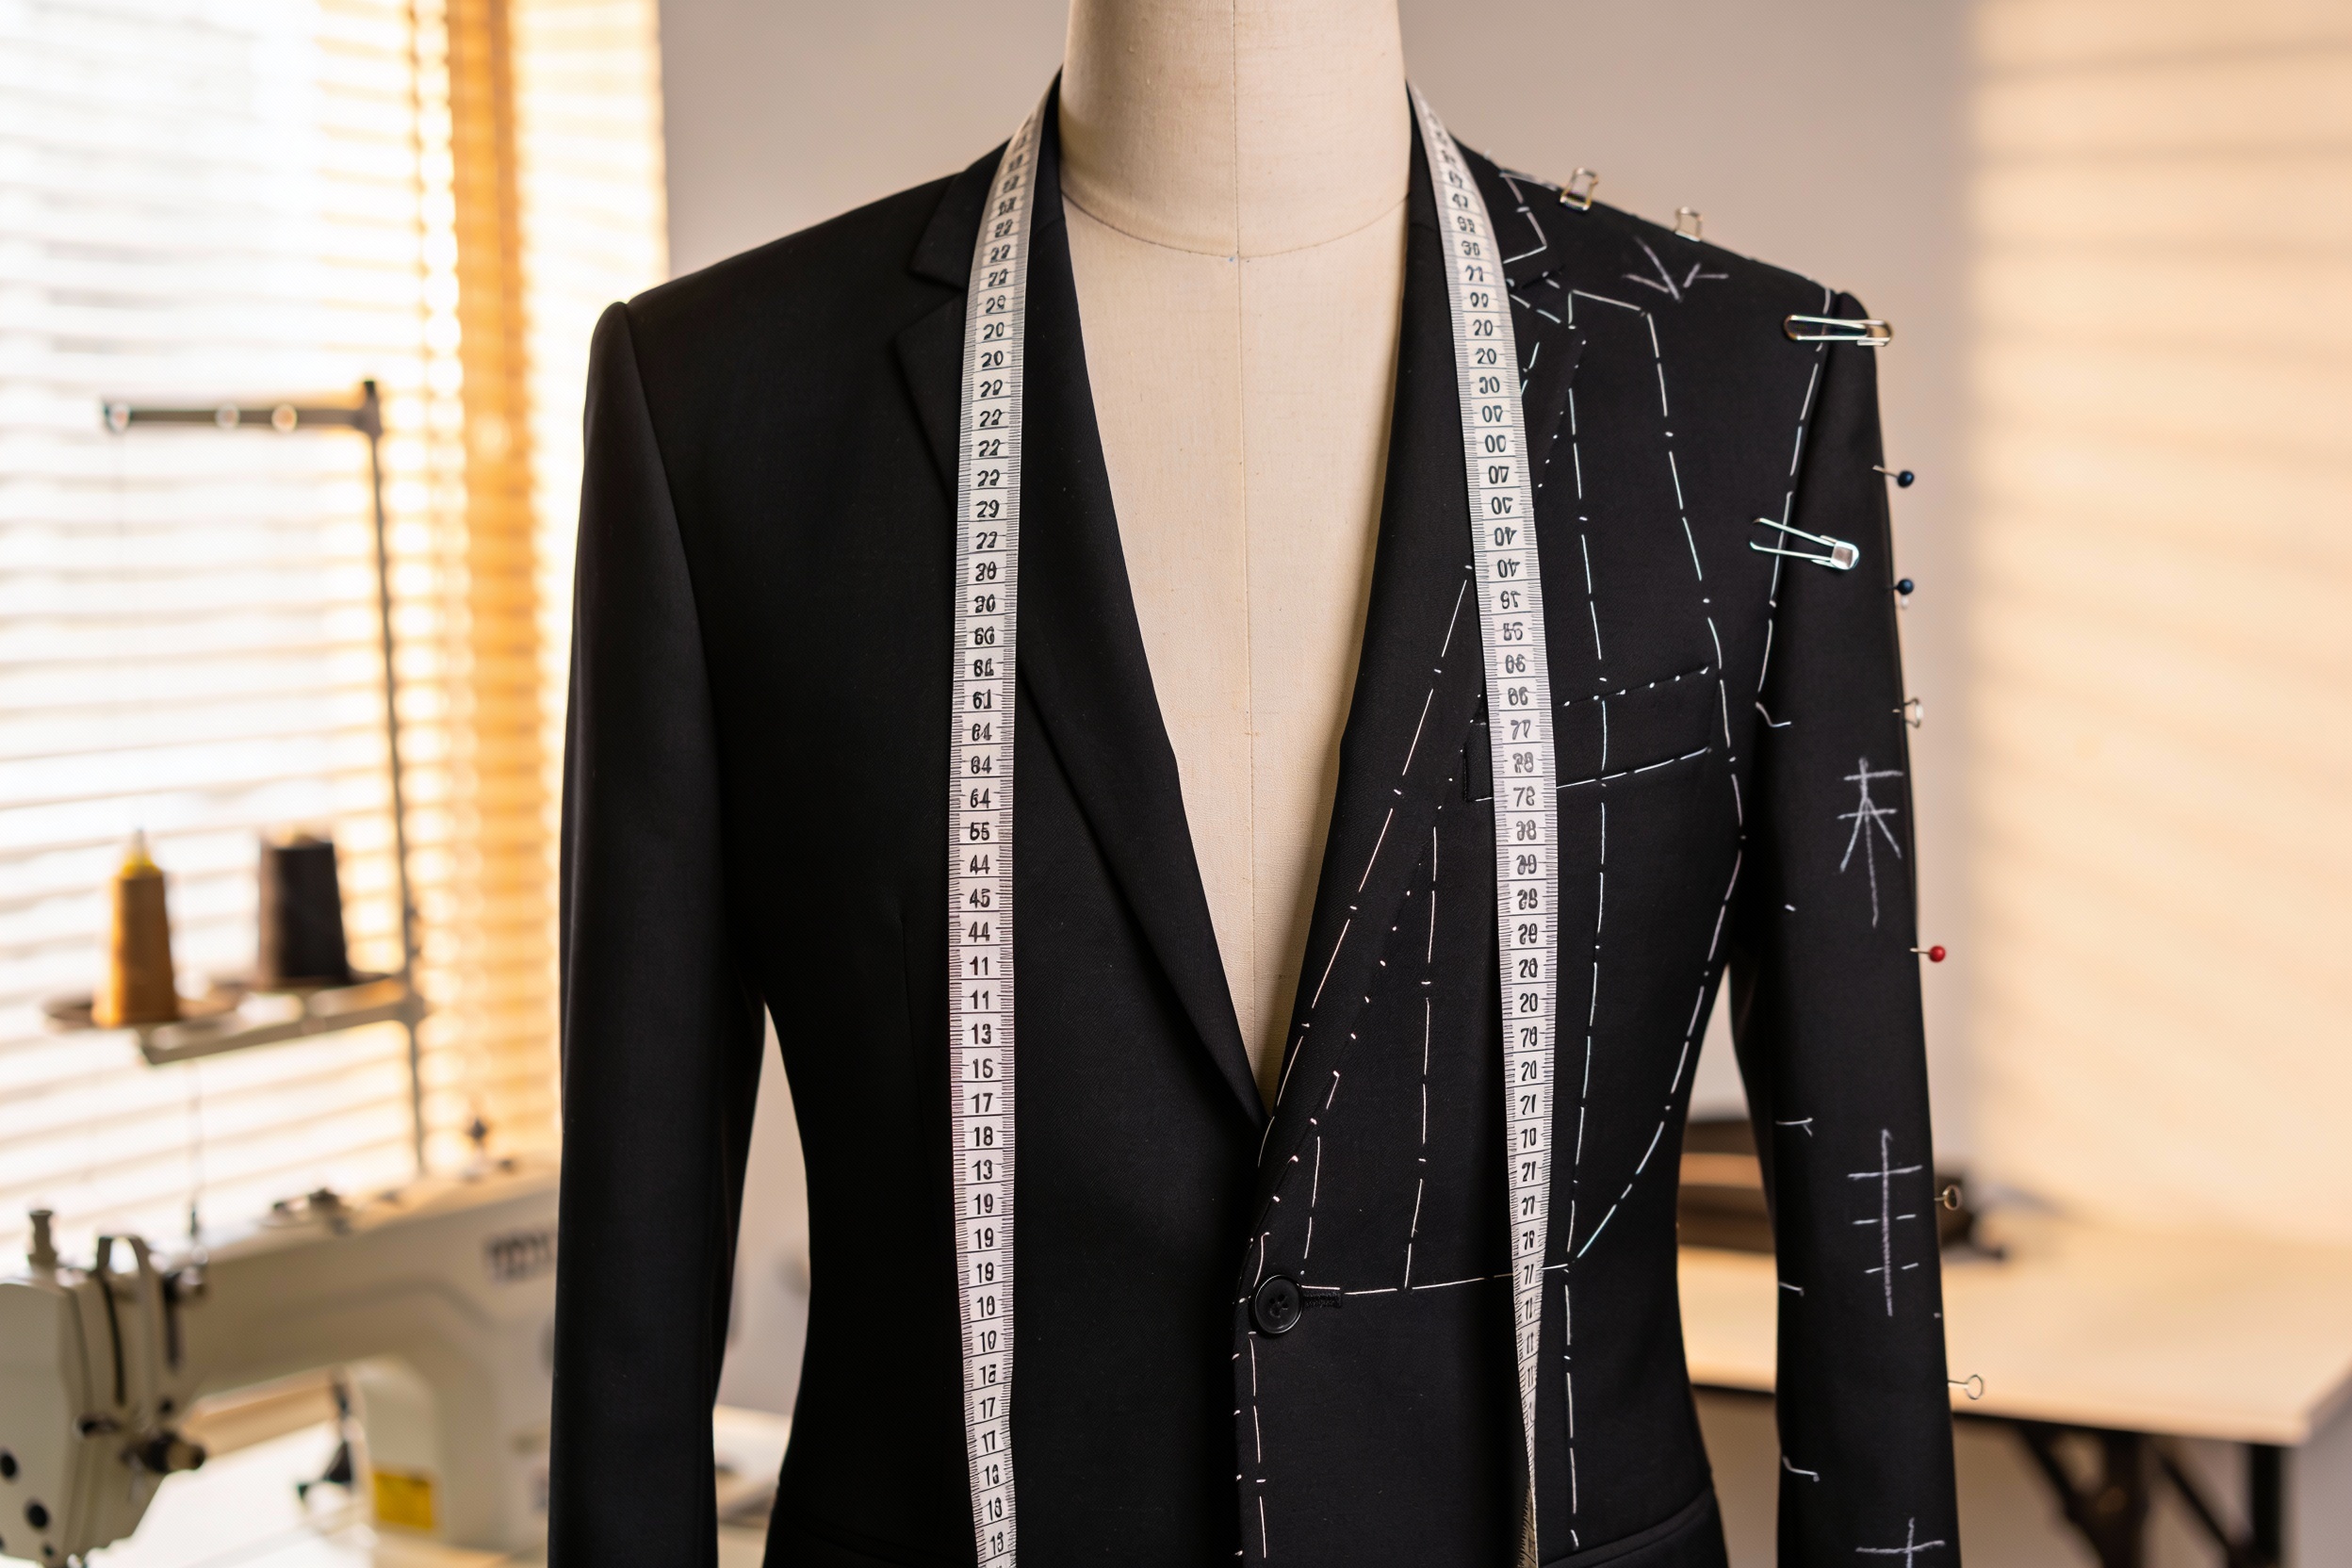
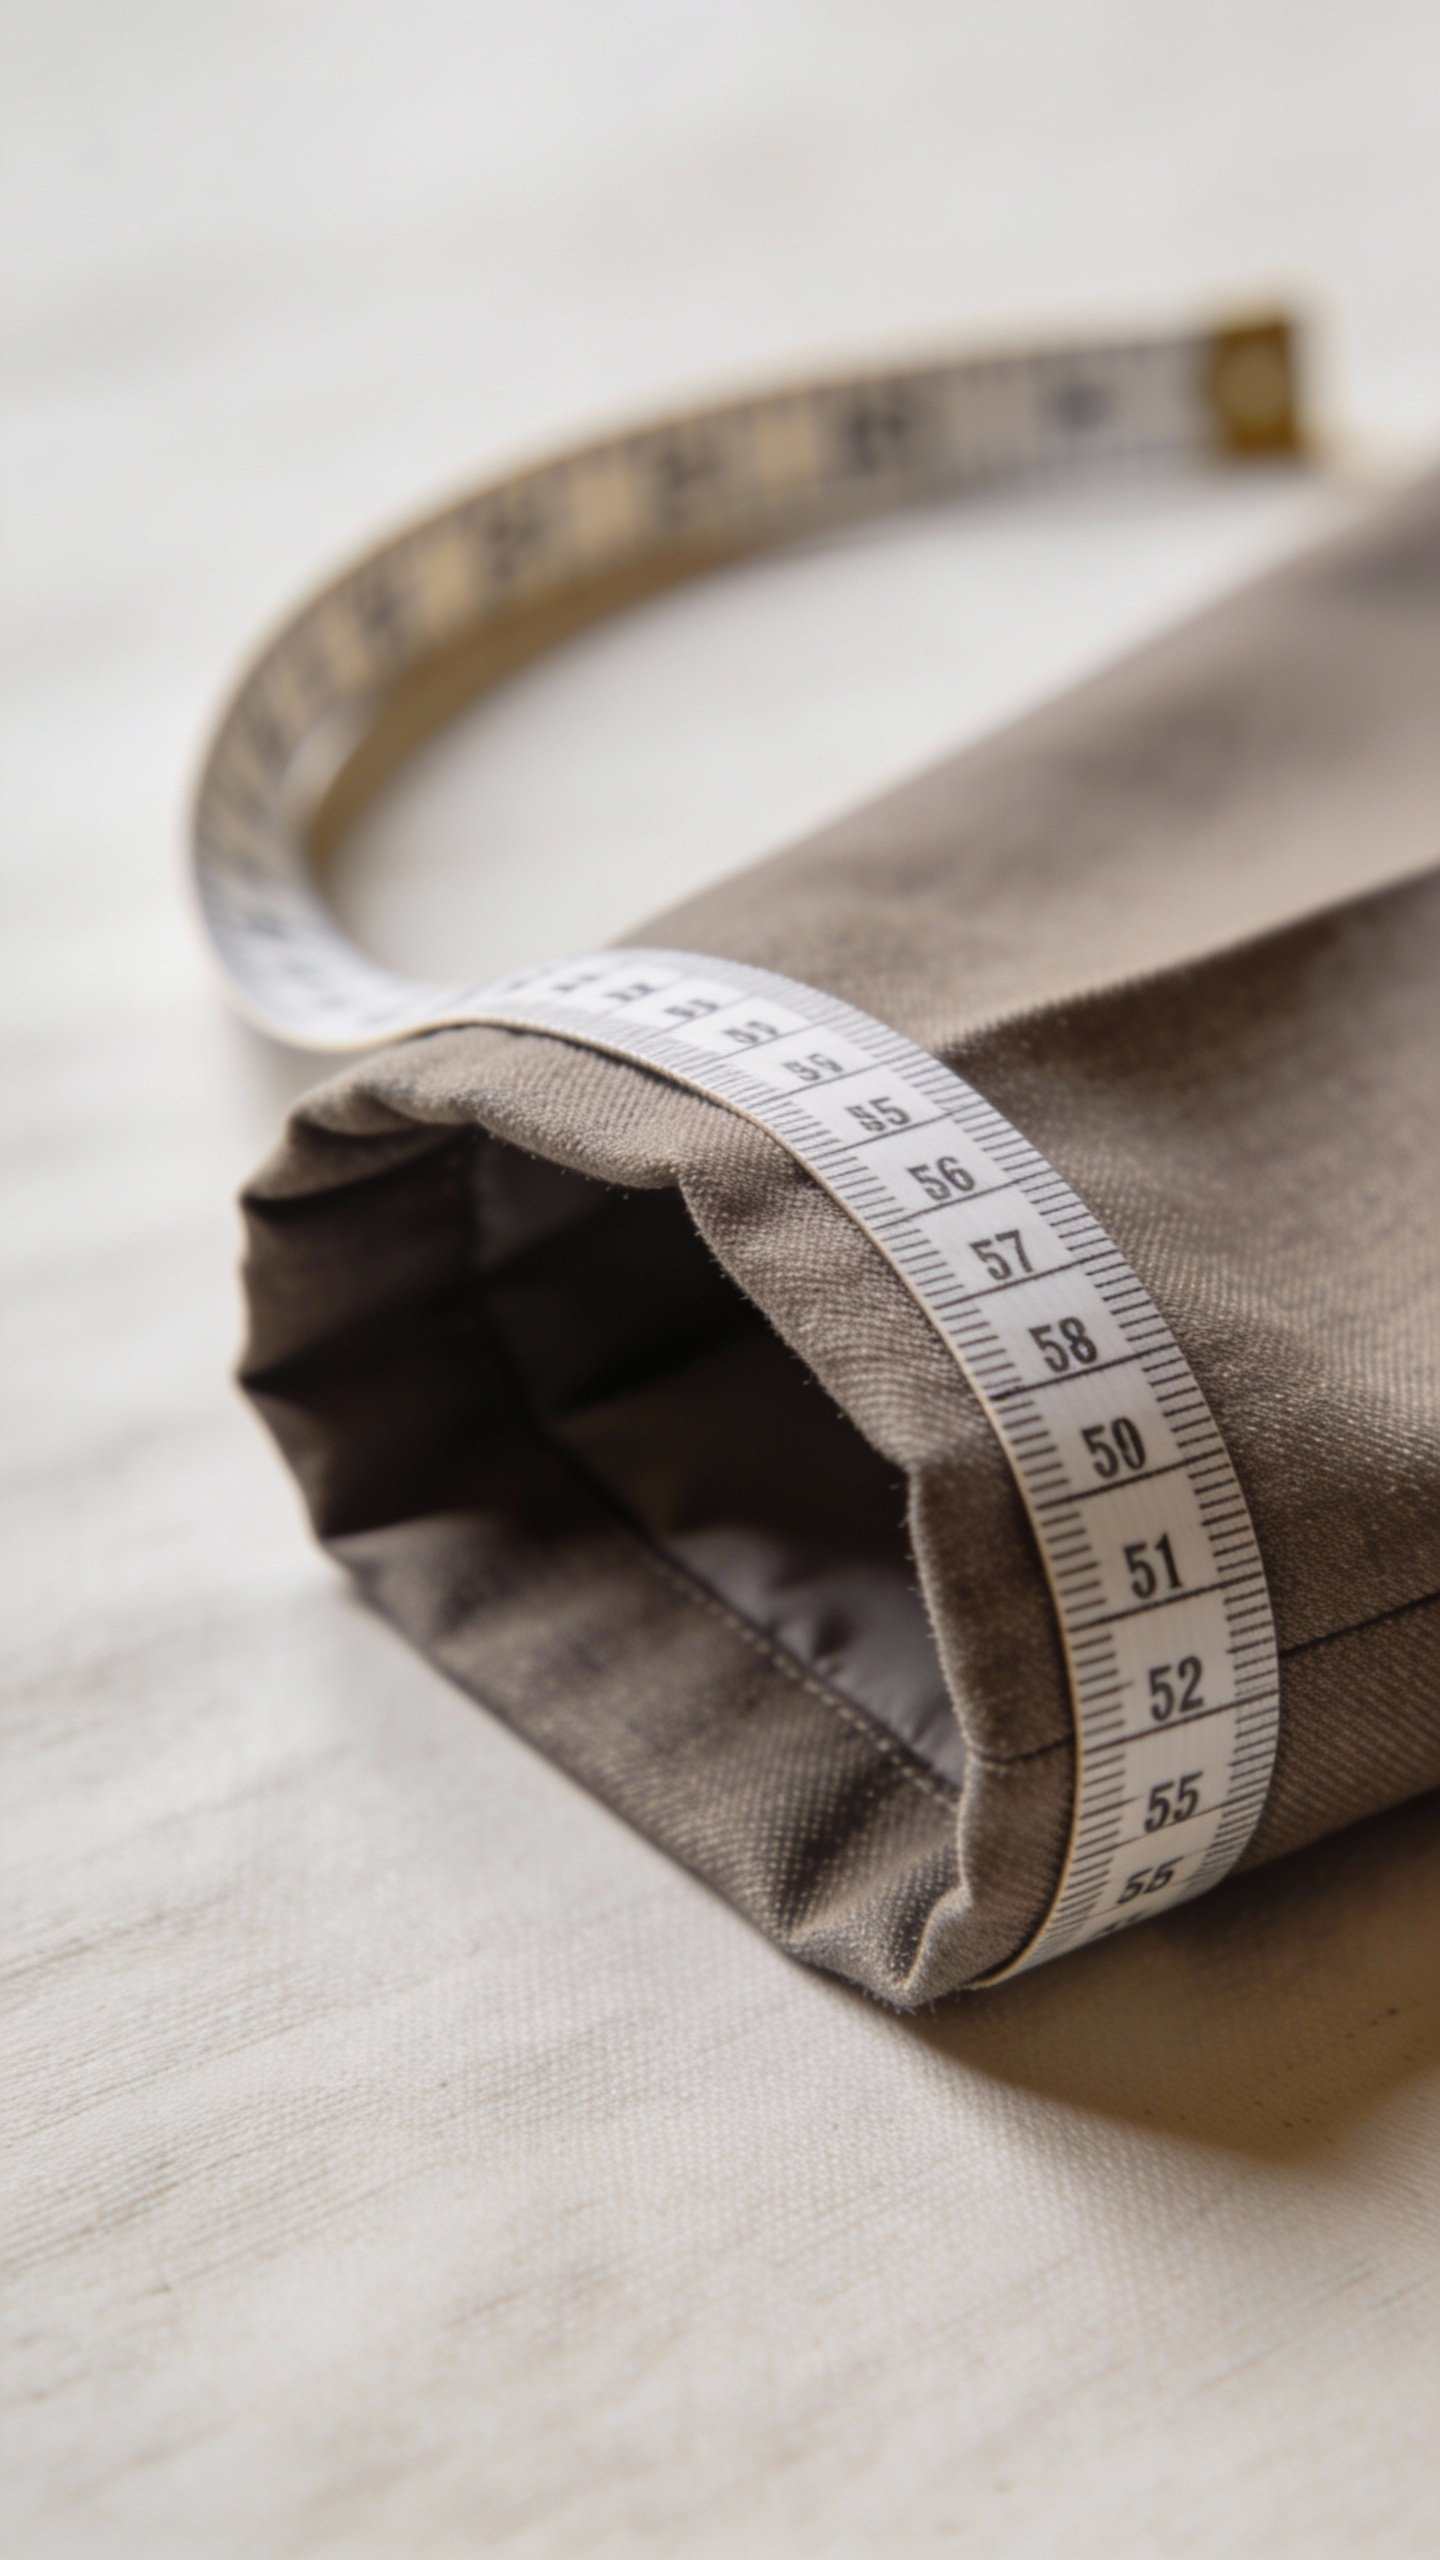
Pin, Try, Repeat: The Fitting Process
You can’t just measure once and snip. You’ll pin, try on, and adjust in rounds. Yes, it’s a bit tedious. No, it’s not optional.
- Turn inside out. Work from the inside so you see the seams clearly.
- Pin where it bulges. Pinch side seams, center back, or darts to remove excess fabric. Keep it symmetrical.
- Move around. Sit, bend, reach. If you can’t raise your arms, that “perfect fit” will betray you IRL.
- Mark it. Use tailor’s chalk or a washable marker. Pins shift. Chalk doesn’t.
Mirror + phone = your best fitting tools
Take a quick video in natural light. You’ll spot drag lines you miss in the mirror. FYI, horizontal lines usually mean too tight; diagonal lines mean something’s pulling weirdly.
Easy Alterations That Make You Look Custom
You don’t need couture skills. These small, strategic tweaks deliver huge payoff.
- Hemming pants: Aim for a slight break on dress pants, no break for a crisp modern look, and ankle-grazing for chinos. For jeans, try an original hem (re-attach the factory hem) for that not-too-new finish.
- Tapering legs: Slim the lower leg from knee to hem. Keep the thigh room comfy; tapered drainpipes help no one unless you’re auditioning for a punk revival.
- Taking in side seams: Remove small amounts from shirts or dresses along side seams to create shape. Keep it gradual—sharp angles outside, sharp pain inside.
- Adjusting darts: Add or deepen darts on the back of tops and dresses to define the waist without squeezing your ribs like a Victorian extra.
- Shortening sleeves: Show a half-inch of shirt cuff under a blazer, or hit just at the wrist on shirts and sweaters. Small change, big polish.
Buttons and hardware: tiny, mighty upgrades
Swap cheap plastic buttons for horn, corozo, or metal. Change jean rivets or zippers if you’re ambitious. Tailor-level secret: Move a button slightly to tweak fit at the waistband or cuff without stitching a whole seam.
Advanced Moves (Still Totally Doable)
Got the basics down? Try these for a truly custom silhouette.
- Raising the shoulder seam: Shorten the shoulder-to-hem length on tees or sweaters by adjusting at the shoulder. Great for petite frames without losing the hem detail.
- Reshaping armholes: If a sleeveless dress gaps at the armhole, trim and bind the edge. It looks cleaner and fits snugger, not snugger-ish.
- Adding a side zip: For fitted dresses or skirts, a hidden side zipper makes getting in (and out) graceful—not a wrestling match.
- Letting out seams: If you see extra seam allowance inside (1 cm+), you can gain room. Use steam and gentle pressing to remove old crease lines.
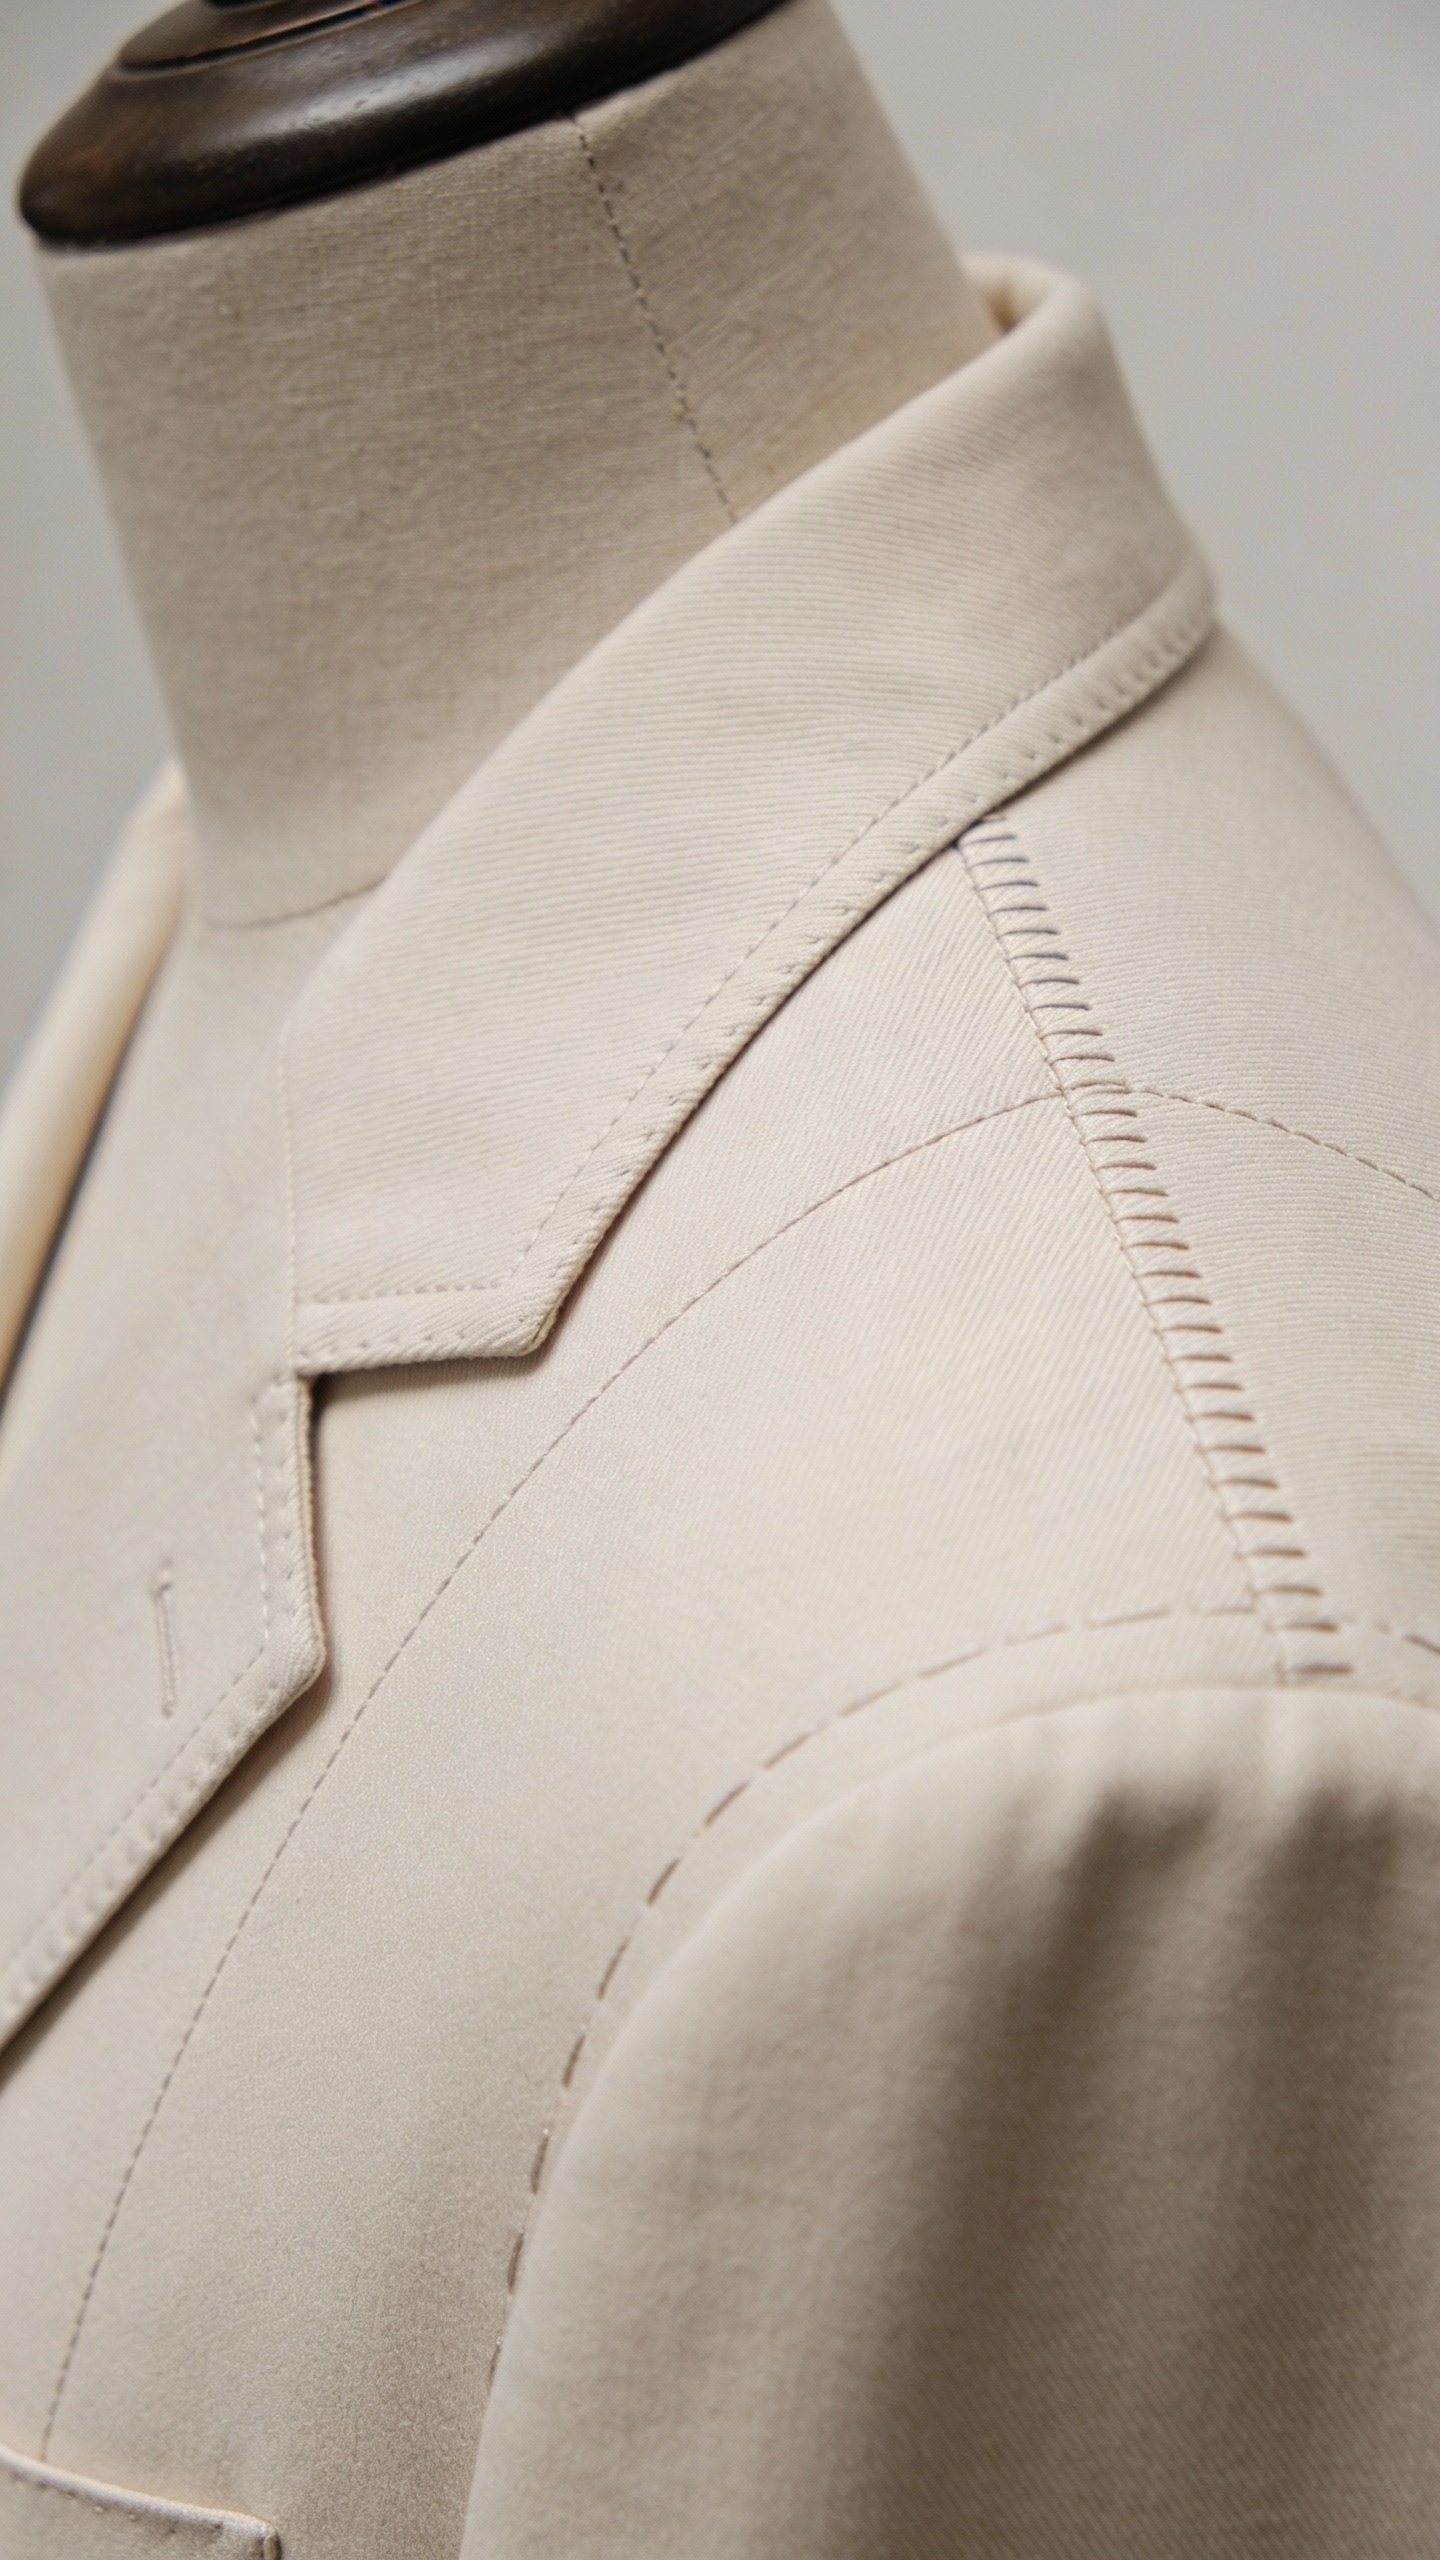
Where not to DIY
– Shoulder reconstruction on tailored jackets
– Moving a jacket lapel or collar
– Complex lining work
Call a pro. IMO, some battles demand a seasoned wizard with a steam iron.
Pressing: The Make-or-Break Step
You can sew beautifully and still look sloppy without proper pressing. Press every seam as you go. Not iron—press. There’s a difference.
- Use steam and a pressing cloth. Prevent shine and scorch marks.
- Press seams open. Then press them to one side if the fabric requires structure (like denim).
- Shape with heat. Use a tailor’s ham for curves (bust, hips) and a sleeve roll for arms. It sculpts fabric to your body.
The final polish
– Lint roll everything
– Snip loose threads
– Re-press hems and cuffs right before wearing
This is the difference between “you sew?” and “who’s your tailor?”

Choosing Fabrics That Behave
Some fabrics love you. Some gaslight you. Pick your battles.
- Friendly fabrics: Cotton twill, stable knits, wool suiting, denim. They hold shape, press well, and forgive small mistakes.
- High-drama fabrics: Silk charmeuse, chiffon, satin, stretchy jerseys. They shift, slide, and show needle marks. Proceed slowly, or hand to a pro.
- Check for stretch: If a garment has elastane, your alterations need that same give—use stretch stitches or a narrow zigzag.
Pattern and print alignment
When you take in side seams on stripes or plaid, match the lines. Misaligned patterns scream “home ec project.” Align at the bust and hips first; the eye notices those areas most.
Little Details That Whisper “Custom”
The secret sauce lies in finishing touches. These take minutes and upgrade your whole look.
- Hand-sewn invisible hems: Use a slip stitch on skirts and trousers. The hem disappears; the refinement doesn’t.
- Bias-bound seams: Bind raw edges inside unlined jackets or skirts. It looks luxe when the wind flashes your lining-less interior.
- Reinforce stress points: Add bar tacks at pocket corners and a tiny stay stitch at the zipper base. Your clothes won’t give up mid-commute.
- Custom labels: Stitch in a little name tag or date. Not necessary—just fun. Clothes with stories feel better.
Fit Issues and Quick Fixes
Let’s troubleshoot common annoyances fast.
- Gapping at the bust: Add a hidden snap between buttons or a tiny bust dart. Move the button slightly if needed.
- Back neckline bubbles: Take a dart at the center back or raise the back neckline seam. A quarter inch can change everything.
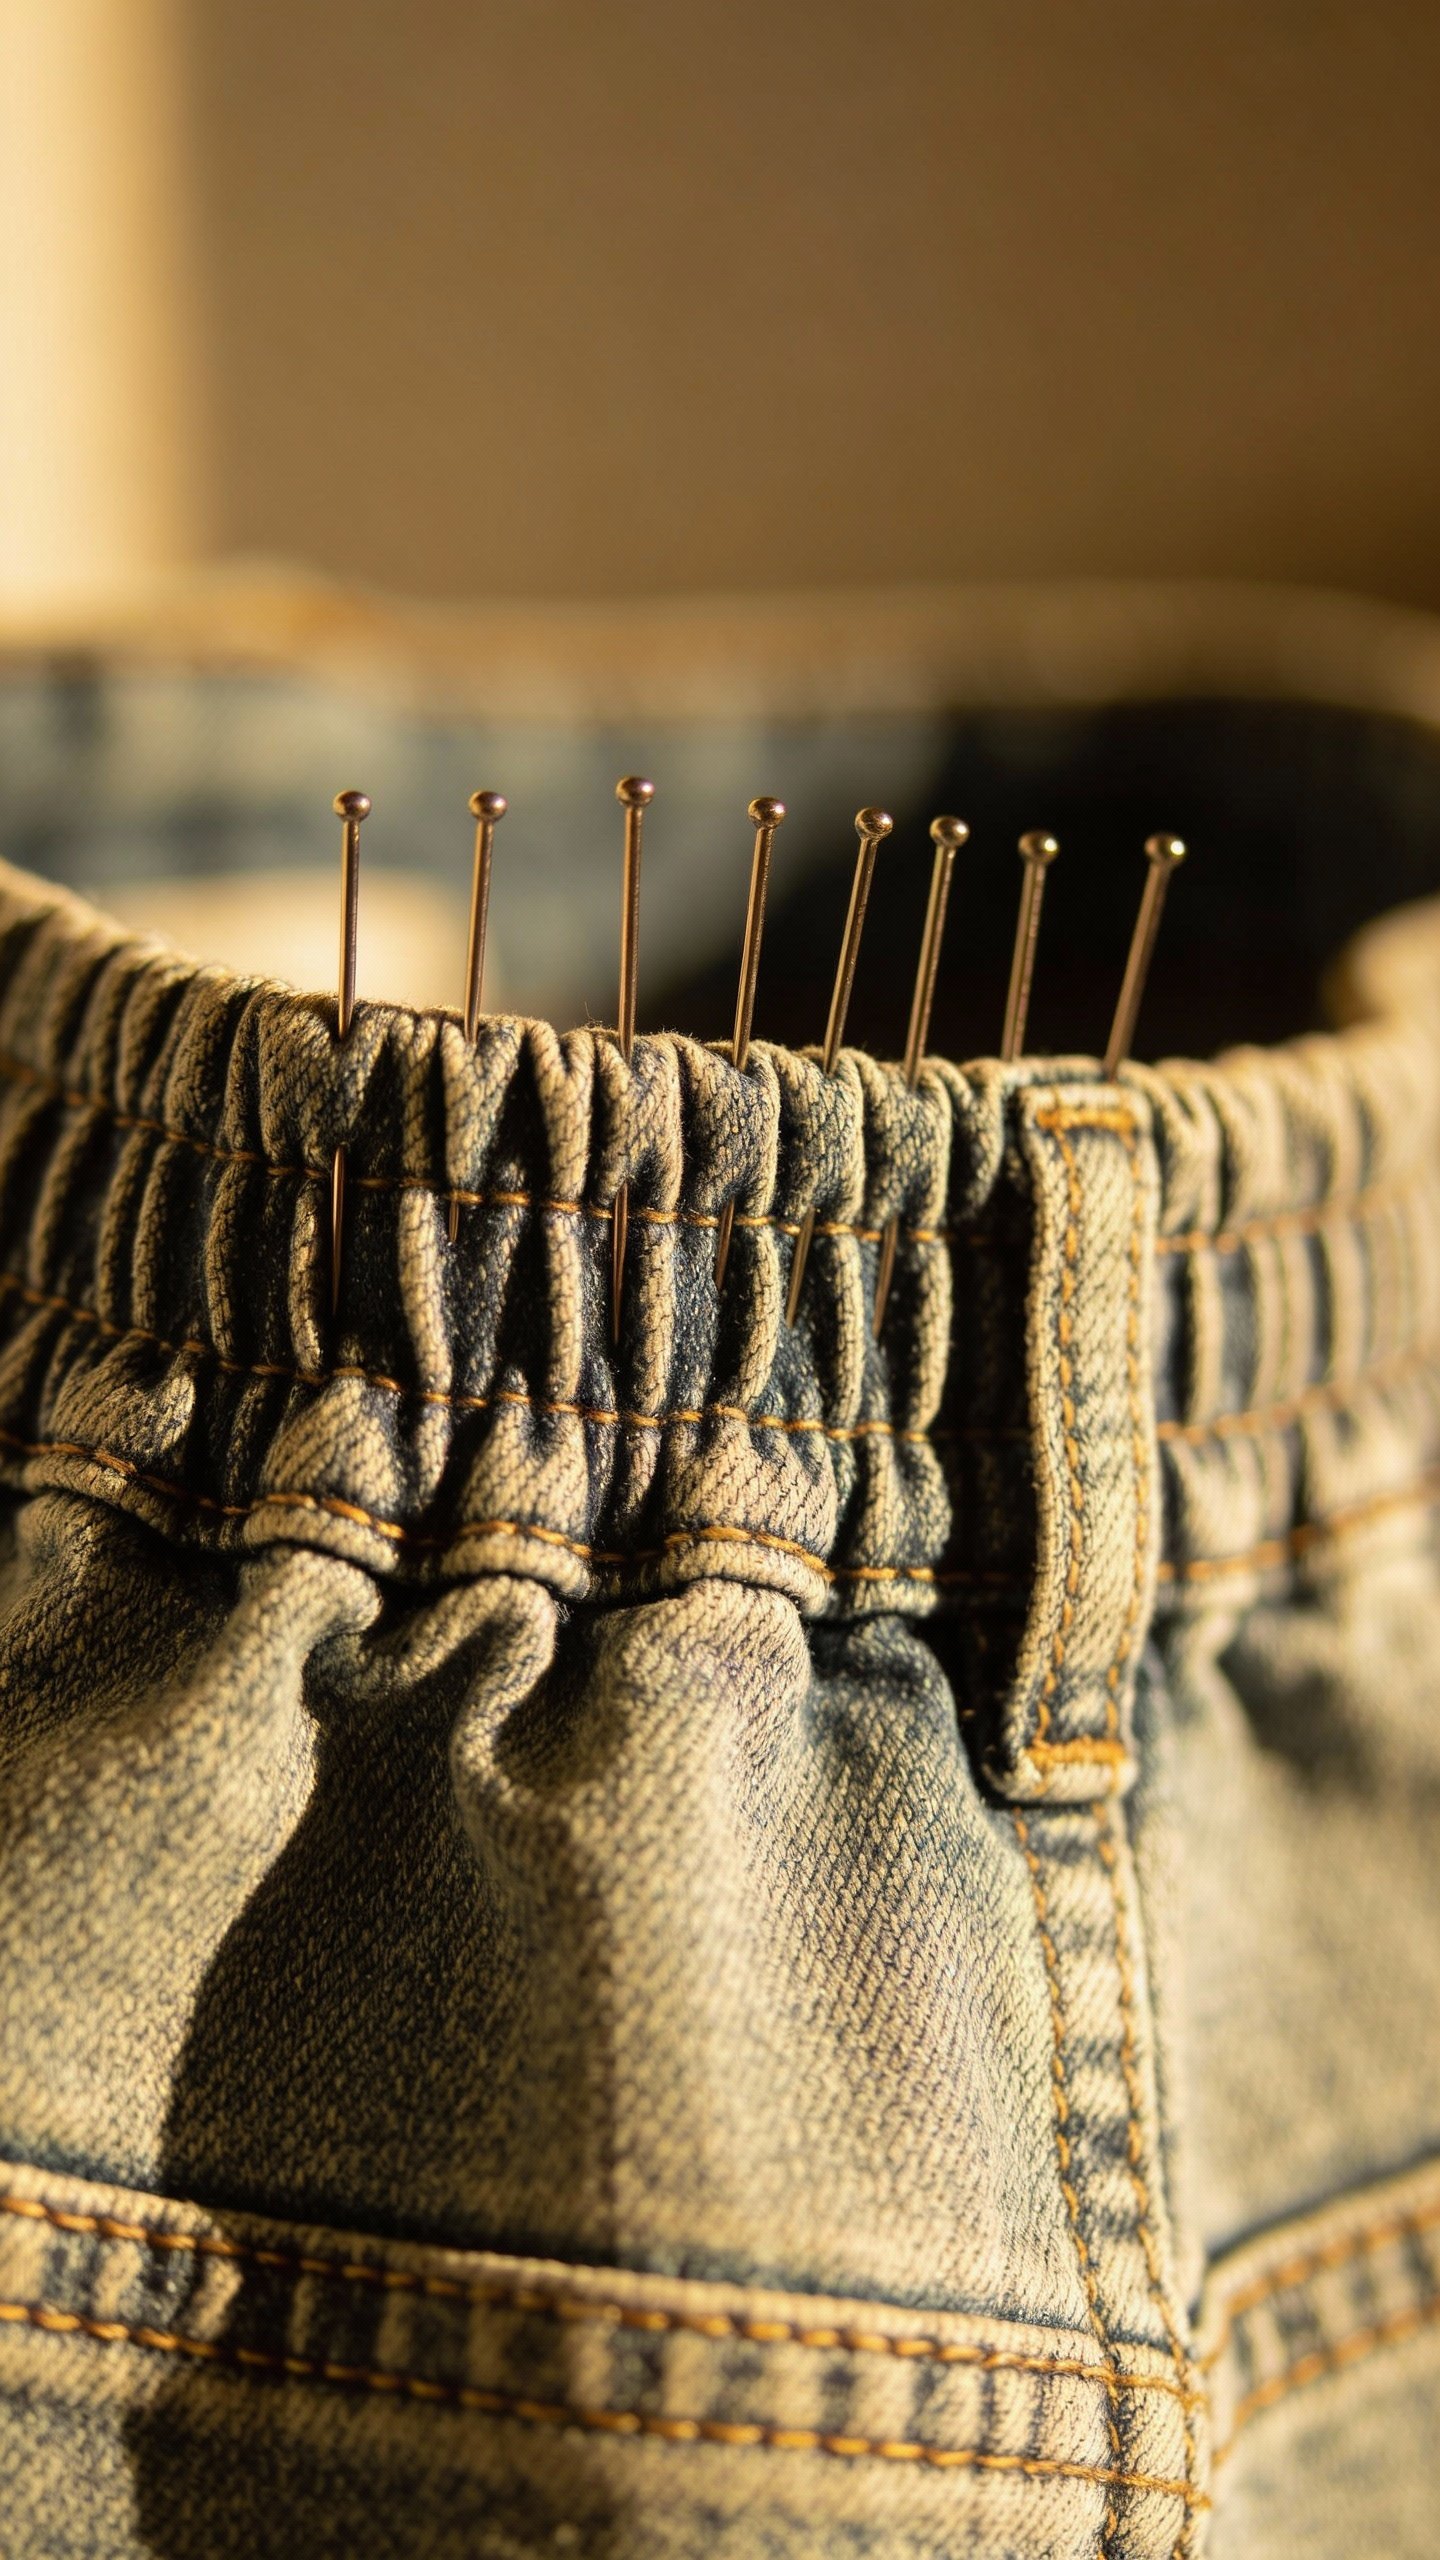
- Waistband digs in: Let out the back seam or move the button. Wear the pants for an hour before finalizing—fabric relaxes.
- Jeans too loose at the waist: Try a V-shaped center back dart hidden under a belt loop. Strong thread, short stitch length.
FAQ
How do I know if something is worth tailoring?
Check the shoulders, fabric quality, and seam allowance. If shoulders fit, the fabric feels substantial, and you see at least 1 cm of extra seam allowance, go for it. If it needs major structural changes, skip it or budget for a pro.
Can I tailor stretchy clothes without ruining the stretch?
Yes, but use a ballpoint needle and a stretch stitch (or narrow zigzag). Stabilize hems with fusible tape designed for knits. And don’t pull the fabric while sewing unless you want lettuce-edge chaos.
What tools do I actually need to start?
Keep it simple: sharp fabric scissors, seam ripper, pins or clips, tailor’s chalk, measuring tape, iron with steam, and a basic sewing machine. Add a pressing ham and sleeve roll when you can. These do more than fancy gadgets, IMO.
How much can I realistically take in?
Safest bet: up to 1–2 inches total around the body, spread across multiple seams. More than that can skew proportions or move pockets into weird places. Always test with pins and try-on before stitching.
Is hand sewing ever better than machine sewing?
Absolutely. Invisible hems, delicate fabrics, and finishing around zippers often look cleaner by hand. Hand stitches give control and subtlety that a machine can’t match, FYI.
Can I make cheap clothes look expensive?
Yes—fit them well, swap buttons, press the life out of them, and clean up loose threads. Choose matte finishes over shiny synthetics, and avoid over-embellishment. Quiet quality beats loud logos every time.
Conclusion
Custom-looking clothes aren’t about couture-level talent—they’re about smart choices and small, consistent tweaks. Fit the shoulders, refine the waist, nail the length, and press like a pro. Add a few thoughtful details, and you’ll step out looking tailored, not tortured. Your wardrobe just leveled up—no designer budget required.