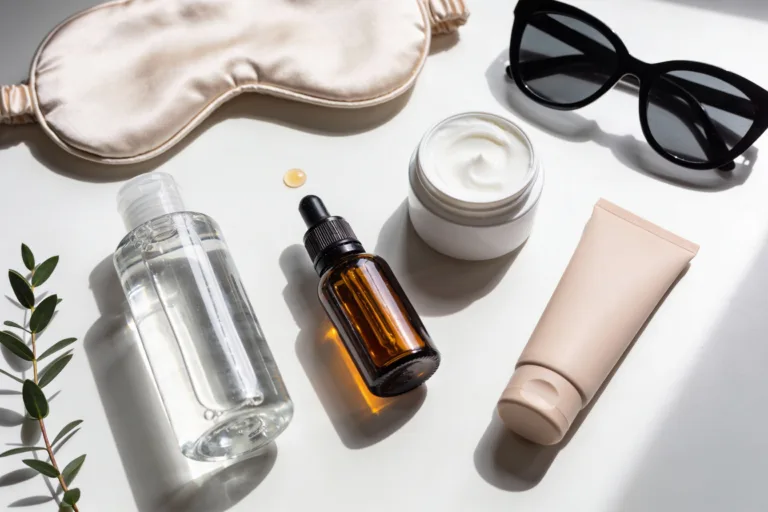
Glow Up Fast How to Make a Diy Anti-Aging Serum at Home
You want smoother, glowier skin without dropping your paycheck on a tiny bottle? Same. Let’s make a legit, customizable anti-aging serum at home that actually does something. We’ll keep it simple, science-backed, and skin-safe. Bonus: your bathroom will smell like a spa instead of a chemistry lab.
Why DIY Serum Beats the Fancy Stuff
You control the ingredients, the strength, and the texture. No filler fluff. Just the actives that move the needle. Plus, you can tweak it for your skin—oily, dry, sensitive, or “my face changes with the weather.”
Also, your wallet will not cry. A few high-quality basics can last months. And FYI, you avoid common irritants and fragrances that like to pick fights with your skin.
Overeating doesn’t mean something is wrong with you. It means your system needs a reset.
If cravings keep pulling you off track, this helps you regain control without restriction. You’ll learn simple, realistic steps to stop overeating and feel satisfied again.
The Star Ingredients (And What They Actually Do)
Think of this like assembling a superhero squad. You don’t need all of them—pick a few that play nice together.
- Vitamin C (L-ascorbic acid or sodium ascorbyl phosphate): Brightens, boosts collagen, fights free radicals. L-ascorbic acid works fast but can irritate; SAP is gentler and more stable.
- Niacinamide (Vitamin B3): Calms redness, smooths texture, shrinks the look of pores, supports your barrier. Friendly with most ingredients.
- Hyaluronic Acid (HA): Hydrates like a champ by holding water in your skin. Plumps out fine lines temporarily. Use low molecular weight for deeper hydration, but a blend is ideal.
- Panthenol (Provitamin B5): Soothes, hydrates, and helps repair your skin barrier.
- Peptides: Support firmness and bounce. Not magic, but they complement the routine nicely.
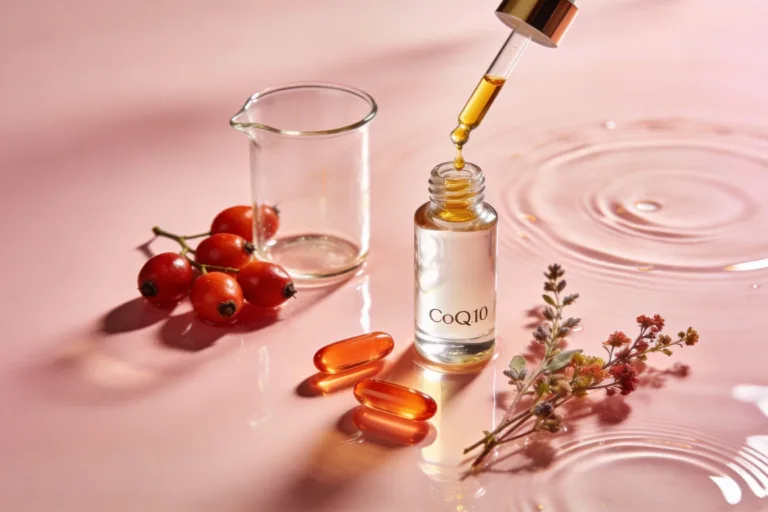
- CoQ10: Antioxidant that helps protect and smooth. Oil-soluble, so great in oil-based serums.
- Gentle plant oils (squalane, rosehip, jojoba): Seal in moisture and deliver antioxidants. Squalane works for almost everyone; rosehip adds lightweight nourishment and vitamin A derivatives.
Ingredients to Skip (For Now)
- Pure retinol/retinoic acid at home = tricky, unstable, very easy to overdo. Use a store-bought retinoid product at night instead.
- Essential oils for scent: fun for candles, risky for faces. If you insist, keep under 0.5% and patch test.
- Undiluted acids (glycolic, lactic) in a serum: better as separate, wash-off exfoliants.
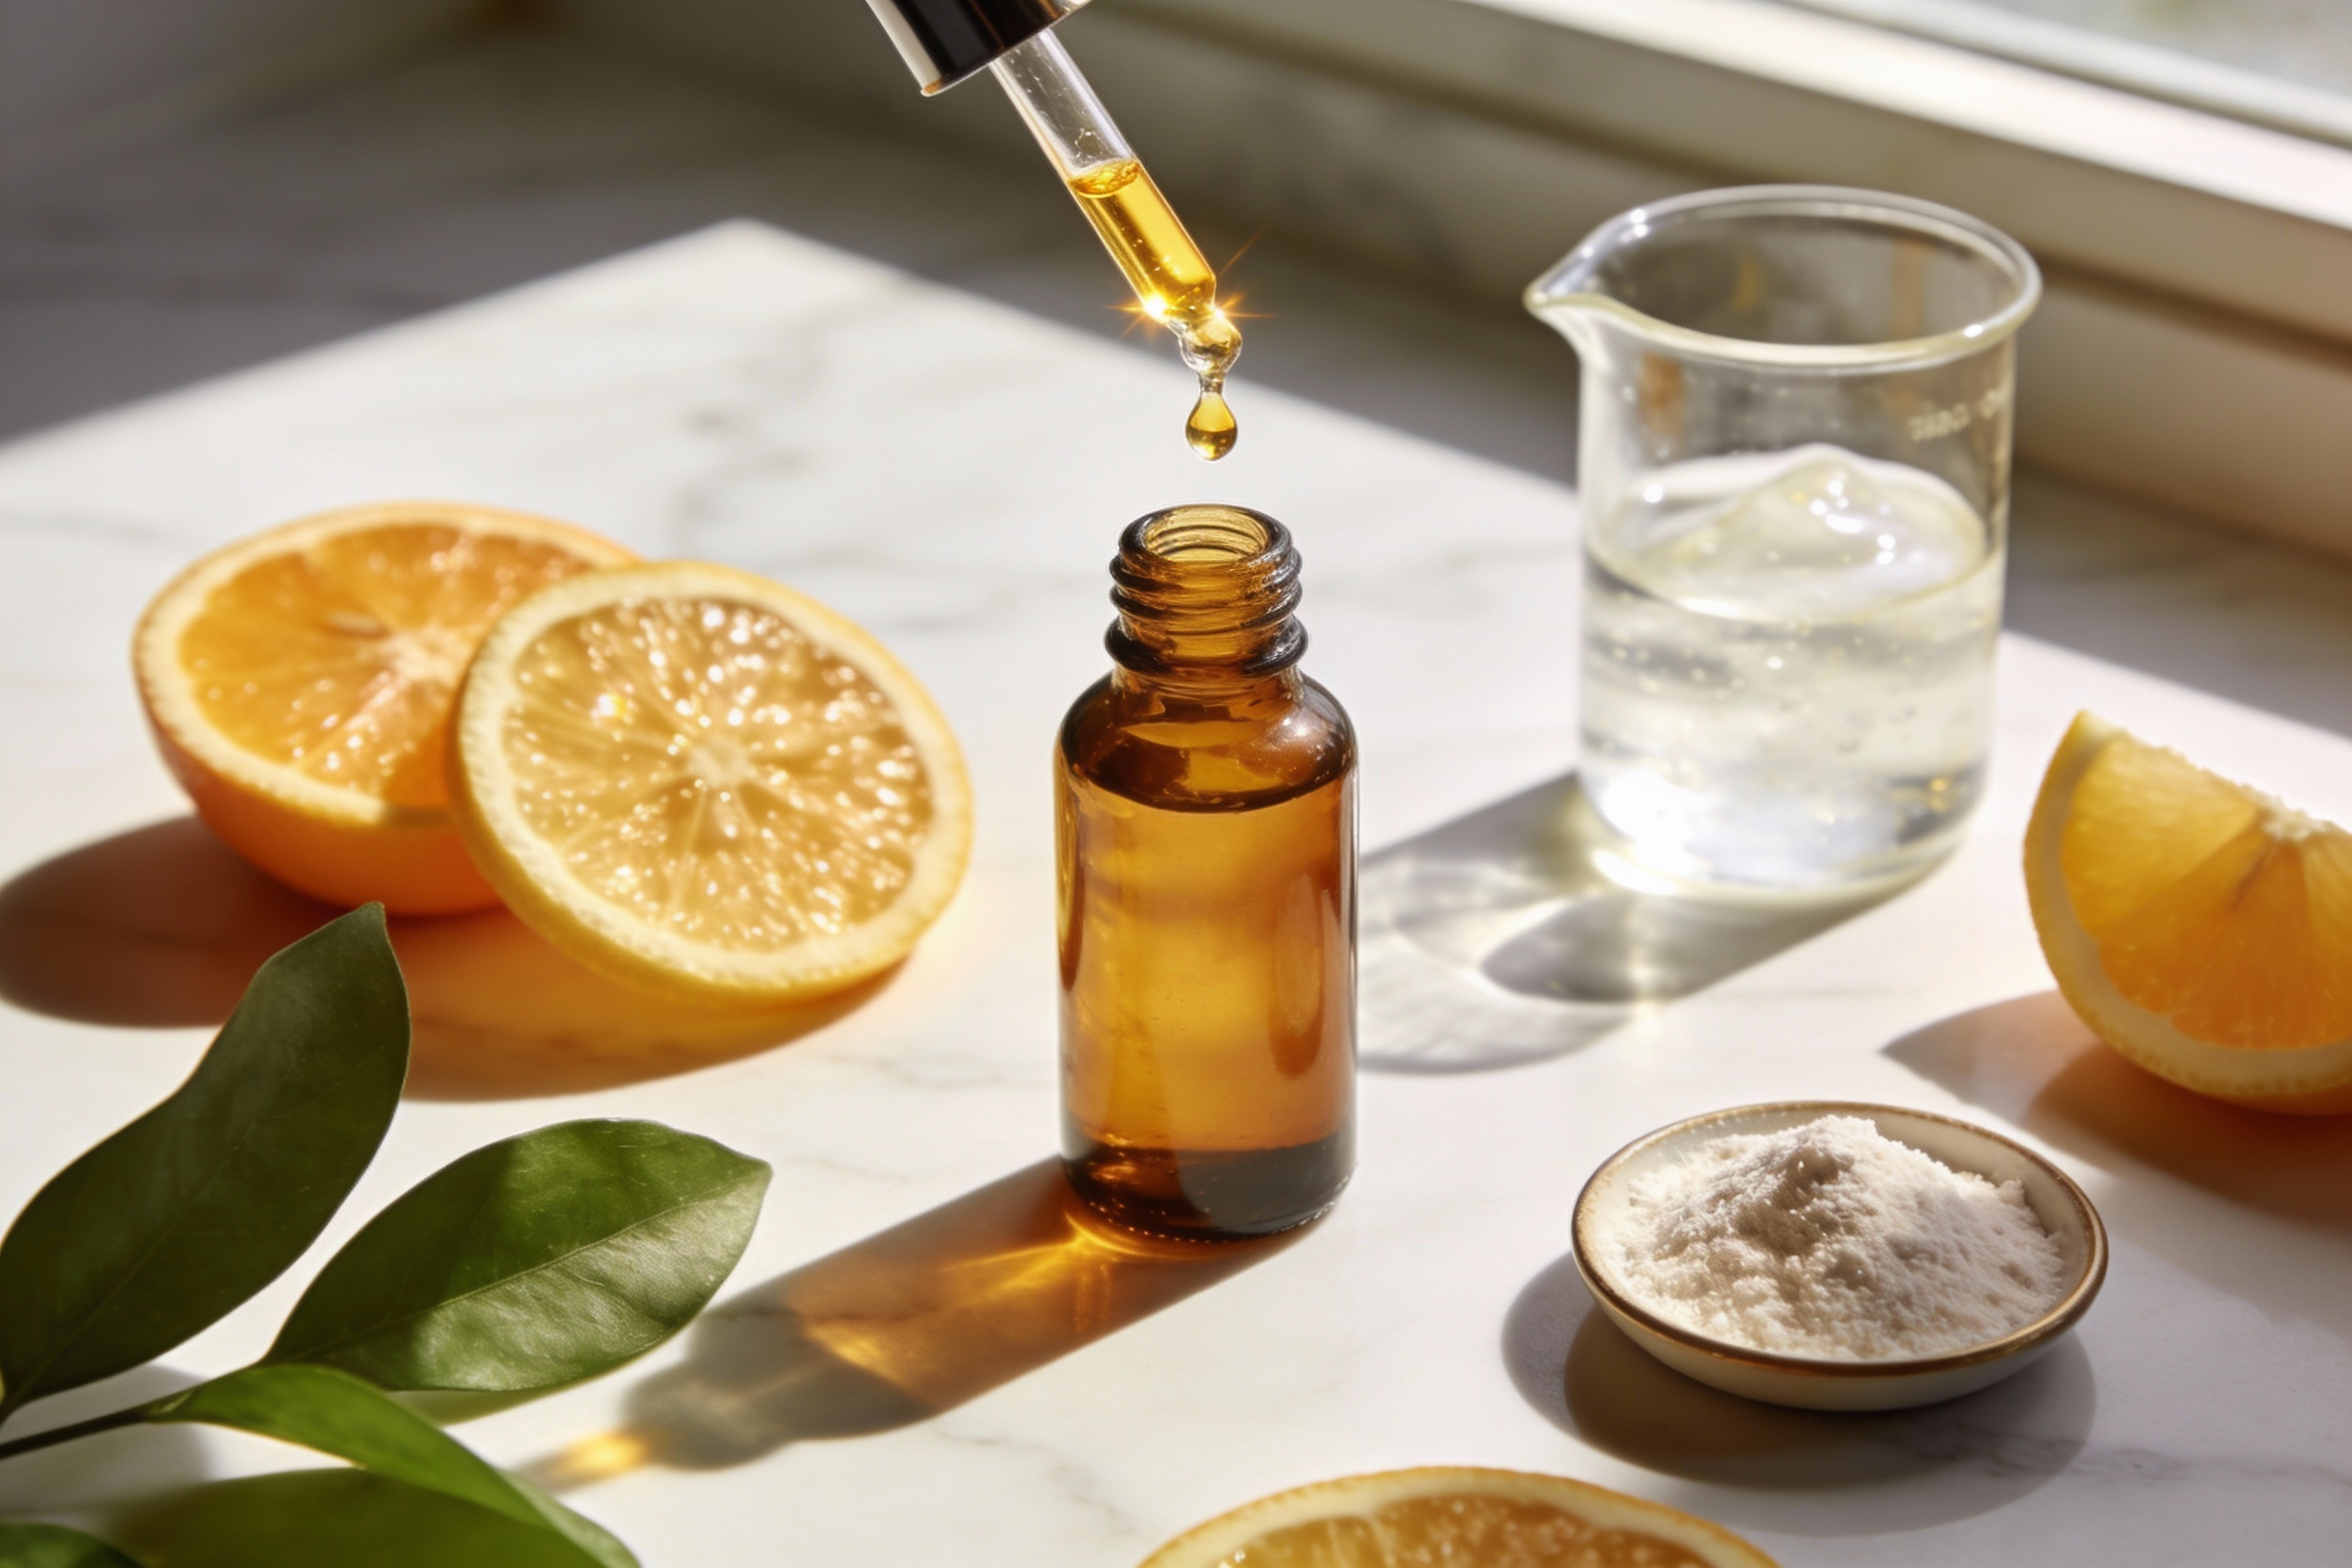
Two DIY Serum Options: Water-Based and Oil-Based
Pick based on your skin type or time of day. You can even layer them—water-based first, oil-based after.
Option A: Brightening + Hydrating Water Serum (Daytime MVP)
What you’ll need (makes ~30 ml):
- Distilled water: 20 ml
- Aloe vera juice (pure): 5 ml
- Niacinamide powder: 4% (1.2 g)
- Sodium ascorbyl phosphate (gentle Vitamin C): 5% (1.5 g)
- Hyaluronic acid powder (LMW or mixed weight): 0.5% (0.15 g)
- Panthenol: 1% (0.3 g)
- Glycerin: 3% (0.9 ml)
- Preservative (e.g., Leucidal/Geogard ECT) per manufacturer rate
- pH strips or meter, small funnel, sanitized 30 ml dropper bottle
How to mix:
- Sanitize tools and bottle with 70% isopropyl alcohol. Let air dry.
- In a clean beaker, combine distilled water, aloe, and glycerin. Stir.
- Sprinkle HA powder slowly while stirring to avoid clumps. Let it hydrate 15–30 minutes—it thickens gradually.
- Add niacinamide, SAP, and panthenol. Stir until dissolved.
- Add preservative as directed. Check pH: aim for ~5.5–6. If too low, adjust with a tiny pinch of baking soda; if too high, a few drops of lactic/citric acid solution.
- Funnel into the bottle. Label and date it. Store in the fridge for max freshness.
How to use: Apply 3–5 drops to damp skin after cleansing in the morning. Follow with moisturizer and SPF 30+. Vitamin C without sunscreen is like going to the gym and then eating cake in the parking lot—fun, but defeats the point.
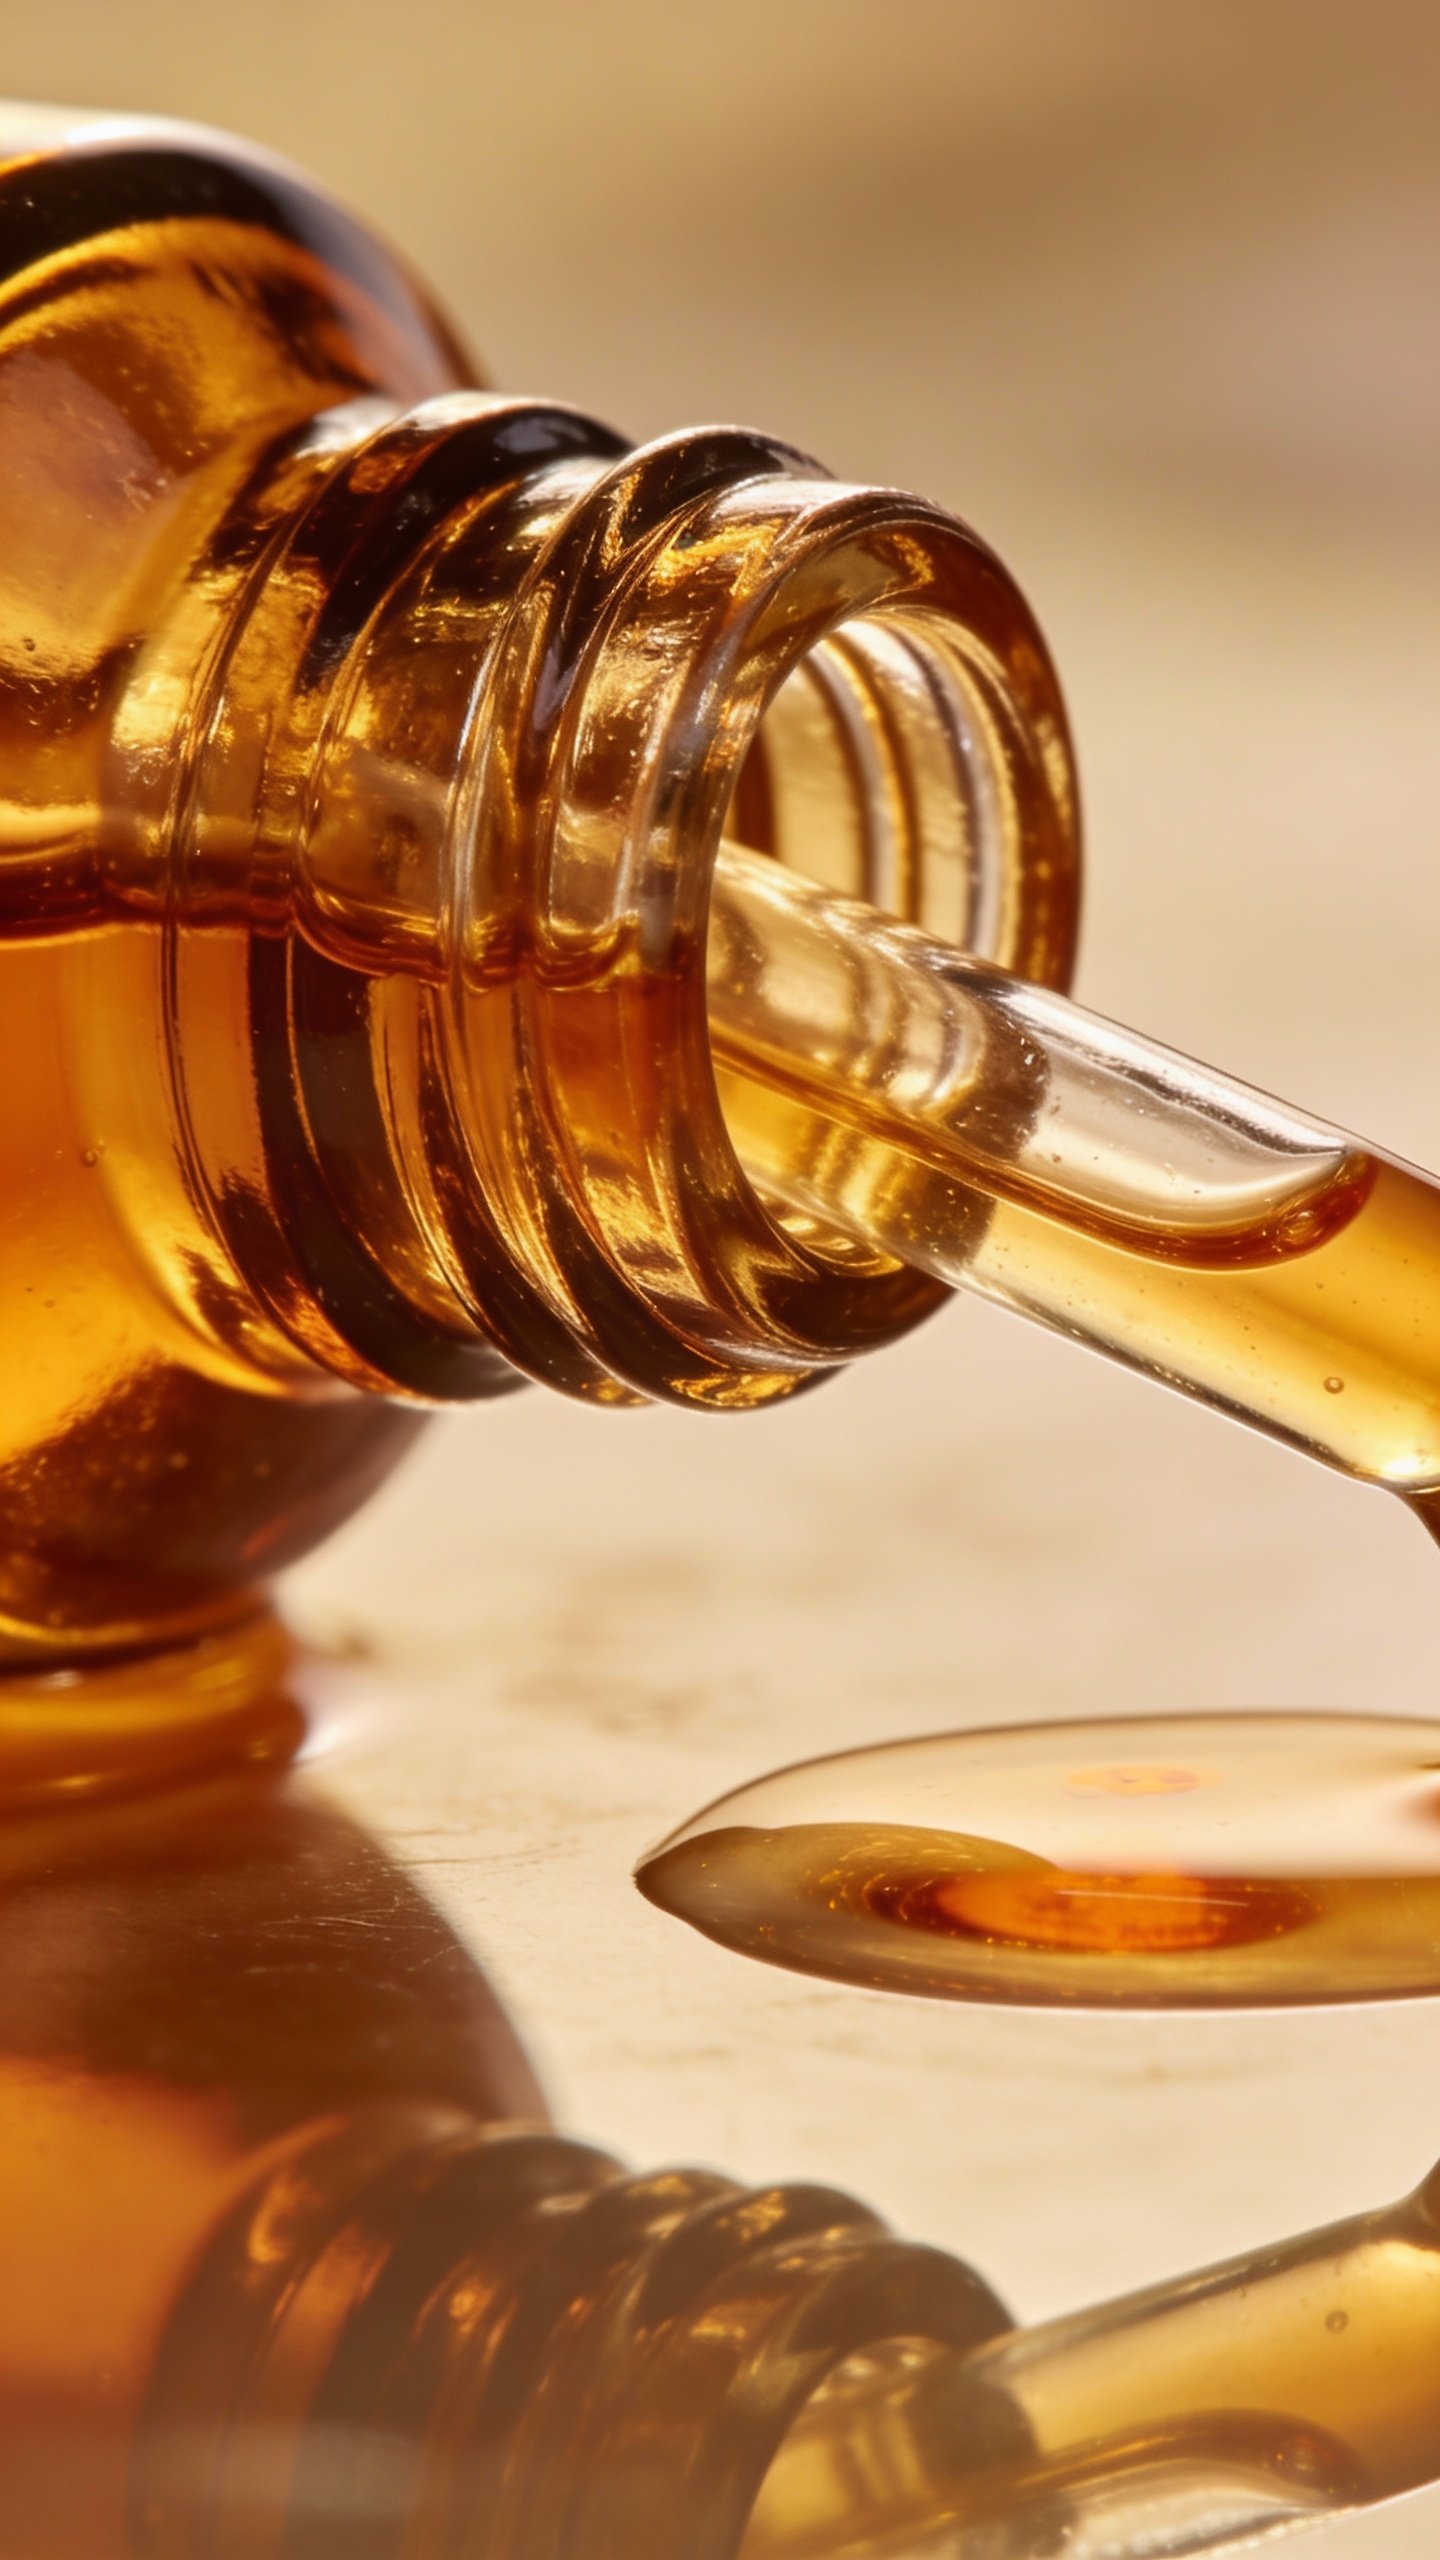
Option B: Nourishing Antioxidant Oil Serum (Nighttime Glow)
What you’ll need (makes ~30 ml):
- Squalane oil: 15 ml
- Rosehip seed oil: 10 ml
- Jojoba oil: 4 ml
- CoQ10 (2–3% pre-dissolved or lipid-soluble solution): ~0.6–0.9 ml
- Optional peptides (oil-soluble type) per supplier rate
- Dark glass dropper bottle
How to mix:
- Sanitize tools and bottle. Combine oils in the bottle.
- Add CoQ10 and optional oil-soluble peptides. Swirl to combine.
How to use: Press 2–4 drops over damp skin as the last step at night. If you feel greasy, use less or switch ratios toward squalane.
Safety First: Patch Test, Please
I know, patch testing sounds boring. But irritated skin looks older—so we’re not doing that. Apply a small amount behind your ear or along the jawline for 48 hours. No redness or sting? You’re good.
Allergy or sensitivity history? Start with niacinamide and HA only. Add other actives one by one every 1–2 weeks. Slow and steady wins the glow.
Storage and Shelf Life
- Water-based serum: Keep in the fridge, use within 4–6 weeks. Look for color change, weird smell, or separation—if in doubt, toss it.
- Oil-based serum: Store cool and dark. Use within 3–6 months. If it smells off, it’s off.
Build a Routine That Makes These Work
You don’t need 12 steps. You need consistency.
- Morning: Cleanser → Water-based serum → Moisturizer → SPF 30+ (non-negotiable)
- Night: Cleanser → Targeted treatment (store-bought retinoid, IMO) → Oil serum → Moisturizer if needed
- Exfoliation: 1–3x/week with a gentle AHA/BHA toner or mask. Not on retinoid nights. We’re smoothing, not peeling like an orange.
Ingredient Pairings That Play Nice
- Niacinamide + Vitamin C derivatives: Great together for brightening and barrier support.
- HA + everything: Hydration wingman. Apply on damp skin.
- Retinoids + Oil serum: Buffer potential dryness. Apply retinoid, wait 10–15 minutes, then oil.

Make It Yours: Tweaks For Skin Types
Oily or acne-prone? Use SAP at 5%, niacinamide at 4%, and skip heavy oils. Squalane only for the oil serum or none at all.
Dry or mature? Increase HA to 1% (split weights if possible) and add 2–3% panthenol. Use rosehip at night.
Sensitive? Start with niacinamide 2–3%, HA 0.3–0.5%, and panthenol 1%. Add actives later.
Hyperpigmentation? Consider adding alpha arbutin 2% to the water serum. Patch test first, obviously.
Troubleshooting: When Skin Throws a Tantrum
- Stinging or redness: Lower concentrations, check pH (aim ~5.5–6), simplify to HA + panthenol for a week.
- Pilling under sunscreen: Use fewer drops, wait 2–3 minutes between layers, choose lighter moisturizer.
- Greasy feel: Reduce oil amount, switch to squalane-only, or use oil serum only at night.
- No results: Give it 6–8 weeks. Increase frequency or concentration slightly within safe ranges.
FAQ
Can I use L-ascorbic acid instead of SAP?
Yes, but it’s trickier. L-ascorbic acid wants a lower pH (~3–3.5) to work, which can irritate. If you try it, keep the concentration at 10–15%, mix small batches weekly, and absolutely patch test. SAP is more beginner-friendly, IMO.
Do I really need a preservative in the water-based serum?
If water touches it, microbes want to party. Use a broad-spectrum preservative and store it cold. This keeps your skin safe and your serum effective longer.
Can I layer this with retinoids?
Totally. Use the water-based serum in the morning, retinoid at night, and finish with the oil serum. If your skin gets cranky, reduce actives and add more barrier-loving ingredients (panthenol, ceramides in your moisturizer).
What percentages should beginners start with?
Niacinamide 2–4%, SAP 3–5%, HA 0.3–0.5%, panthenol 1%. Ease in 3–4 times a week, then build to daily as tolerated. Slow equals steady results without drama.
Will this replace professional treatments?
No serum replaces sunscreen, a gentle exfoliant, or—if you want faster results—derm treatments like microneedling or lasers. But a well-formulated DIY serum can seriously upgrade your daily glow for a fraction of the cost.
How long until I see results?
Hydration and glow show up in days. Tone and texture improve in 4–8 weeks. Fine-line reduction and firmness take 8–12 weeks of consistent use. Keep photos for receipts.
Conclusion
You don’t need a PhD or a platinum credit card to get effective skincare. With a few well-chosen ingredients and a clean workspace, you can craft a serum that hydrates, brightens, and supports collagen—minus the marketing tax. Start simple, patch test, wear SPF, and tweak as you go. Your future face says thanks in advance.