Glow Without Damage How to Make a Brightening Face Mask Safely
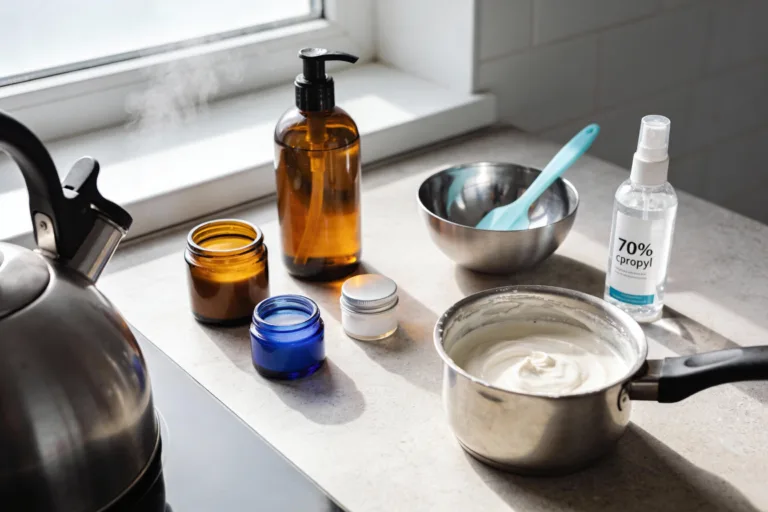
You want brighter skin without flirting with irritation or a messy DIY disaster? Totally doable. The trick: choose the right ingredients, prep your skin, and apply with common sense. You’ll glow—not peel. Grab a bowl, a spoon, and a little patience. Let’s make a face mask that actually does something (and doesn’t wreck your barrier).
Why Brightening Masks Work (When They’re Done Right)
Brightening masks lift dullness by sloughing off dead skin and calming uneven tone. Think gentle exfoliation plus a little pigment control. Nothing extreme.
You don’t need harsh acids or mystery powders. Stick with proven, skin-friendly ingredients like vitamin C, lactic acid (from yogurt), niacinamide, and licorice root. The right combo perks up your glow and keeps your skin barrier happy. That barrier = your BFF.
Overeating doesn’t mean something is wrong with you. It means your system needs a reset.
If cravings keep pulling you off track, this helps you regain control without restriction. You’ll learn simple, realistic steps to stop overeating and feel satisfied again.
Ingredient Cheat Sheet: What Actually Helps
Let’s keep it simple. Here’s what I reach for and why:
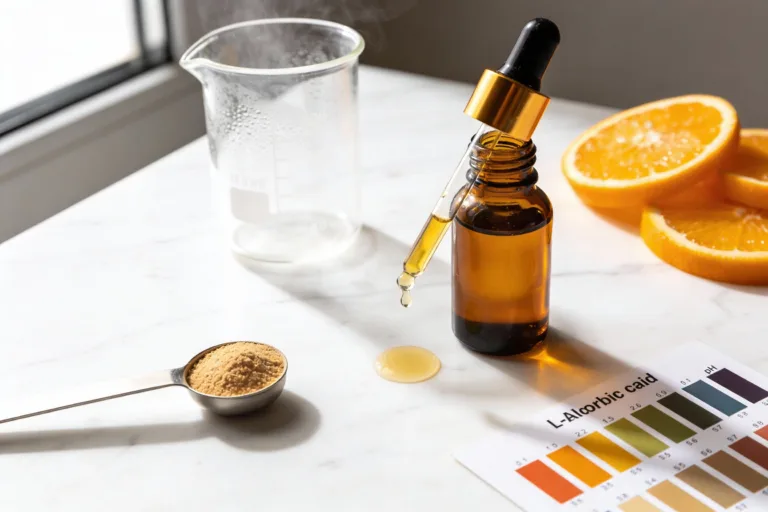
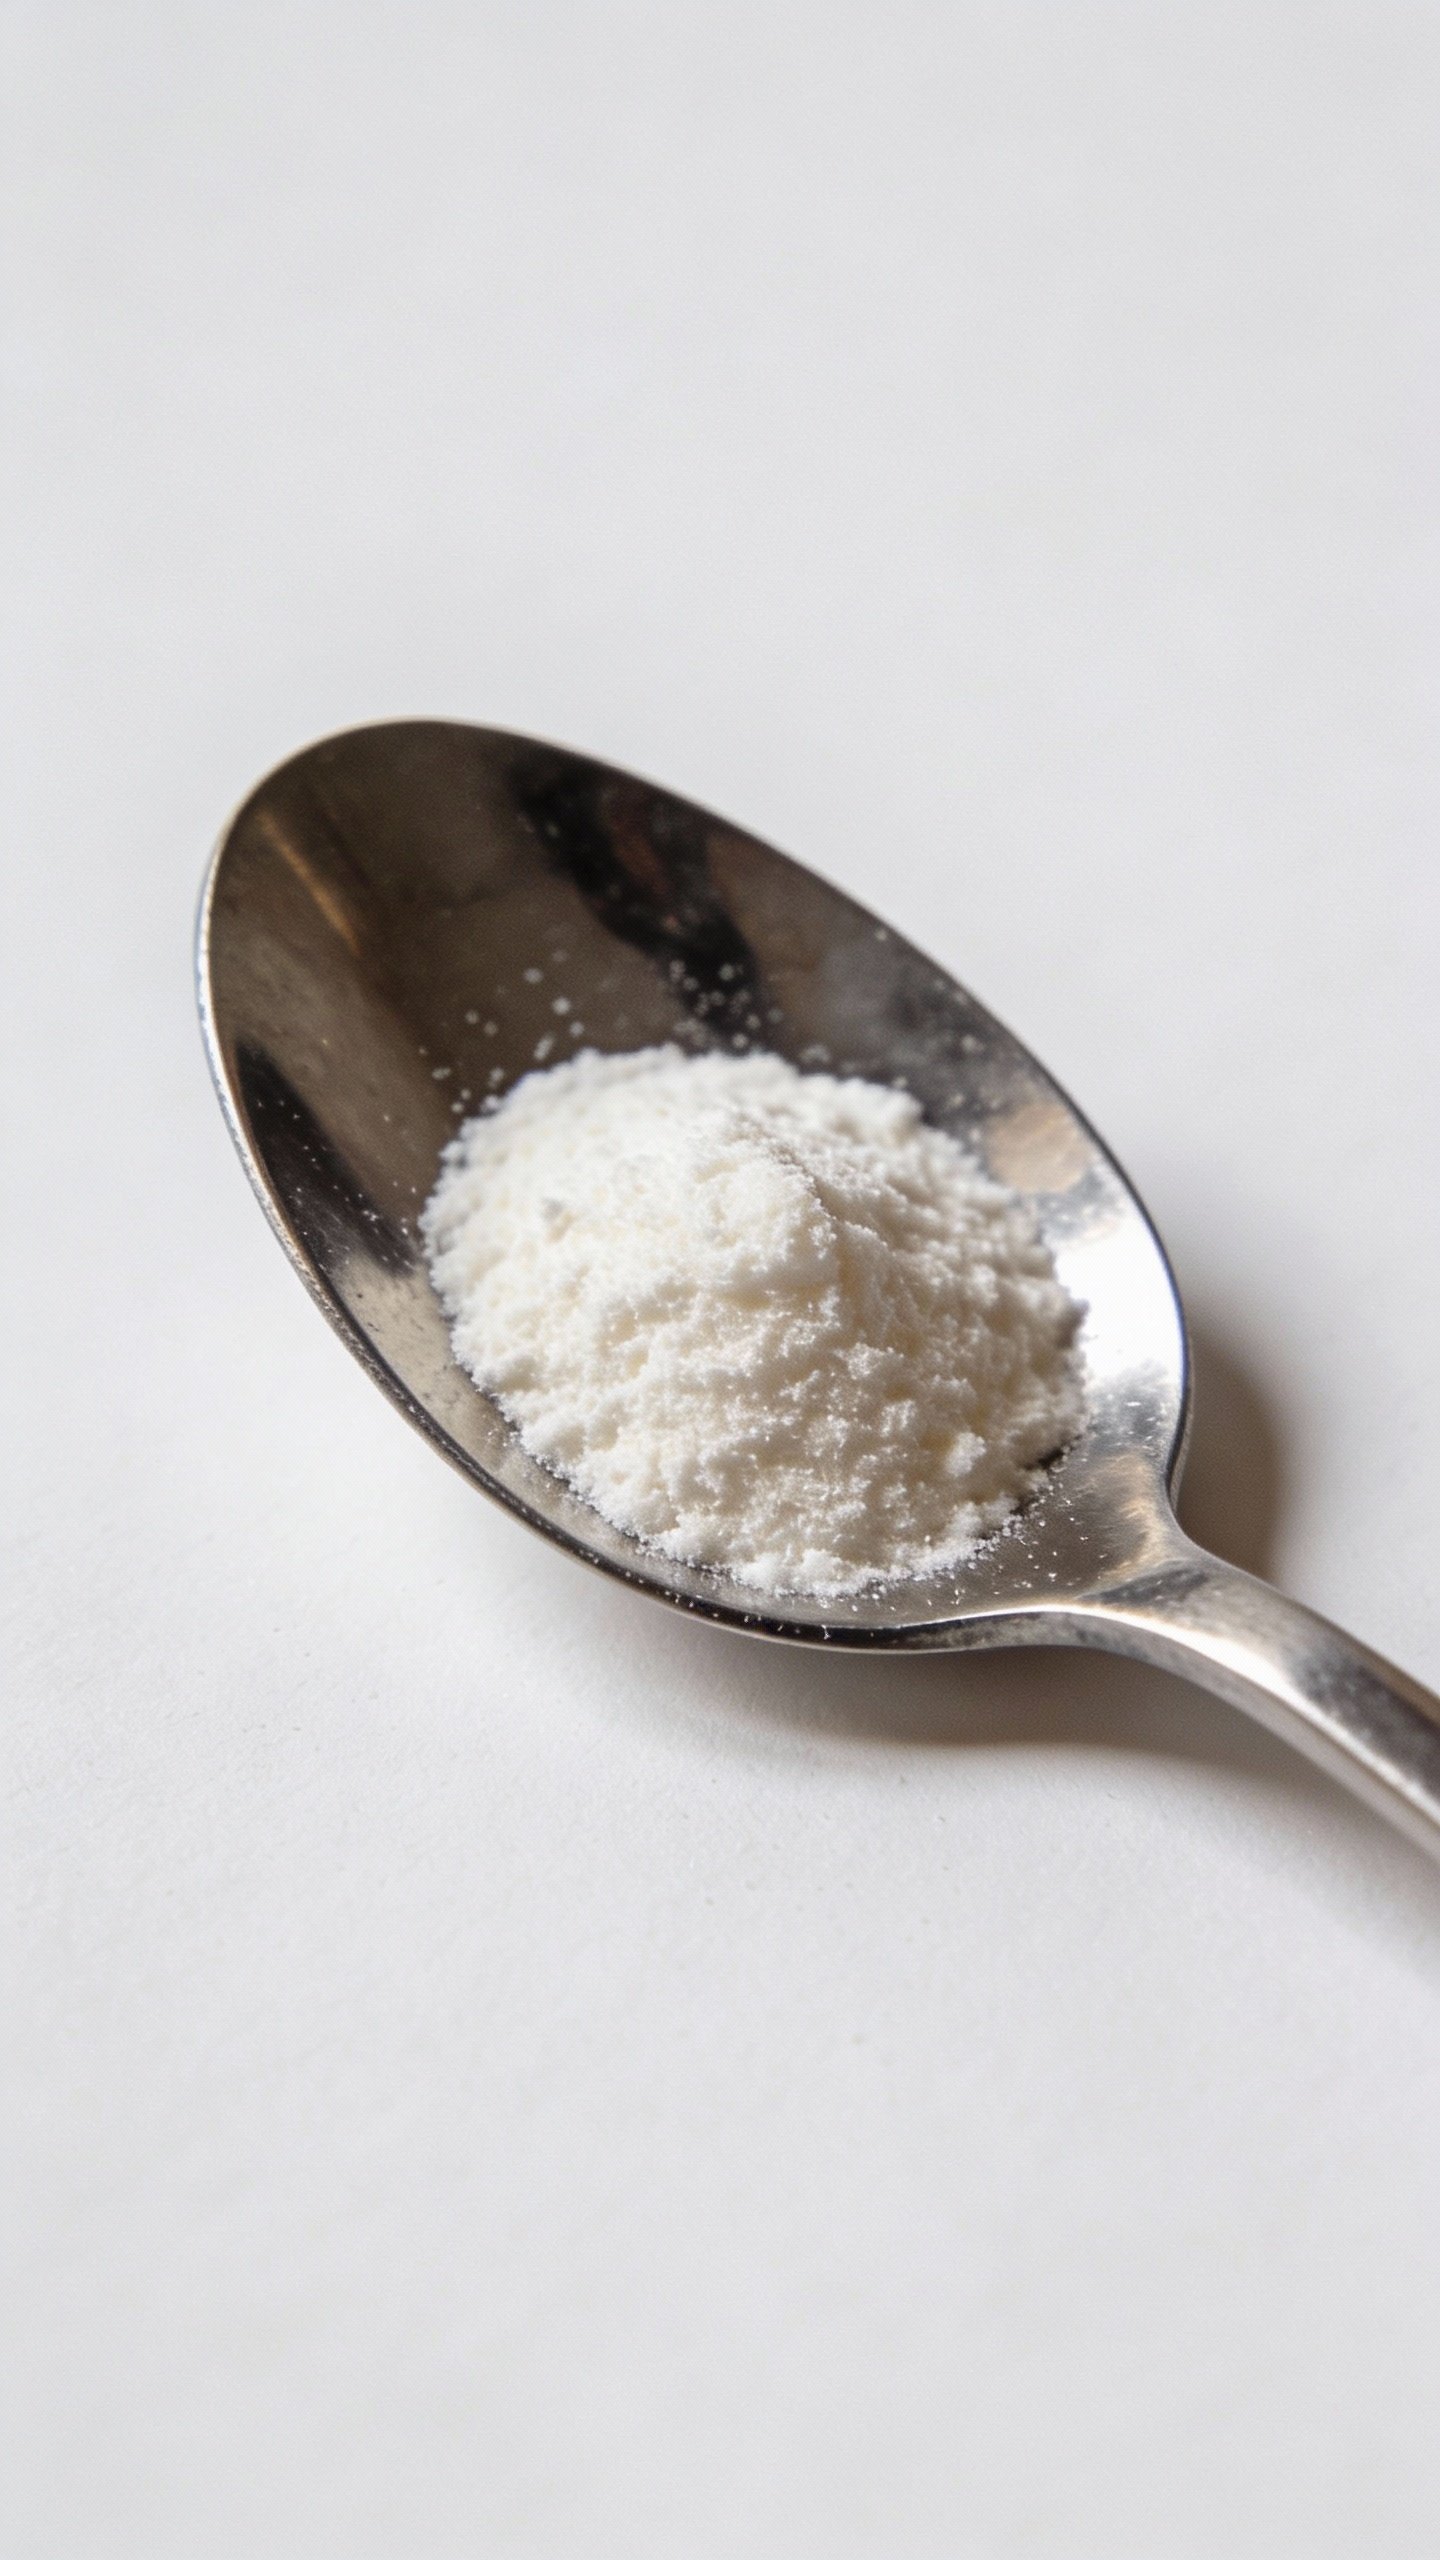
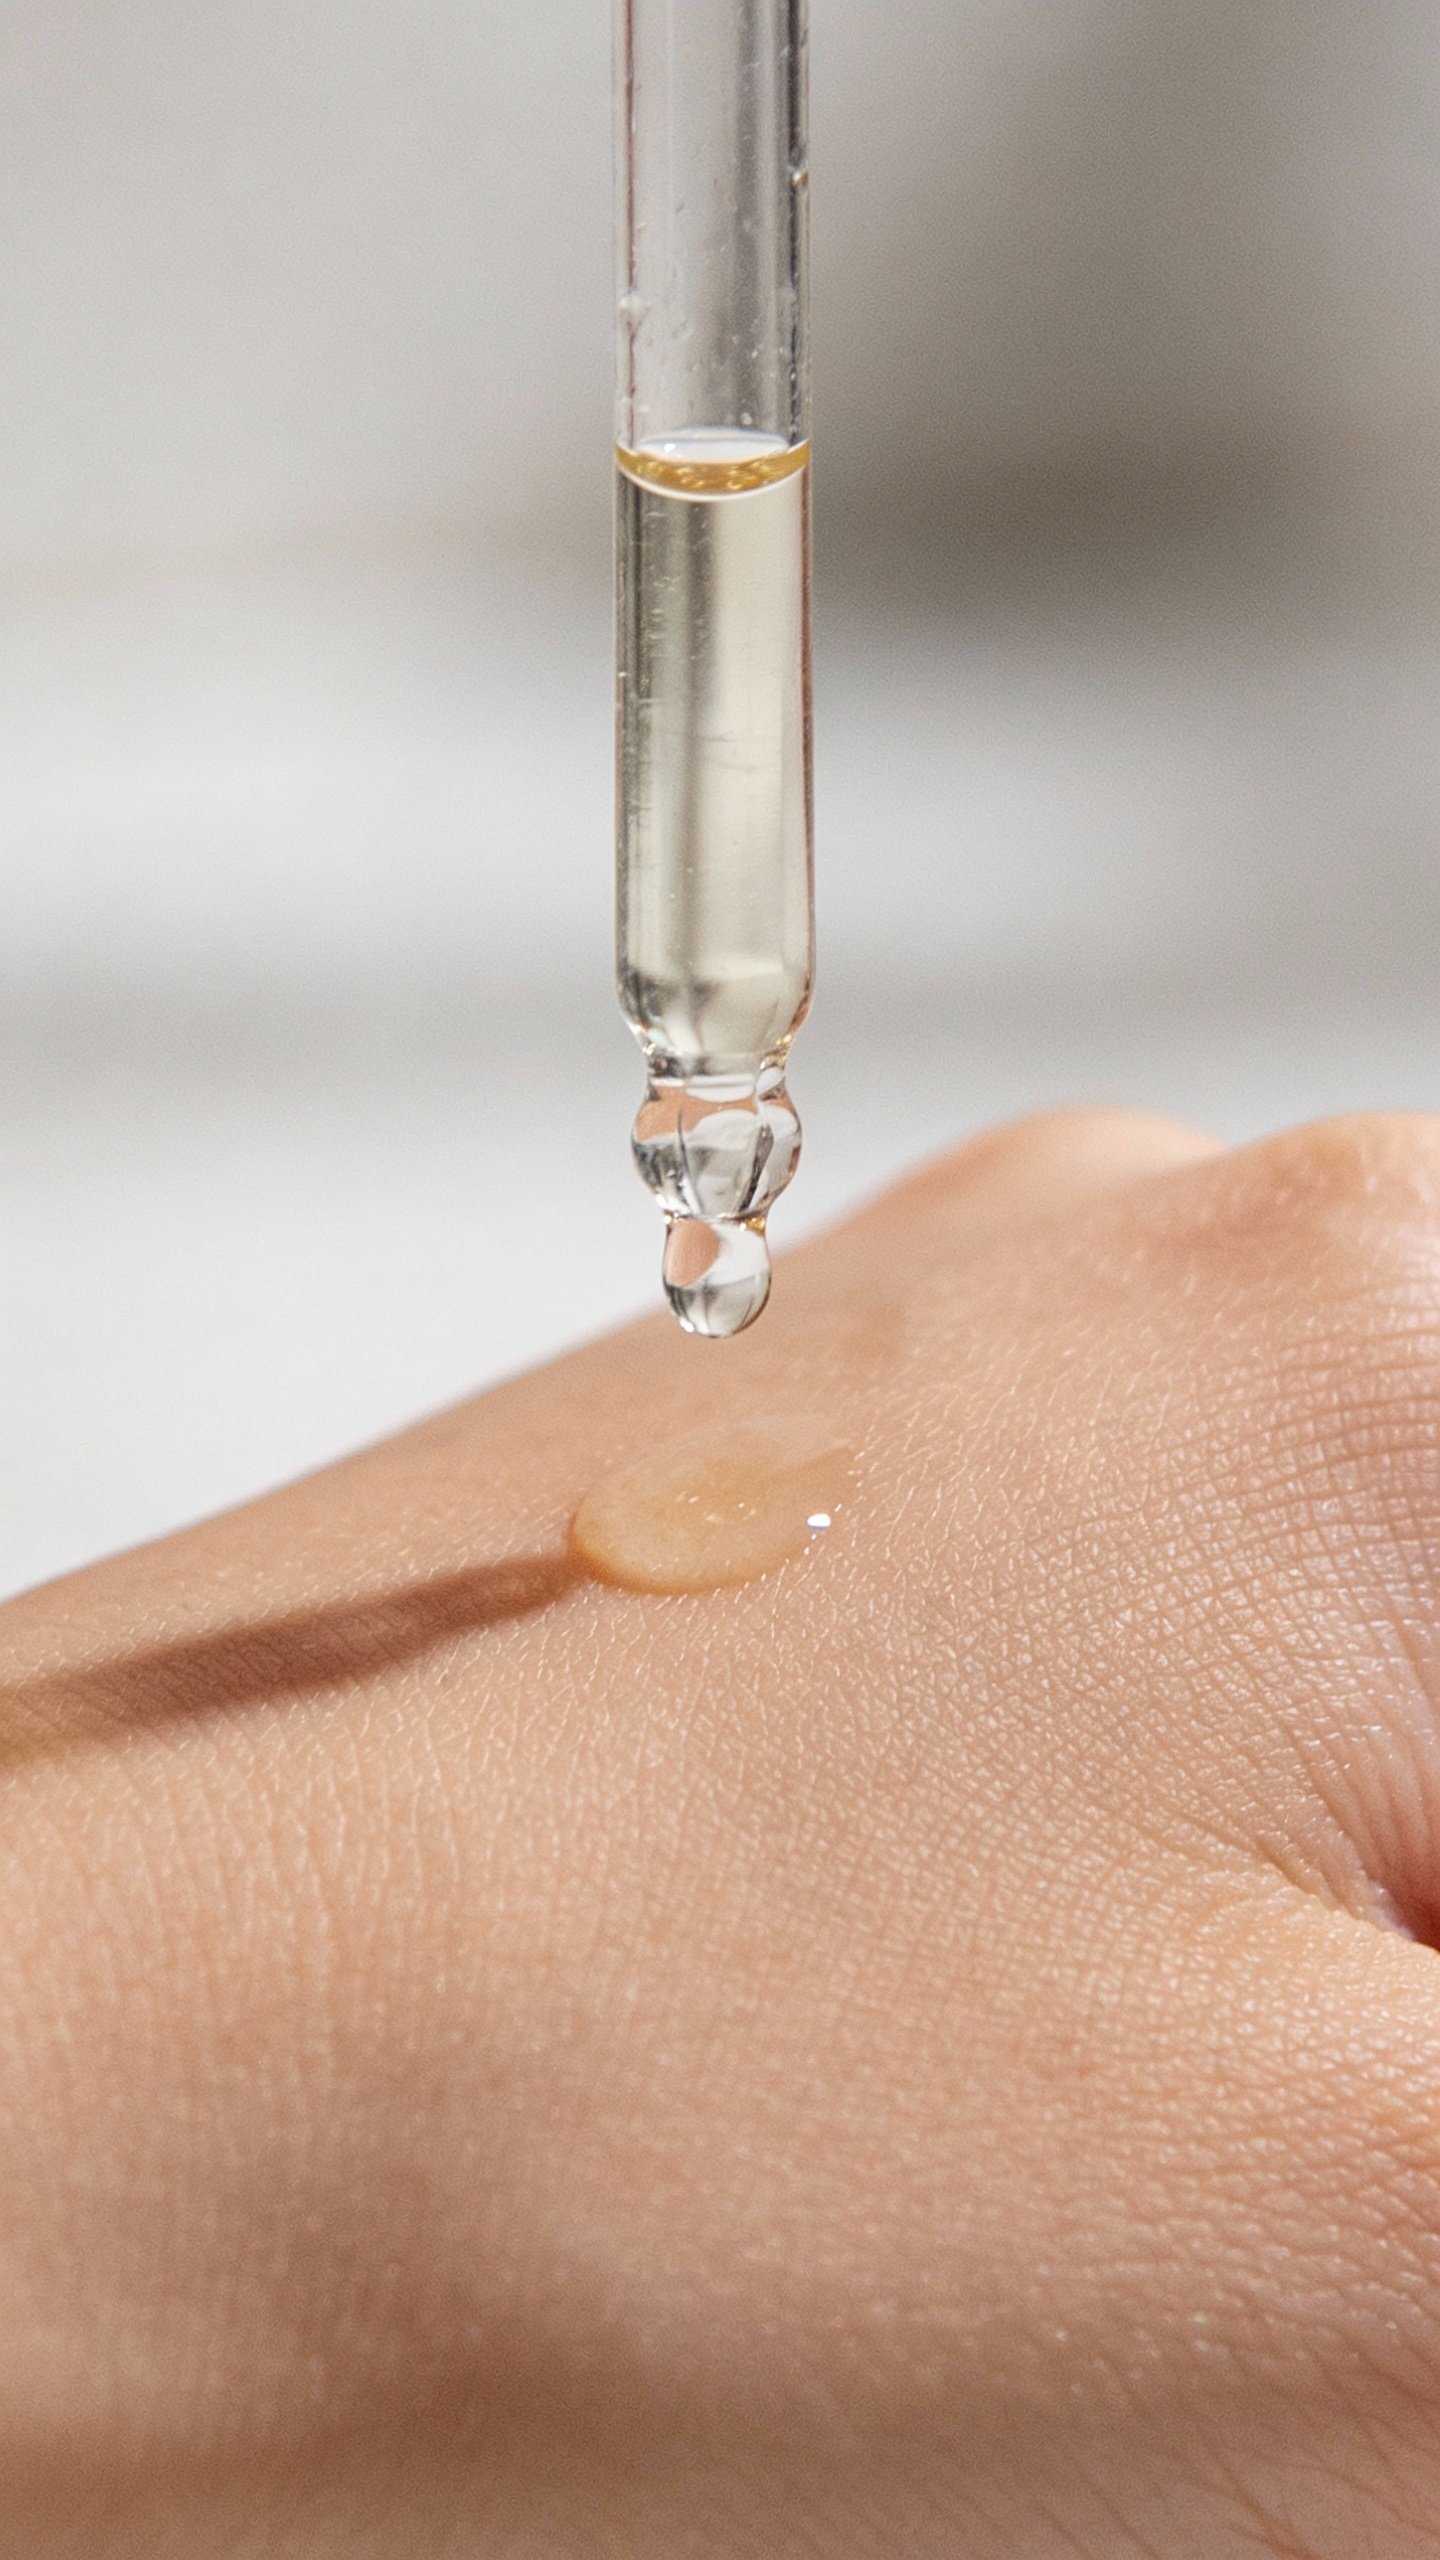
- Vitamin C (powder or stabilized serum): Brightens and fights dullness. Use stable forms like sodium ascorbyl phosphate or magnesium ascorbyl phosphate. Mix gently into a base.
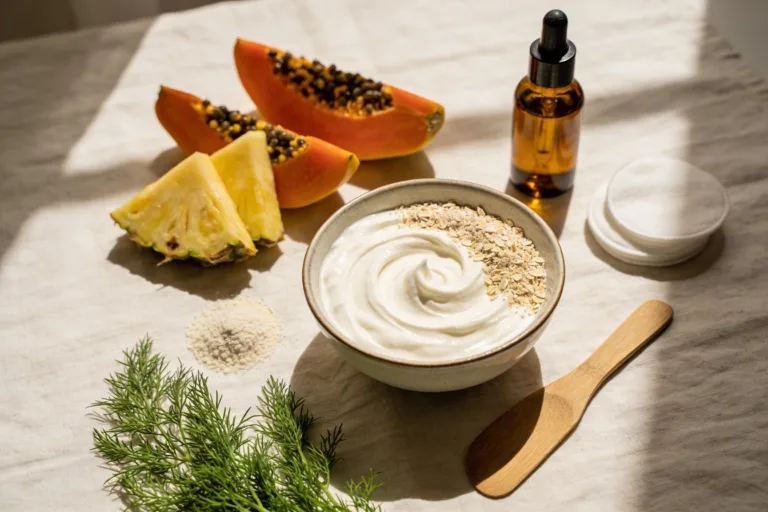
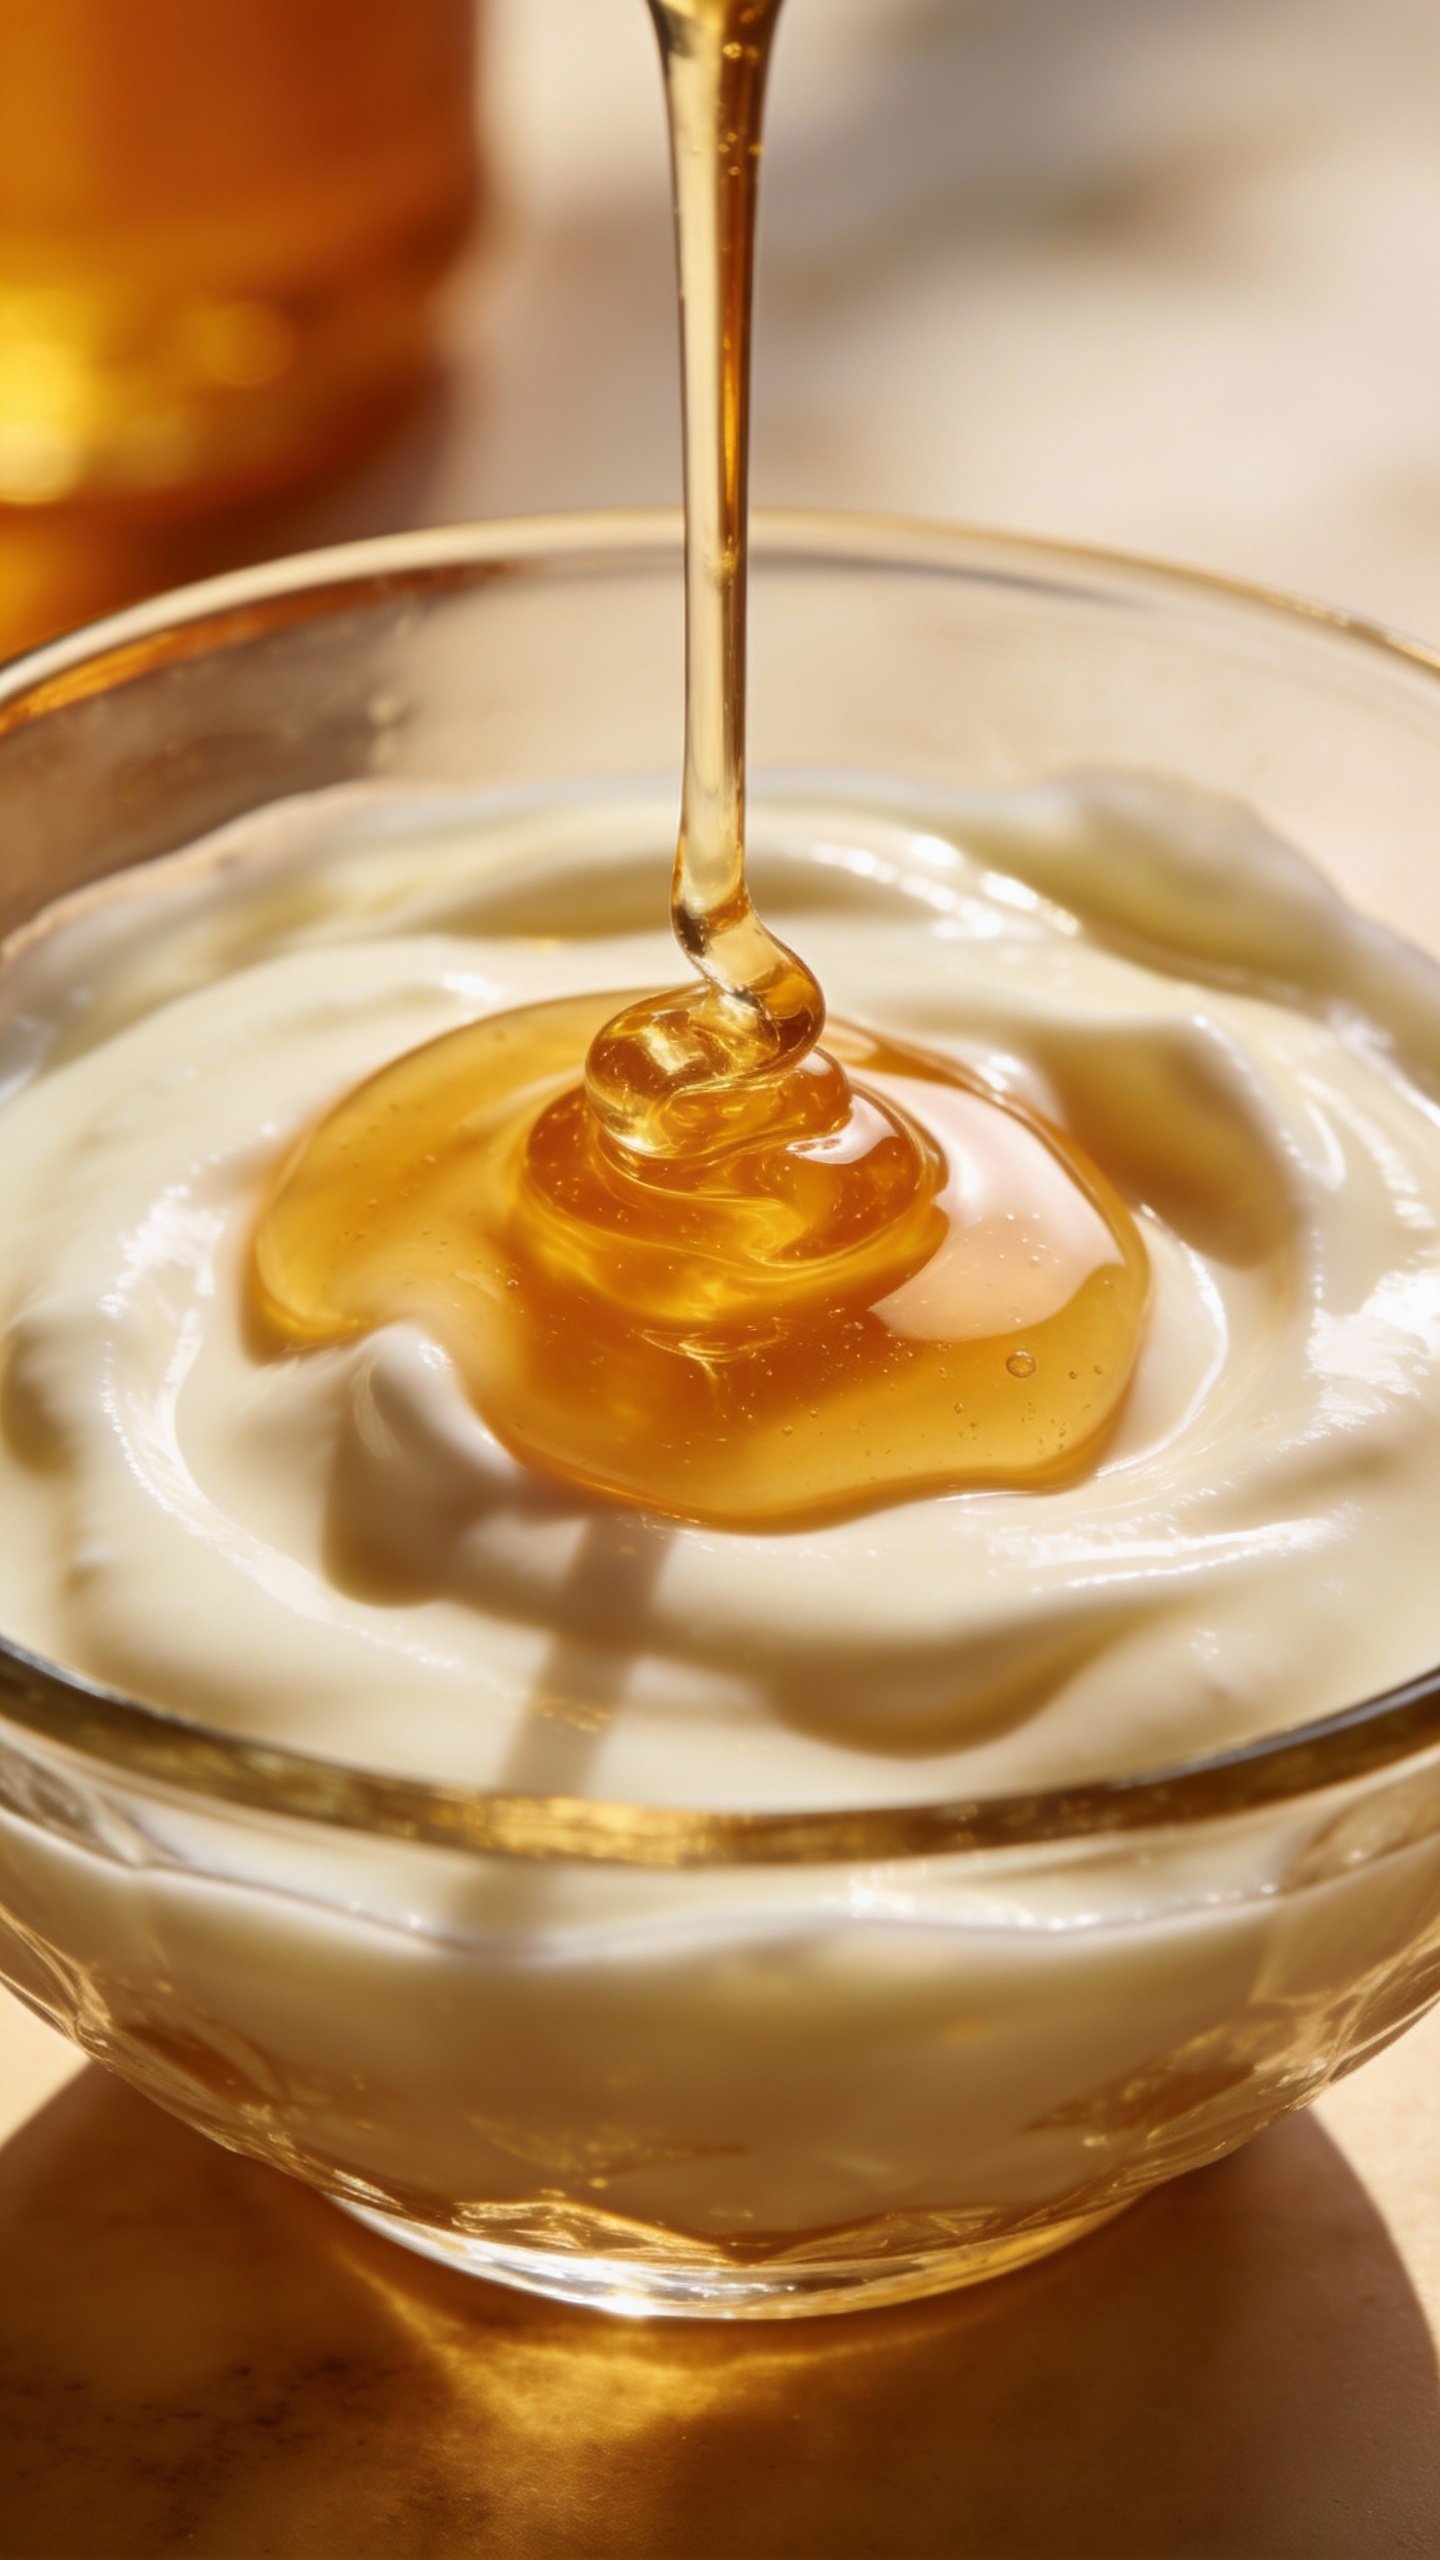
- Yogurt (plain, unsweetened): Lactic acid + soothing fats. Great for mild exfoliation.
- Honey (raw or manuka): Hydrating, antimicrobial, sticky in a good way. Helps everything spread and stay put.
- Licorice root extract: Targets uneven tone and redness. A quiet overachiever.
- Niacinamide: Supports barrier, evens tone, calms oiliness. Easy yes.
- Aloe vera gel: Soothes and hydrates. Perfect for sensitive types.
- Oat flour or colloidal oatmeal: Calms irritation and adds mild physical polish (be gentle!).
- Turmeric: Anti-inflammatory and brightening—but it stains. Use a tiny pinch or skip if you have lighter fabrics…or white towels…or nice things.
Ingredients to Skip (For Your Face, Not a Smoothie)
- Lemon juice: Too acidic, unstable, and irritating. Patches of regret incoming.
- Baking soda: Alkaline chaos. Wrecks your barrier fast.
- Undiluted essential oils: Sensitizing. Use extracts, not oils, for brightening.
- Cinnamon: Spicy… on toast. Inflaming… on skin.
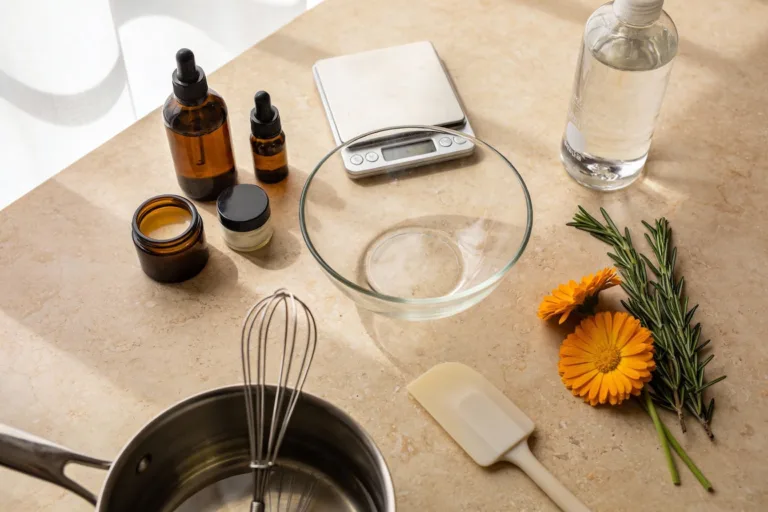
Two Foolproof Brightening Mask Recipes
Pick your vibe: creamy and soothing, or gel-light and cooling. Both take minutes.
Creamy Yogurt Glow Mask (Beginner-Friendly)
- 2 tbsp plain yogurt
- 1 tsp honey
- 1/4 tsp vitamin C powder (stable form) OR 5–6 drops a gentle vitamin C serum
- Optional: 1/2 tsp licorice root extract or 1 pinch turmeric
- Mix yogurt and honey until smooth.
- Whisk in vitamin C and licorice extract. Keep it creamy, not runny.
- Apply a thin layer to clean, dry skin. Avoid eyes and lips.
- Leave on 8–10 minutes max. Tingling is normal; burning is not.
- Rinse with lukewarm water and a soft cloth. Pat dry—no scrubbing.
Why it works: Lactic acid gently exfoliates while honey hydrates. Vitamin C punches up brightness. It’s like a mini facial that minds its manners.
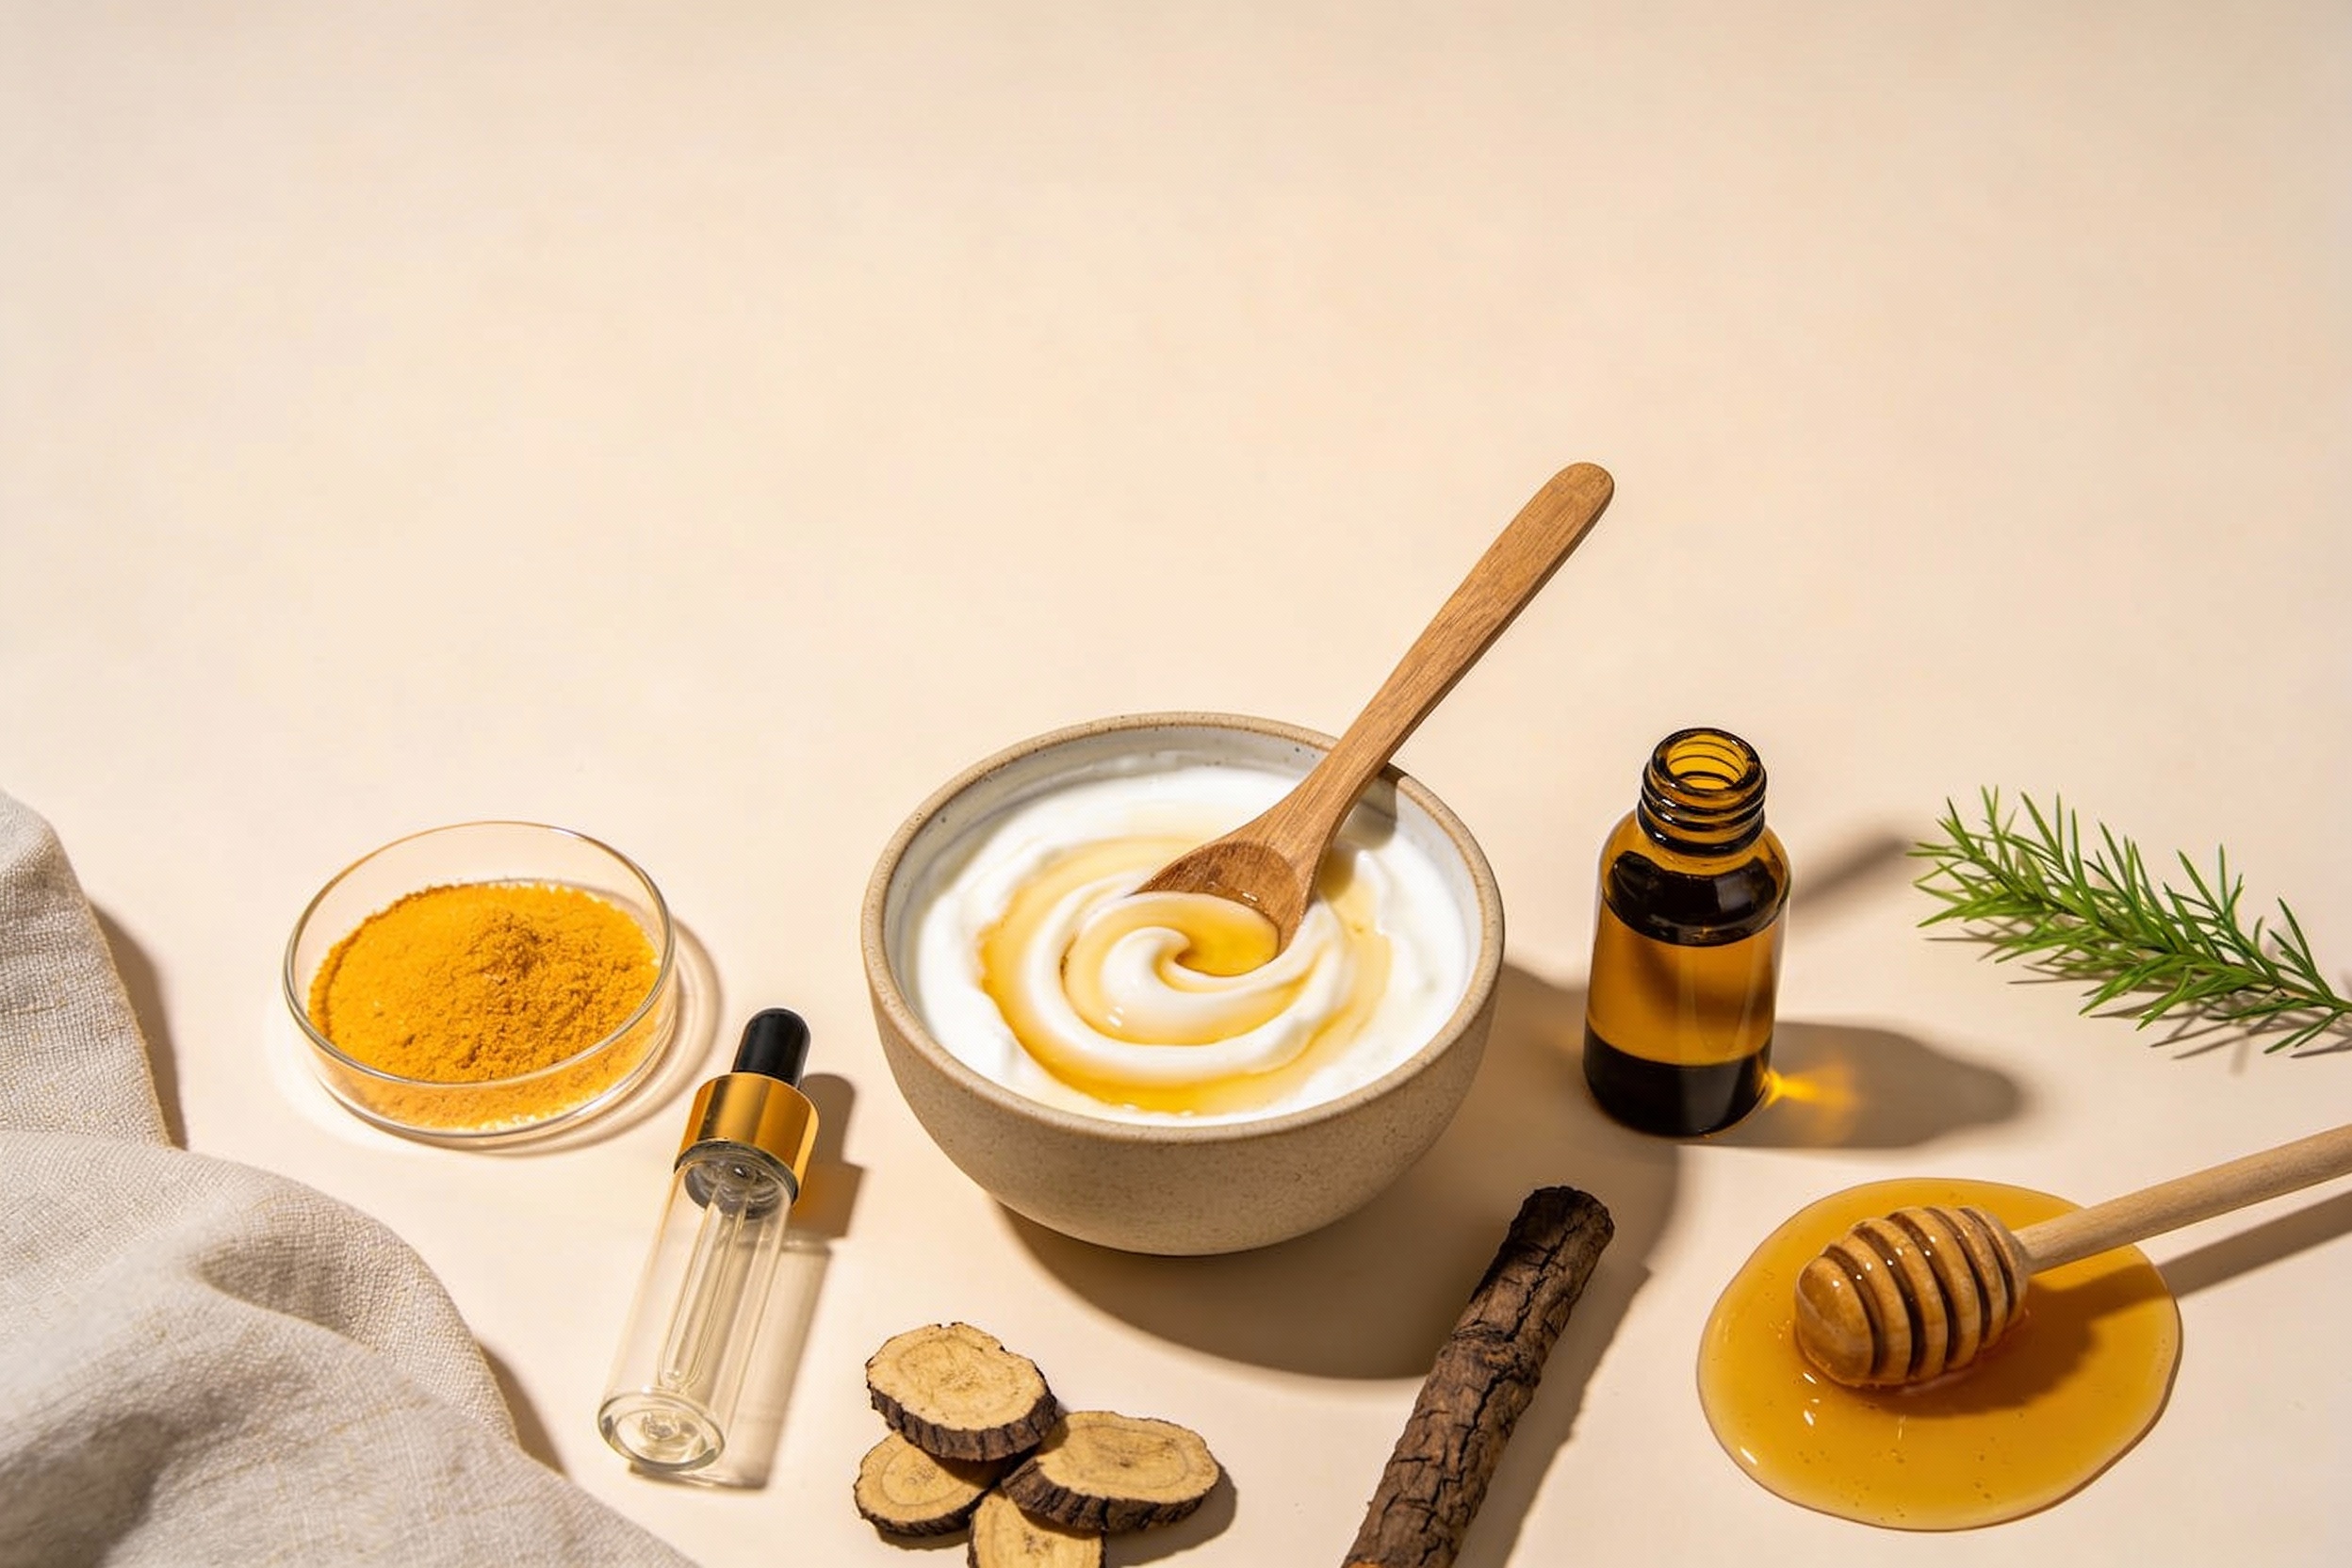
Aloe-Niacinamide Calm + Bright Mask (Sensitive-Skin Friendly)
- 1.5 tbsp aloe vera gel
- 1 tbsp honey
- 1/4 tsp niacinamide powder or a few drops of a niacinamide serum
- Optional: 1 tsp colloidal oatmeal for extra soothing
- Stir aloe and honey until glossy.
- Add niacinamide and oat. Mix until lump-free.
- Apply a light layer and let it sit 10–12 minutes.
- Rinse gently, then moisturize.
Why it works: Niacinamide evens tone without drama. Aloe cools, honey hydrates, and oat kisses your barrier on the forehead.
Patch Test Like You Mean It
Yes, I know, patch testing sounds boring. But it saves face—literally. Always test new combos 24 hours ahead on your inner arm or behind your ear.
- Apply a dab, let it dry, leave for 10–15 minutes, then rinse.
- Watch for redness, itching, or bumps over the next day.
- If your skin throws a tantrum, skip that ingredient and try the other recipe.
Prep Your Skin for Success
Start with a clean slate, not a battlefield of SPF, makeup, and city grime.
- Cleanse with a gentle, non-stripping cleanser.
- Skip other exfoliants (AHA, BHA, retinoids) the same day to avoid overdoing it.
- Pull your hair back unless you want a honey-bangs situation.
Timing Matters
Use masks in the evening or before a chill day. Brightening can make skin a tad more sun-sensitive. Always apply SPF 30+ the next morning. Not negotiable.

How to Apply (Without Angering Your Skin)
You don’t need a trowel. Thin, even layers perform better and rinse easier.
- Use clean fingers or a soft brush.
- Stay clear of eyes, lips, and any open breakouts.
- Set a timer. Over-masking equals irritation, not brightness.
- Rinse with lukewarm water. Pat—not rub—your face dry.
Aftercare: Lock In the Glow
Keep it simple for the next 24 hours.
- Apply a hydrating serum (hyaluronic acid or glycerin).
- Seal with a basic moisturizer.
- Skip retinoids, scrubs, and peels. Your barrier thanks you.
How Often Should You Mask?
Consistency beats intensity. IMO, you’ll get better results with a chill routine than a hardcore bootcamp.
- Normal/combination skin: 1–2 times weekly.
- Sensitive skin: Once weekly, shorter wear time.
- Oily/acne-prone: 1–2 times weekly, consider adding a clay mask on alternate days—just don’t layer actives like a chem lab.
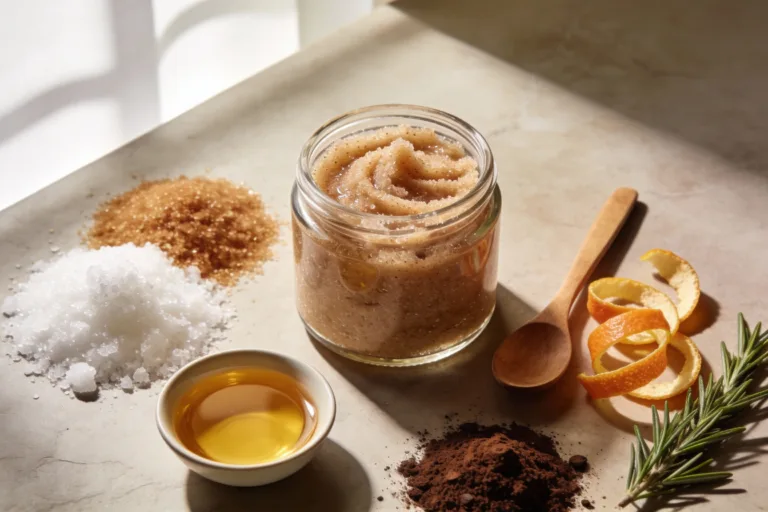
Small Tweaks for Big Results
- Add a few drops of a ferulic acid + vitamin C serum to boost stability and brightness.
- Include a dash of green tea extract for antioxidant support.
- Swap yogurt for kefir if you like a thinner texture.
Common Mistakes to Avoid
We’ve all done at least one of these. Learn from our collective chaos.
- Using lemon or baking soda: No. Just no.
- Leaving masks on forever: Ten minutes is not a suggestion; it’s a boundary.
- Masking right before the sun: Use at night or follow with SPF. FYI, UV undoes your good work.
- Mixing too many actives: If your skin feels spicy, you overdid it.
- Dirty tools: Bacteria = breakouts. Wash bowls and brushes.
FAQs
Can I use turmeric without staining my face?
Use the tiniest pinch—like, barely-there. Mix it well into yogurt or aloe, and rinse thoroughly. Still worried? Skip turmeric and use licorice root or vitamin C instead. Your towels will thank you.
Is vitamin C powder safe to mix at home?
Yes, if you use a stable derivative and keep the amount small (about 0.25–0.5% of the total mixture). Pure L-ascorbic acid can be too acidic for some DIY masks. If you want plug-and-play, add a few drops of a pre-formulated vitamin C serum to the base.
What if I have acne-prone skin?
Stick with the aloe-niacinamide mask. It brightens without heavy oils and keeps your barrier calm. Avoid essential oils and heavy fragrances. And don’t spot-mask active pimples with gritty ingredients—no scrubbing the volcano.
Can I store leftover mask in the fridge?
Better to mix fresh. Yogurt and honey can harbor bacteria over time. If you must store, refrigerate for up to 24 hours in a clean, sealed container, then sniff-check and discard if anything smells weird. Safety first, glow second.
Will these masks replace my vitamin C serum?
Nope. Masks give a quick brightening boost, but daily antioxidants plus sunscreen carry the long-term glow. Think of masks as your booster shot, not your baseline.
How fast will I see results?
You’ll notice a subtle glow after one use. More even tone usually shows up after 2–4 weeks of consistent masking and sunscreen use. Bright skin is a habit, not a magic trick.
Conclusion
You don’t need stingy lemons or complicated hacks to brighten your skin. Build a gentle mask with proven ingredients, patch test, keep layers thin, and follow with moisturizer and SPF. Do it once or twice a week, stay consistent, and let your barrier live its best life. IMO, the glow hits different when your skin feels calm, comfy, and actually healthy.